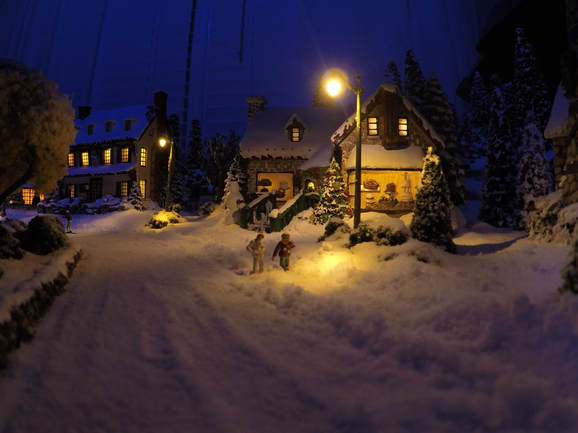
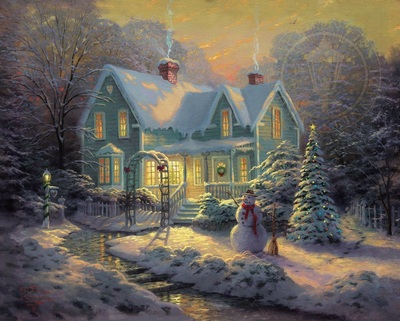
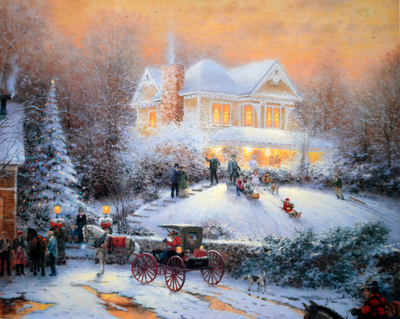
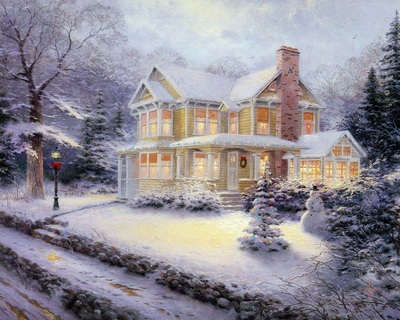
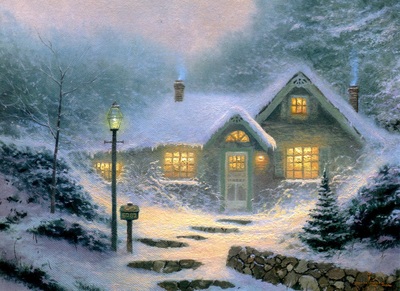
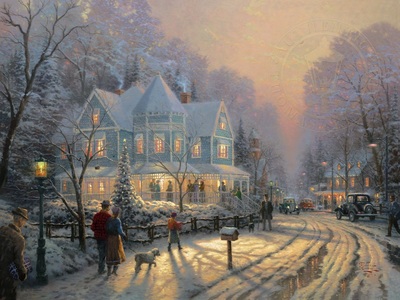
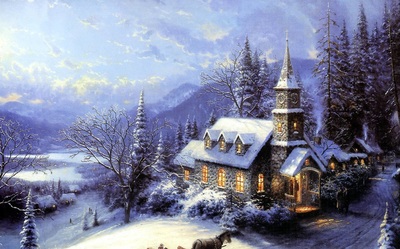
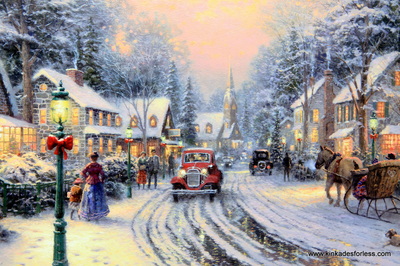
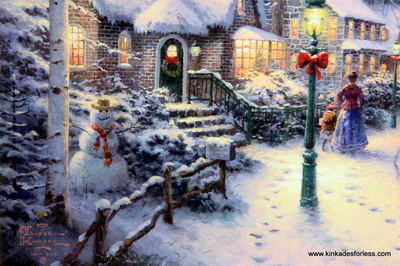
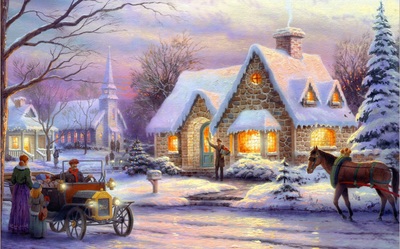
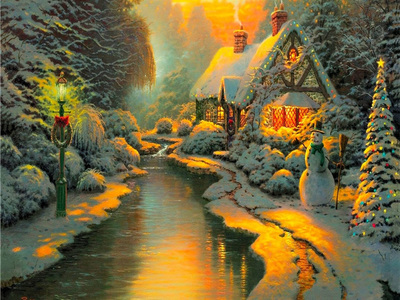
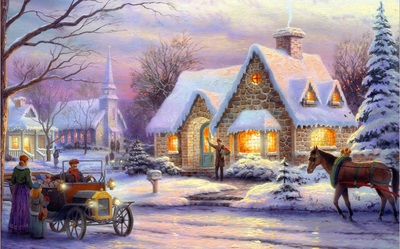
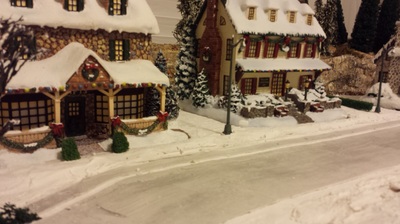
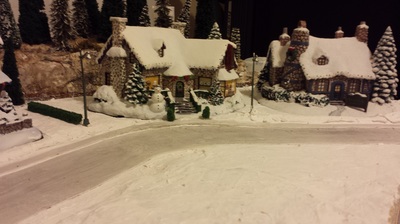
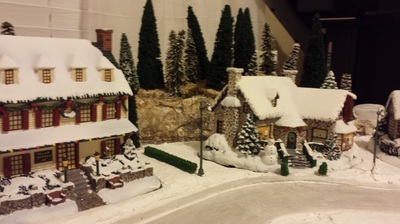
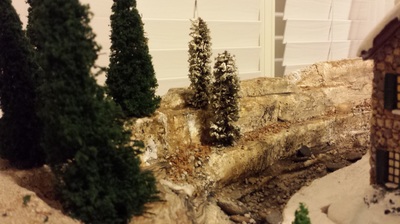
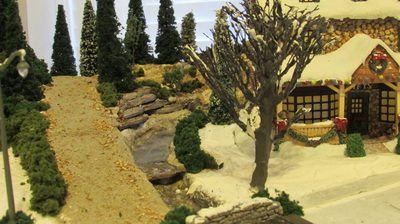
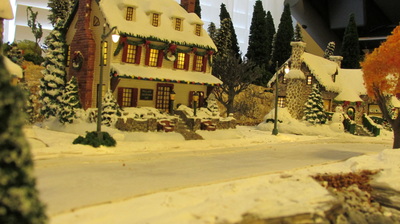
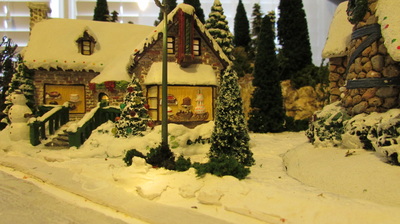
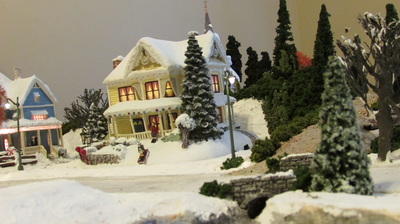
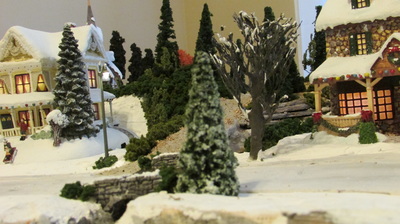
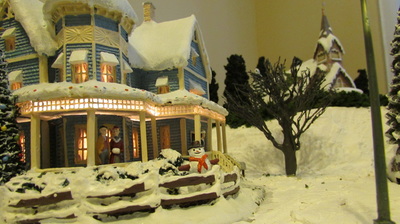
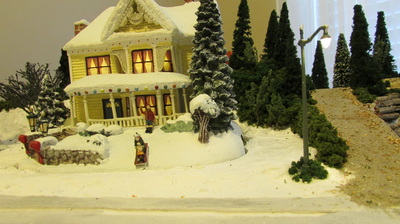
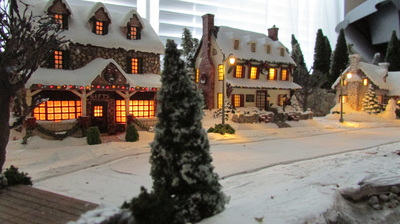
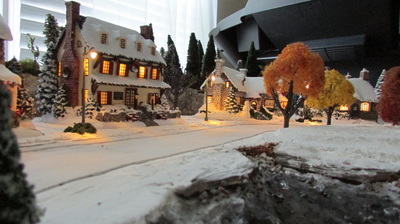
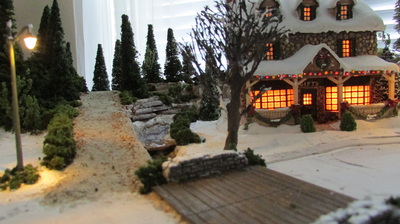
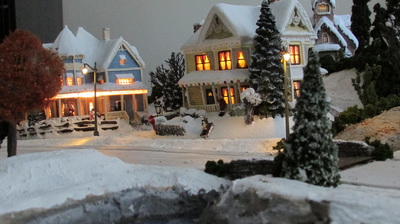
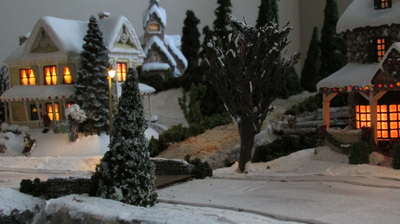
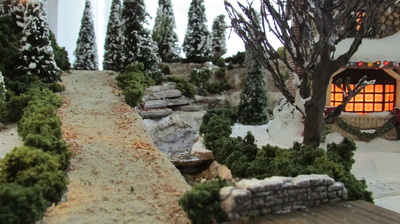
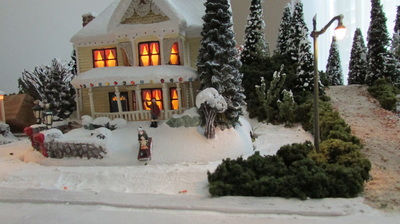
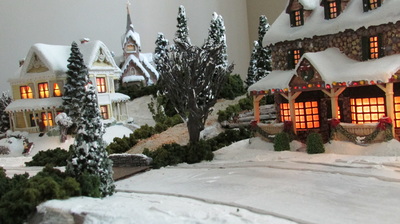
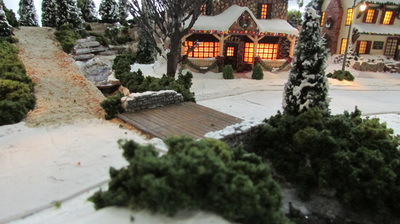
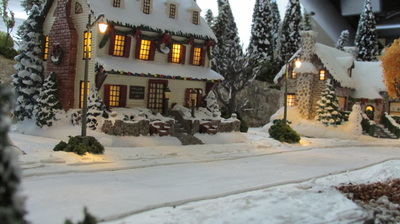
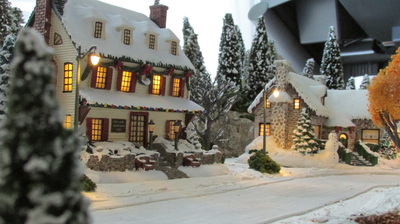
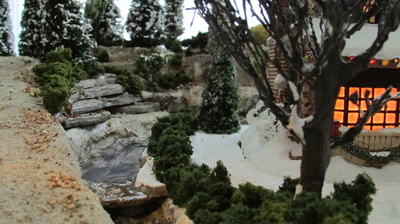
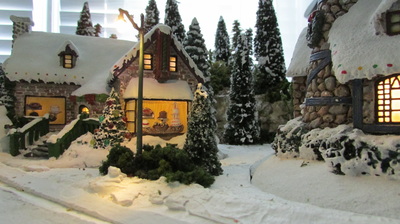
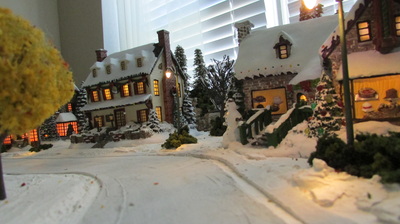
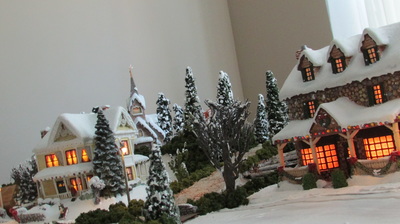
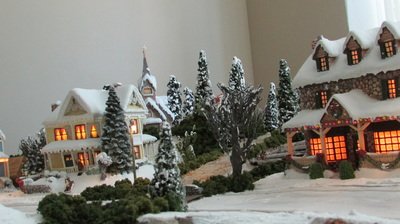
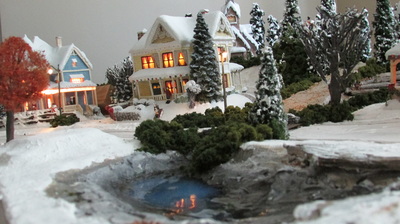
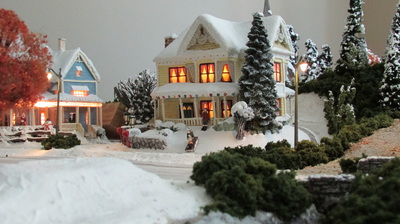
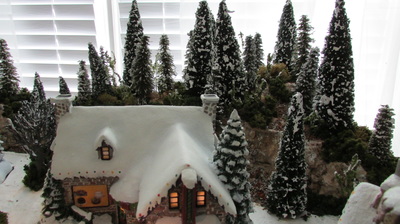
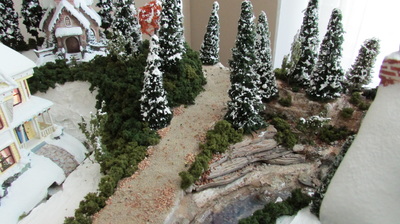
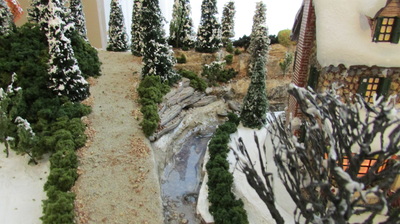
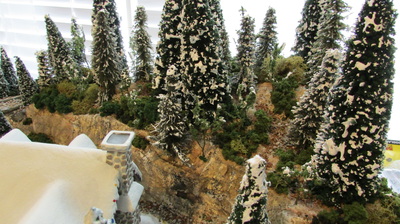
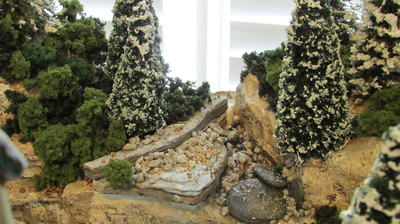
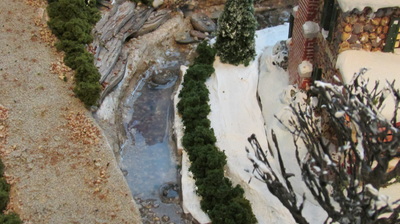
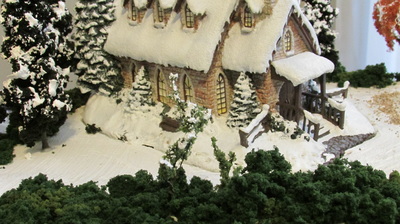
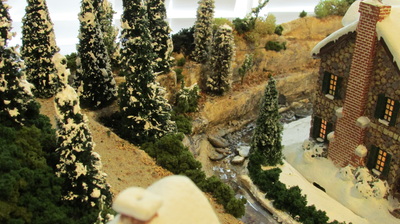
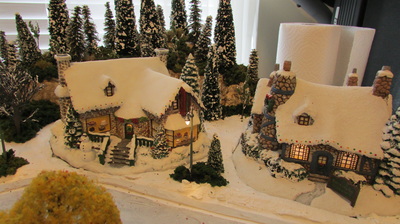
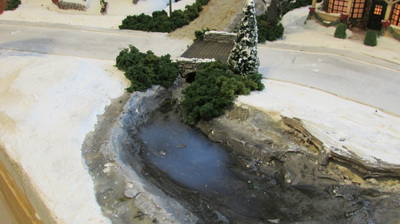
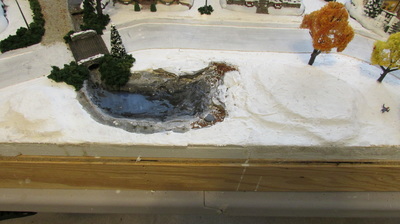
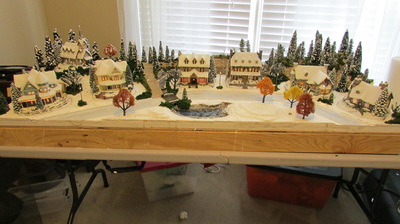
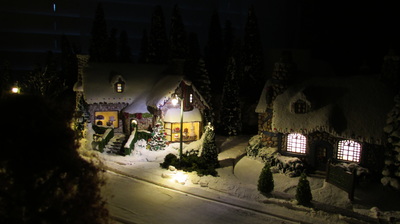
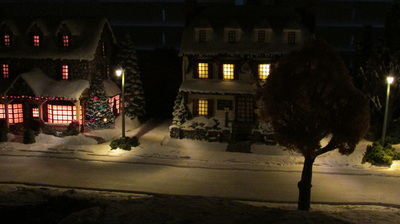
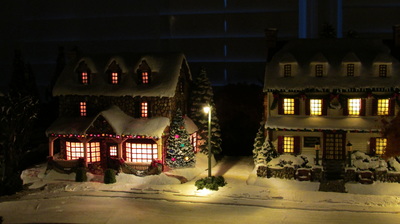
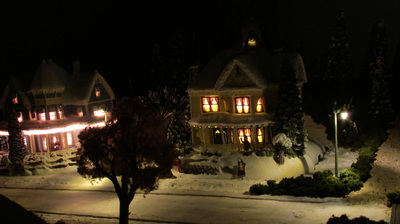
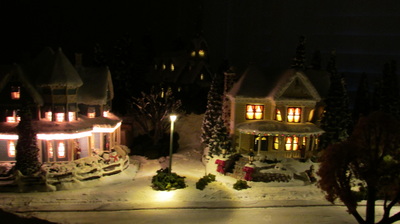
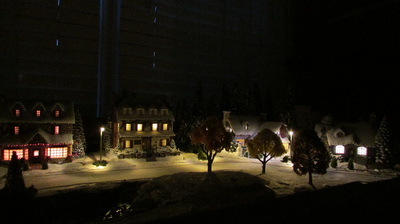
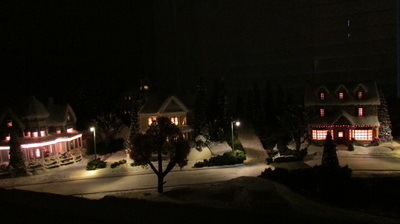
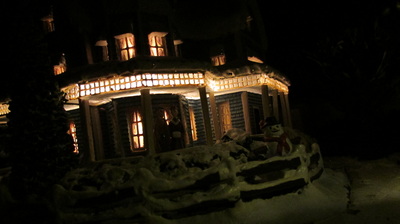
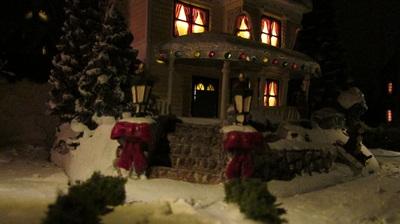
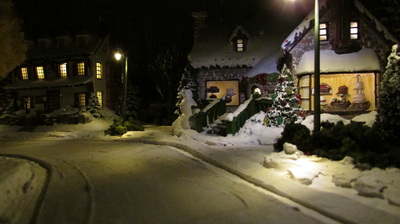
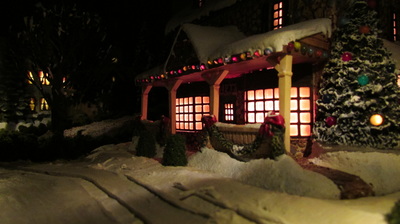
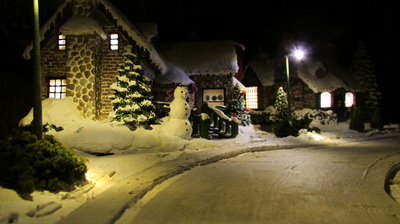
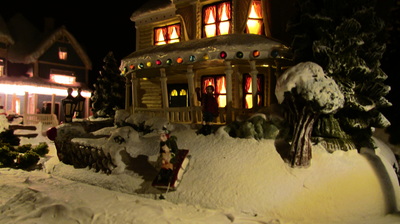
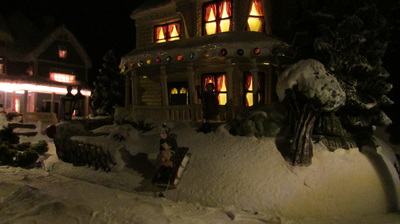
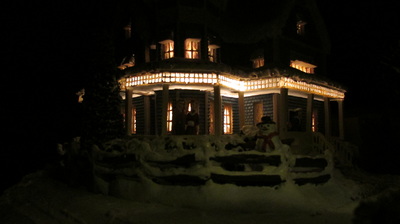
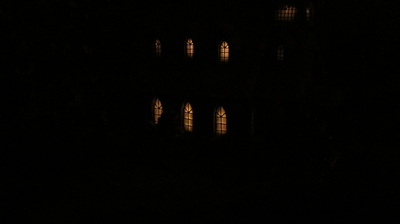
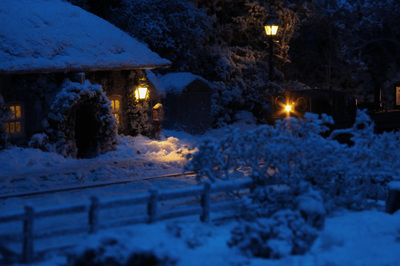
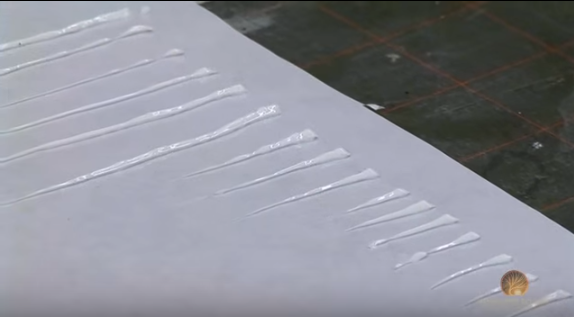
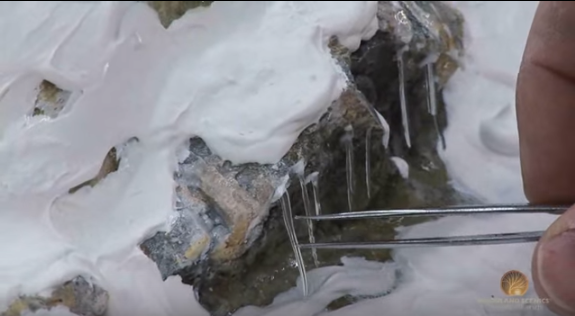
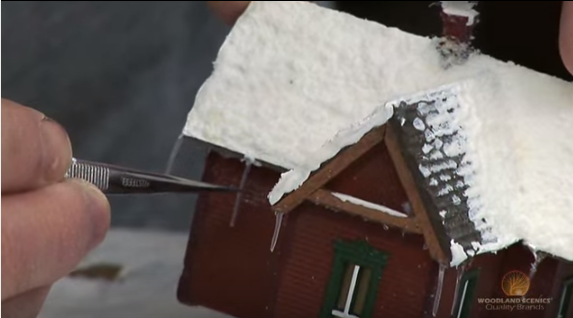
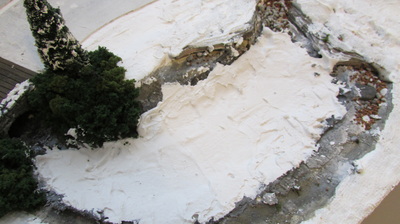
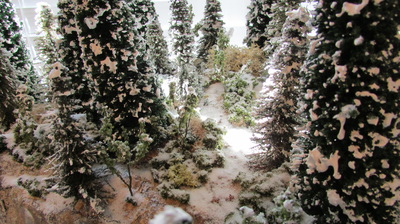
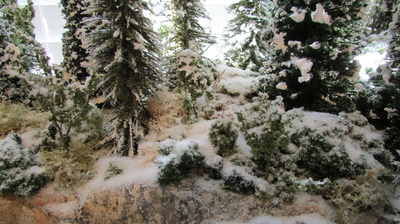
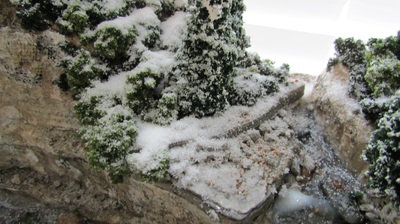
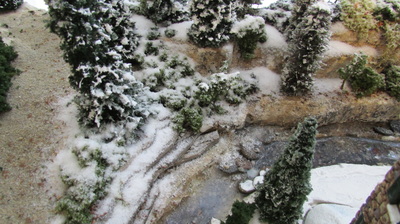
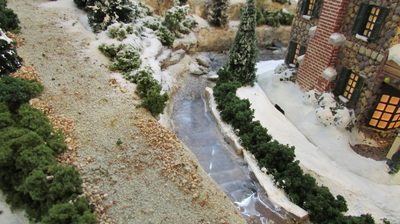
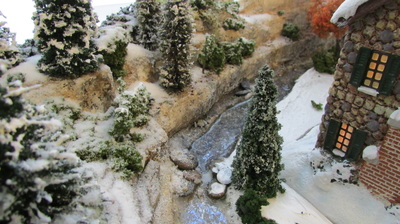
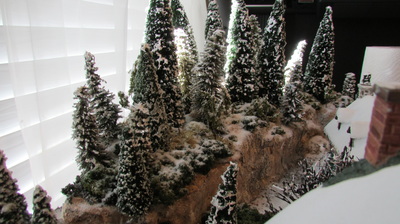
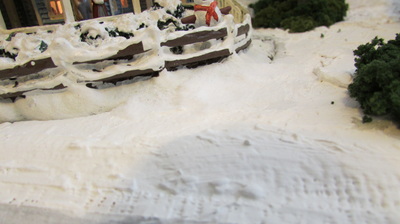
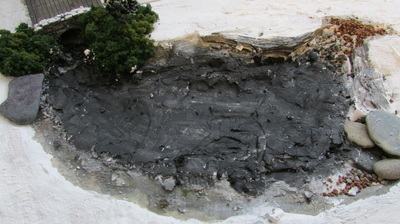
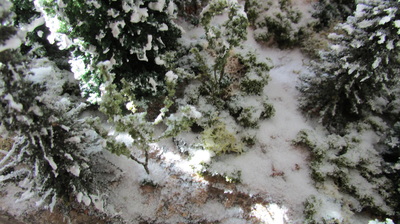
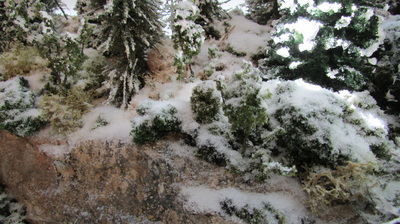
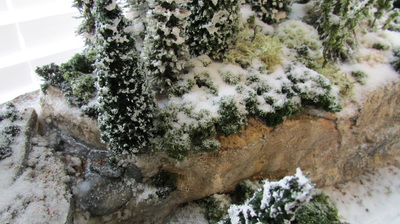
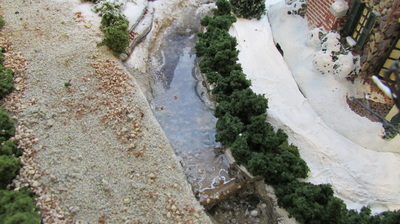
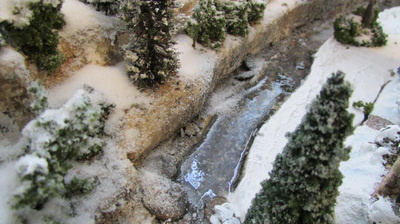
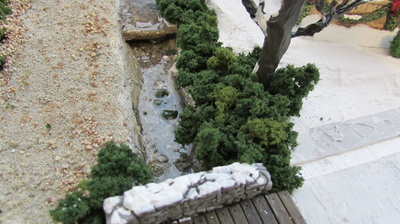
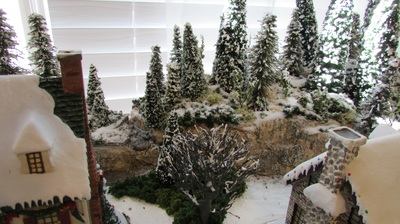
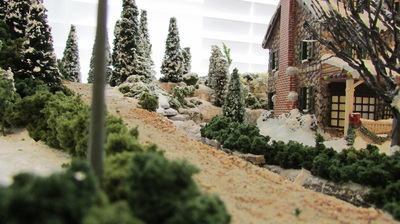
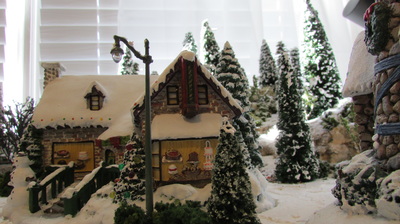
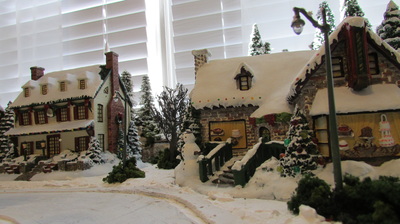
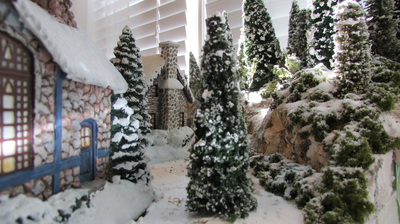
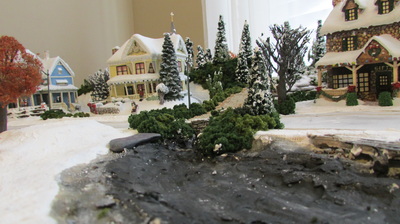
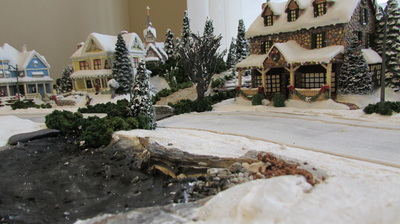
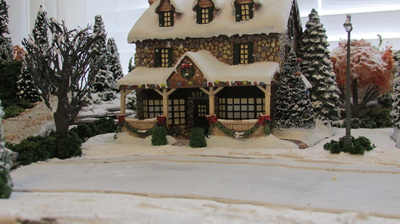
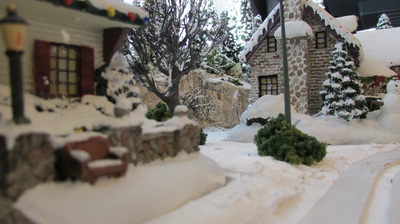
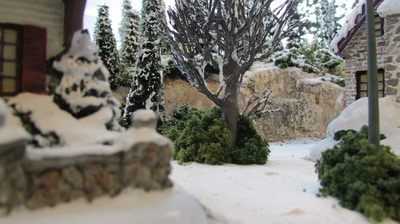
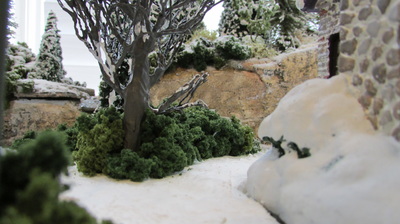
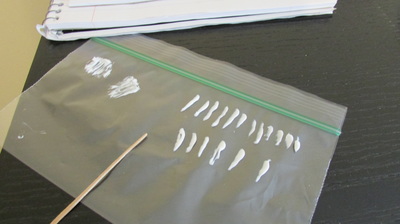
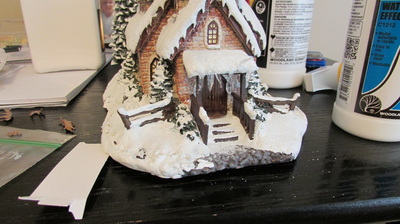
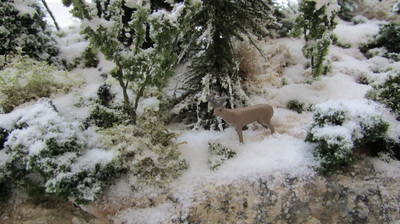
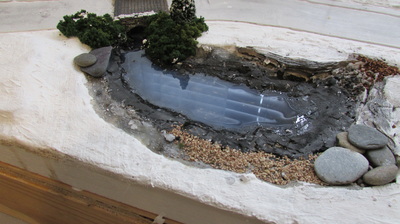
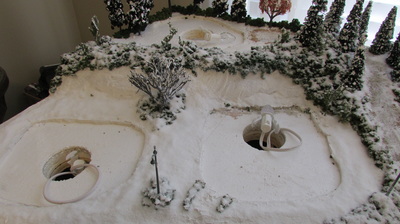
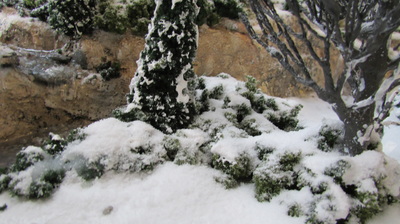
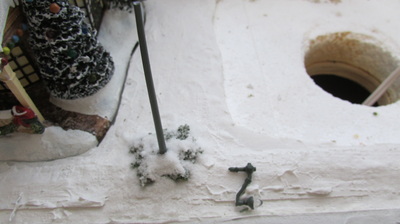
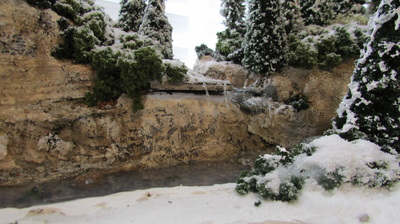
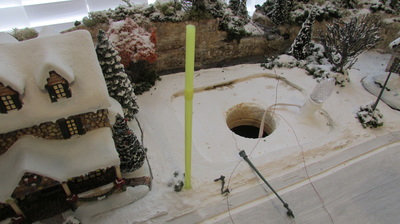
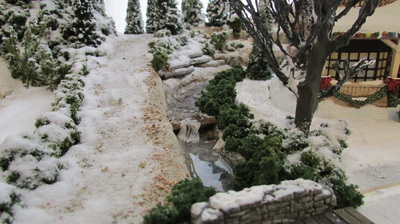
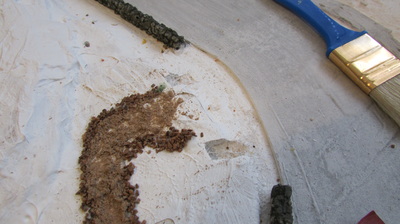
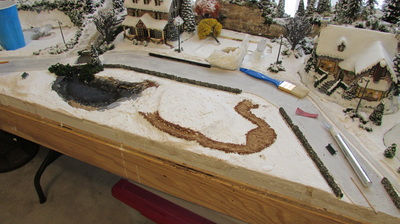
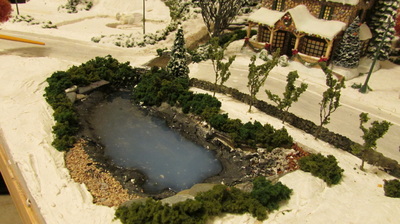
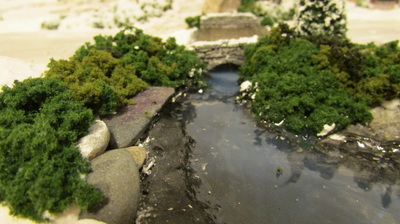
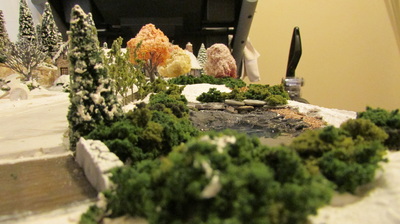
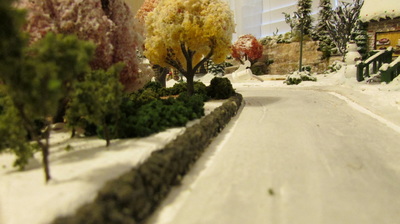
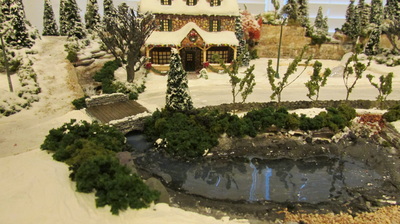
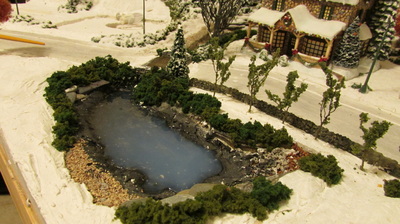
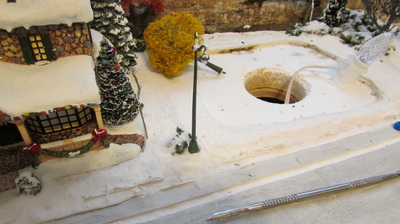
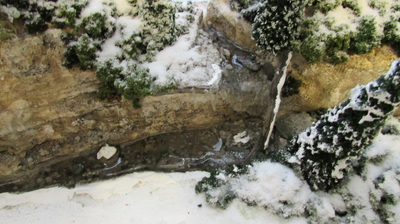
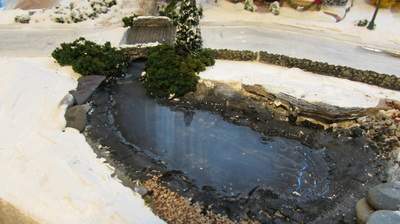
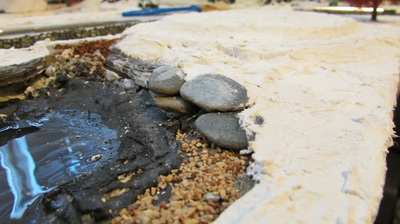
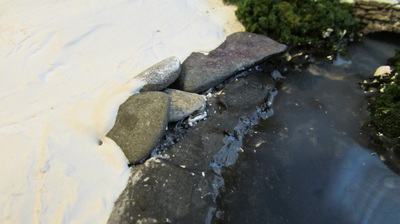
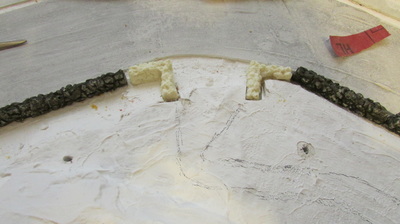
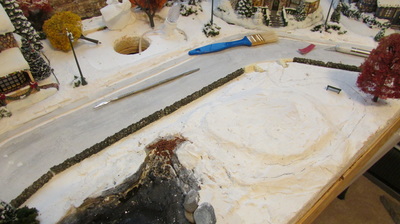
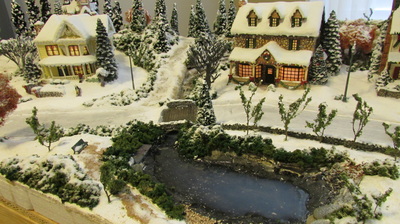
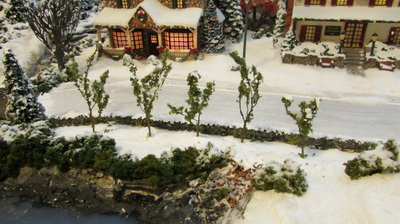
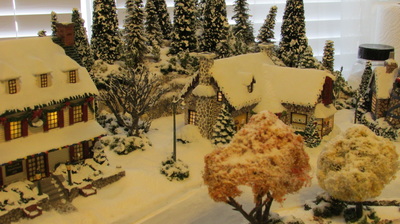
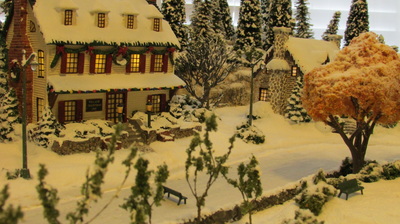
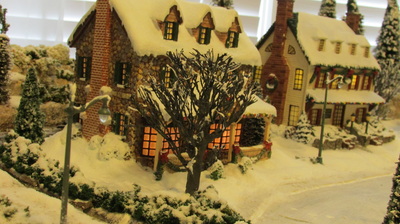
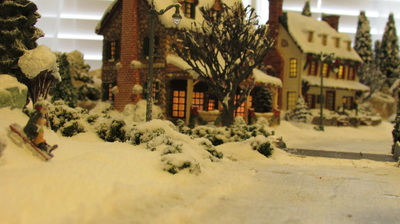
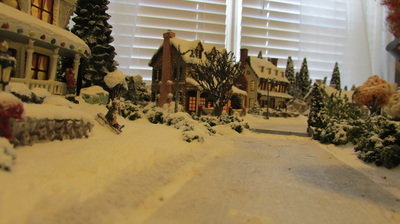
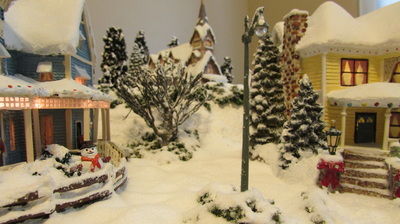
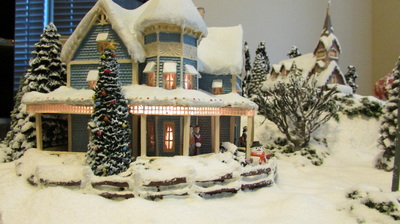
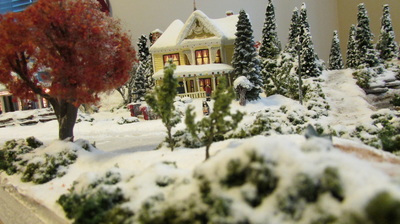
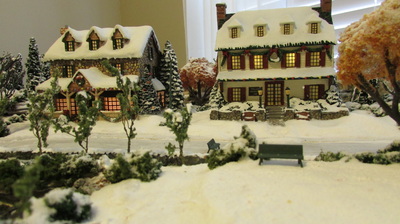
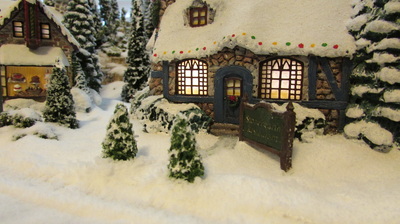
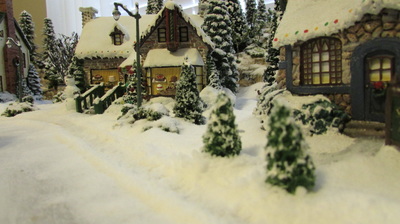
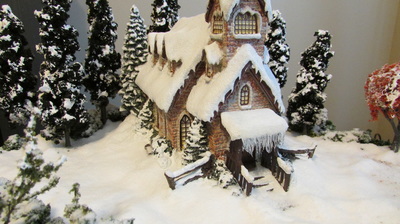
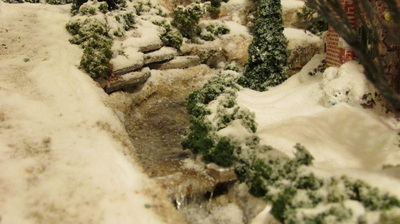
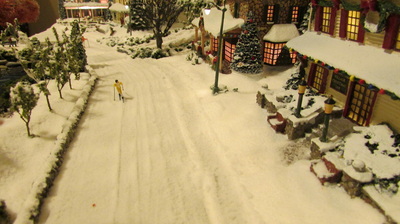
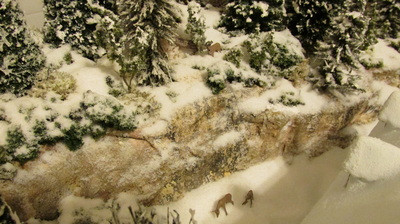
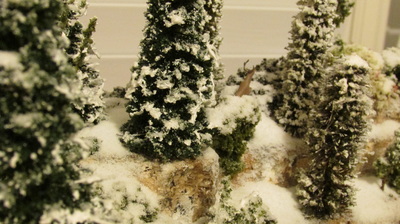
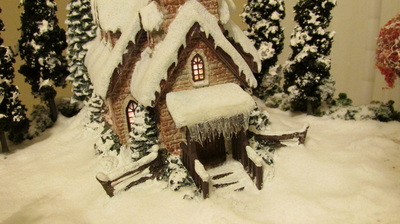
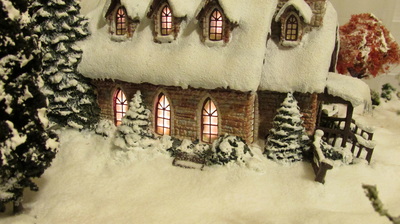
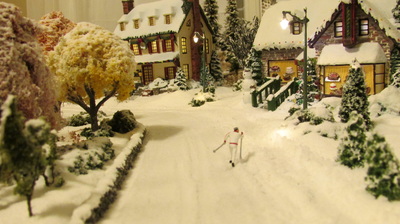
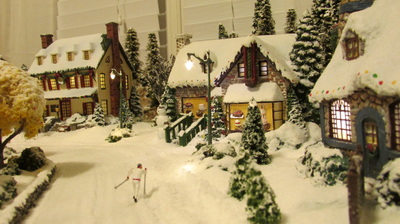
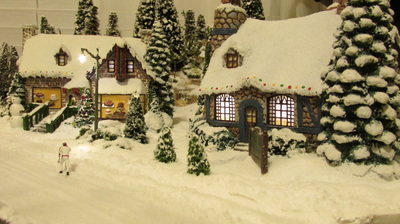
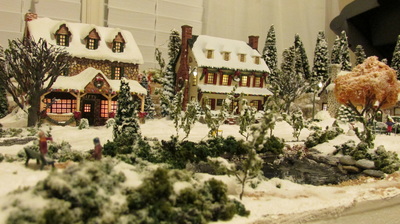
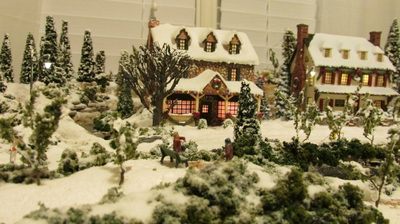
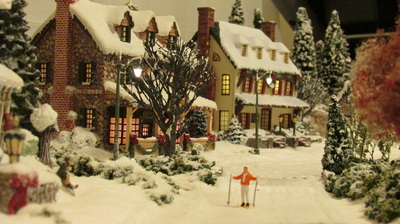
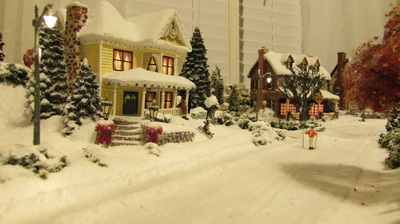
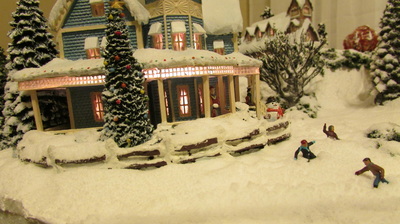
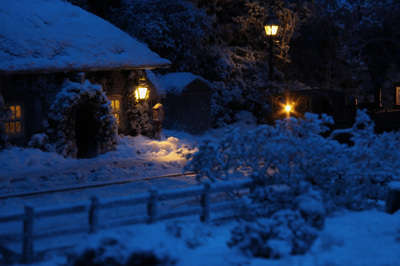
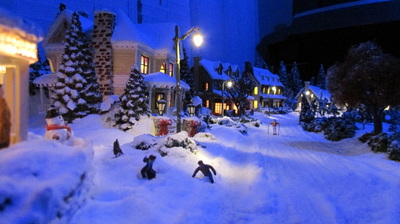
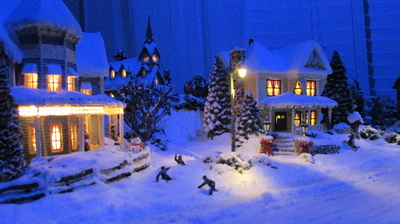
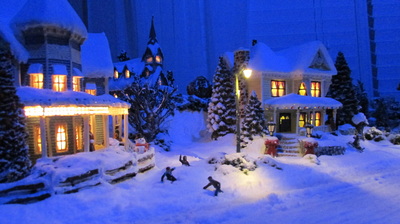
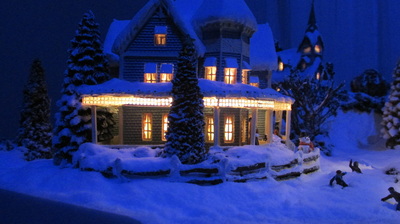
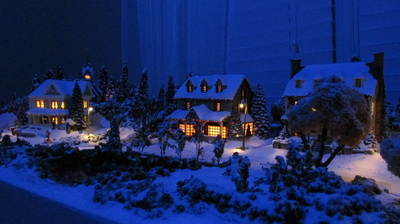
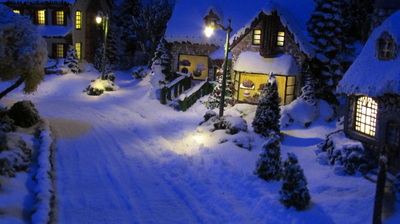
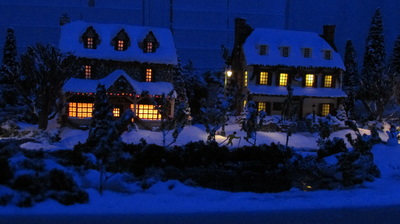
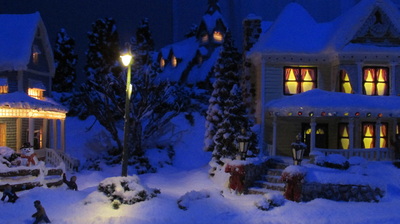
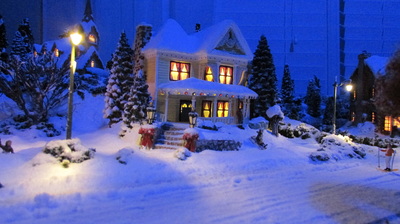
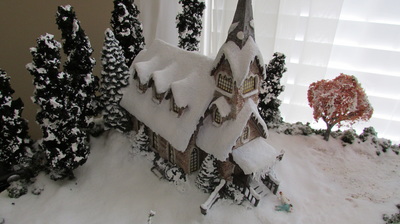
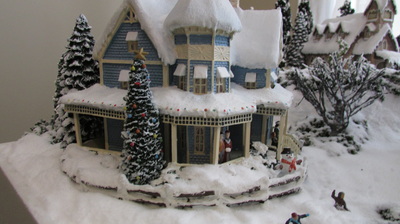
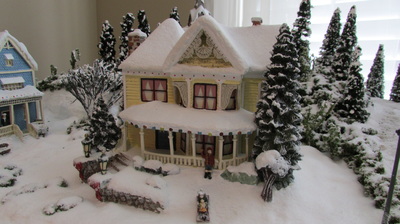
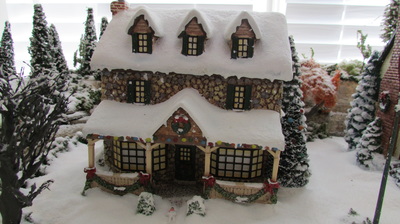
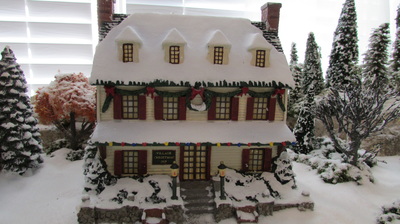
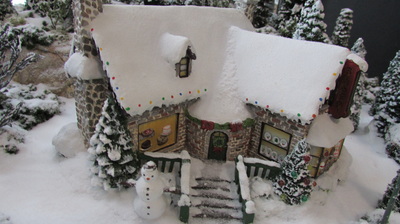
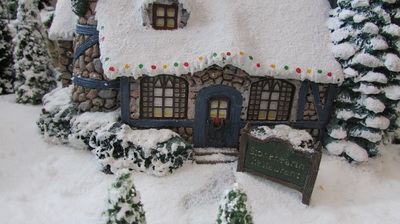
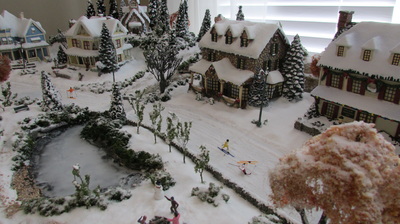
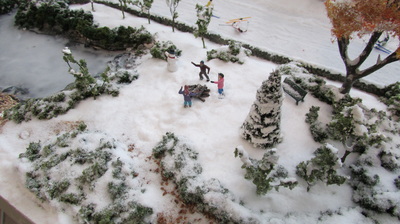
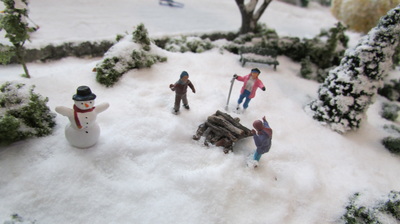
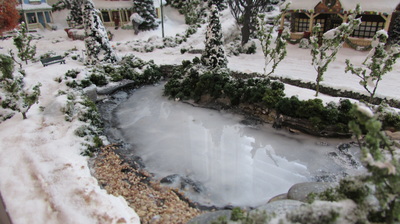
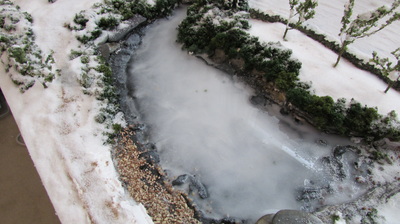
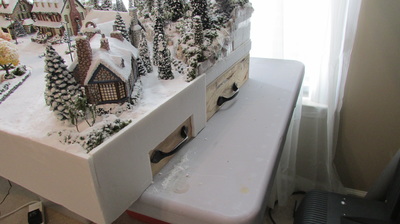
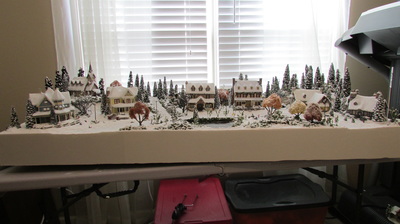
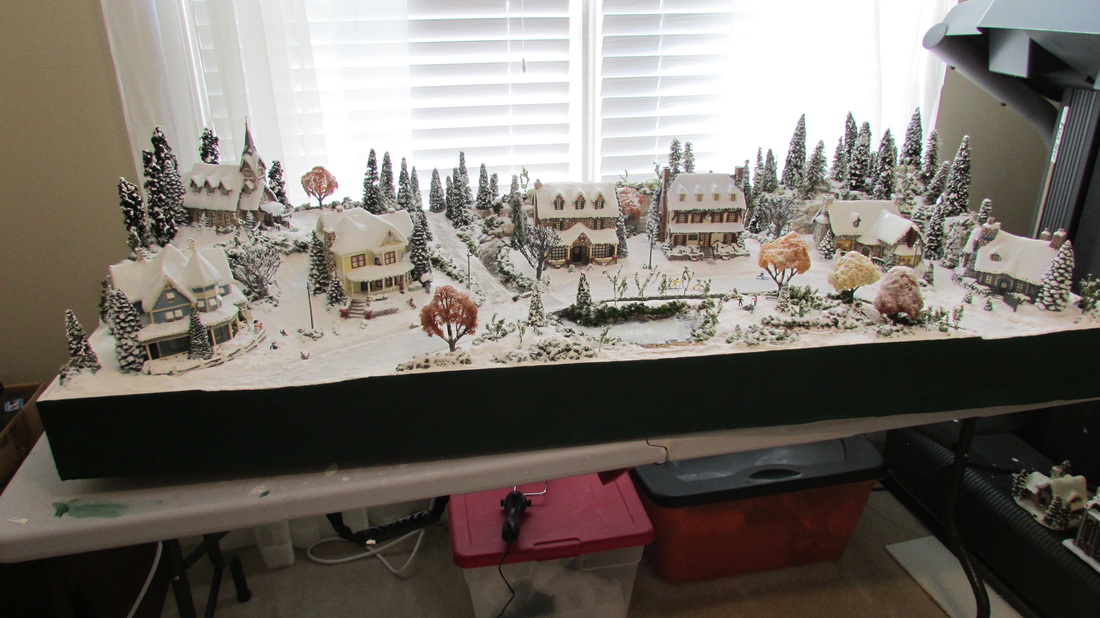
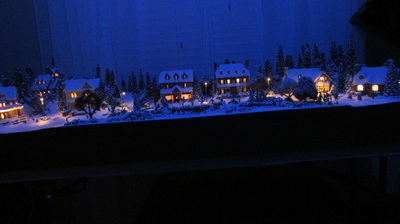
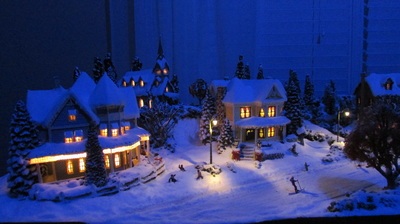
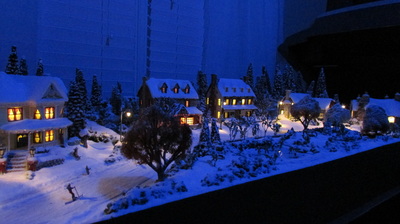
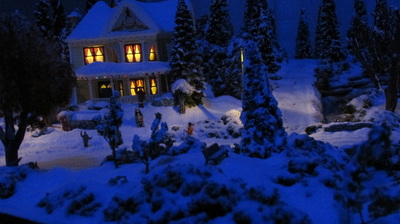
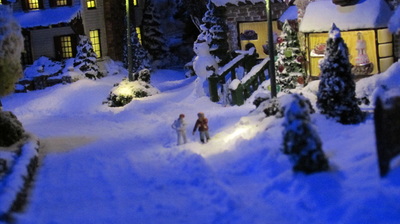
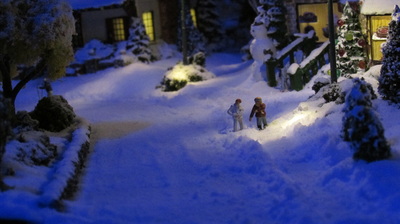
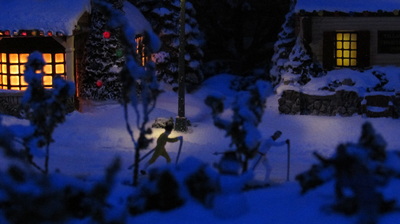
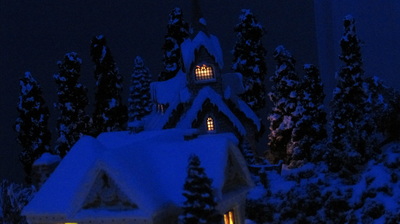
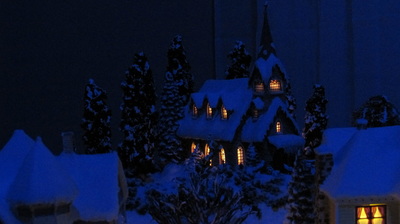
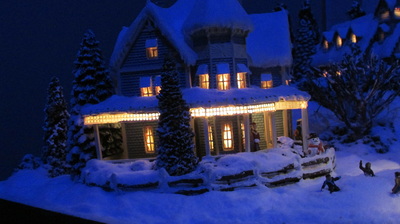
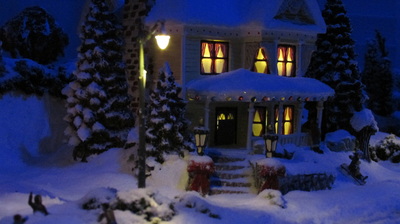
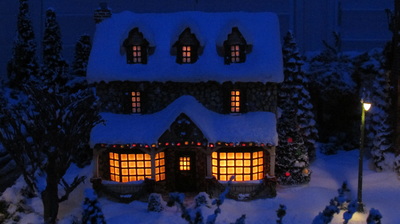
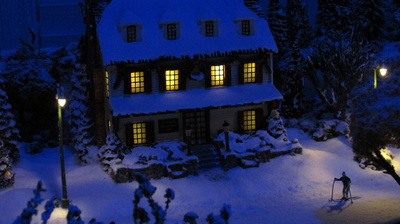
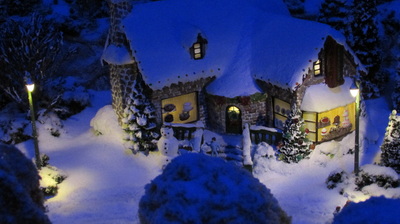
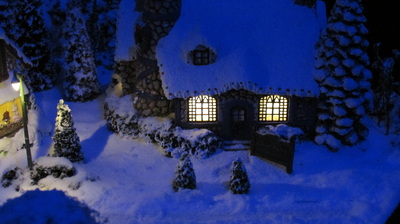
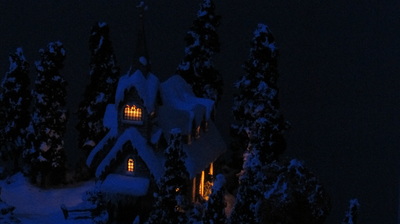
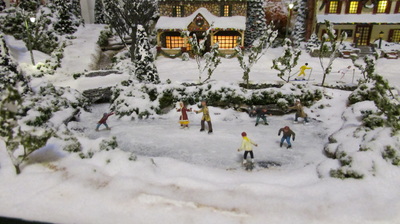
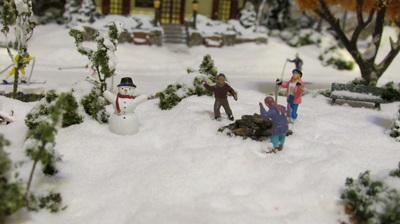
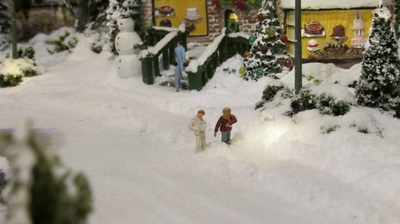
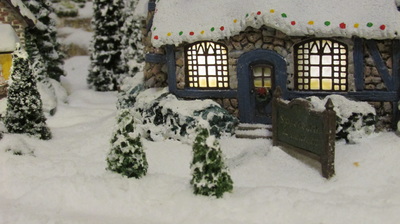
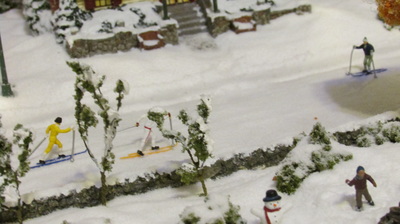
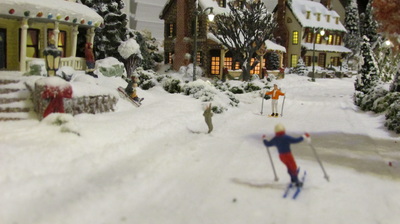
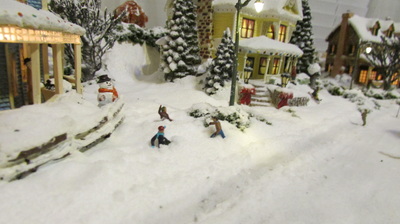
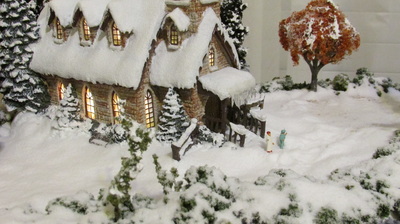
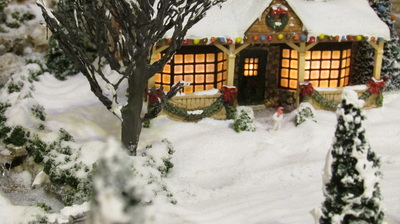
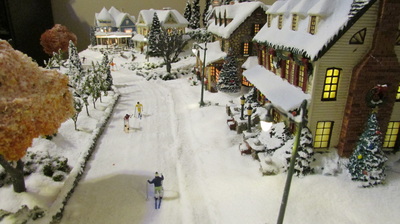
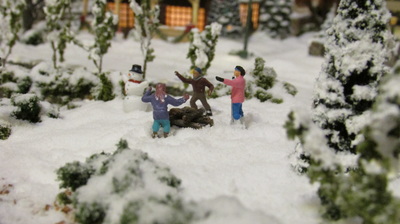
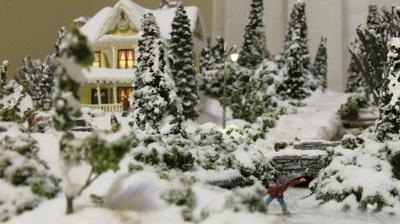
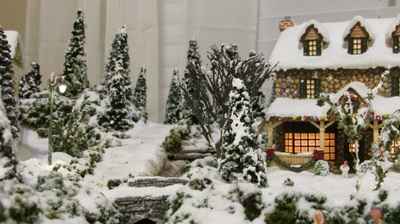
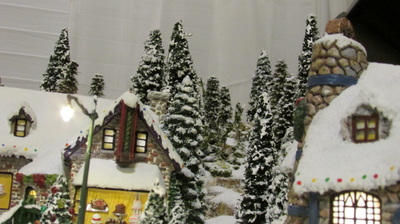
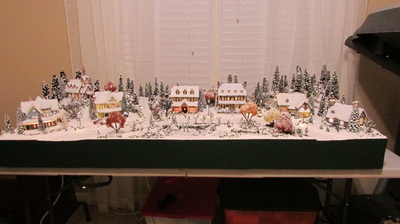
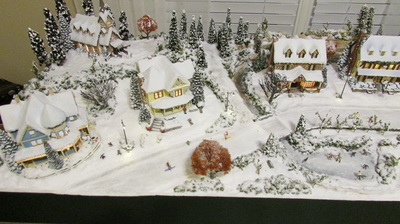
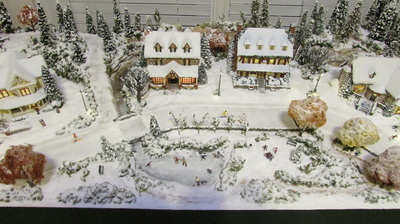
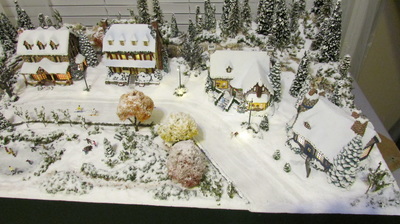
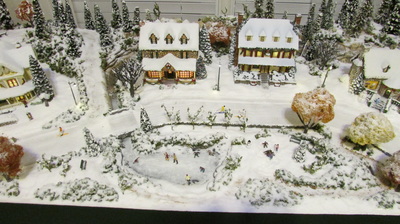
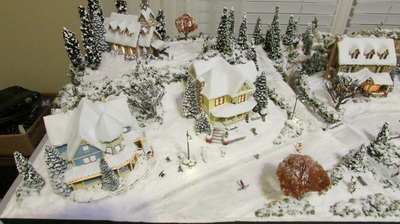
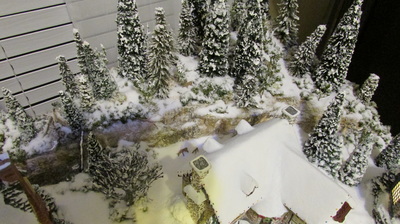
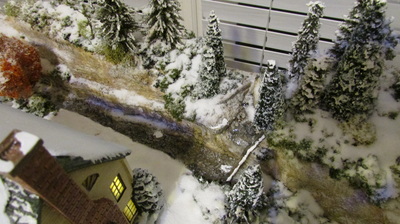
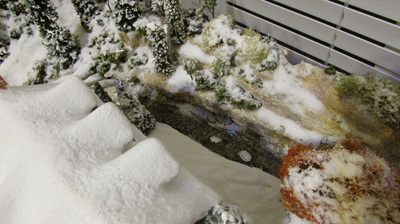
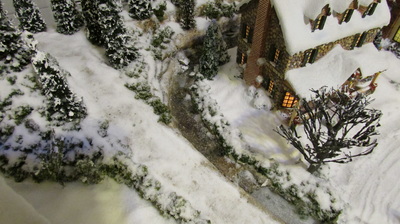
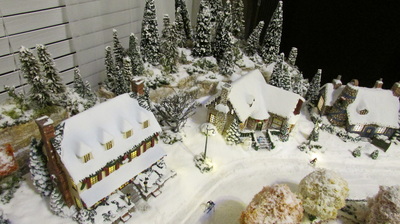
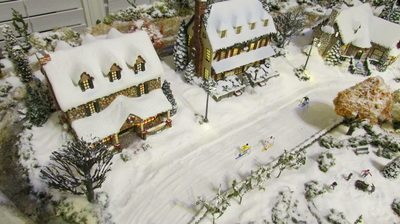
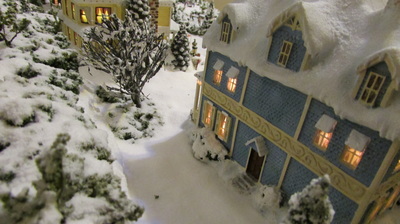
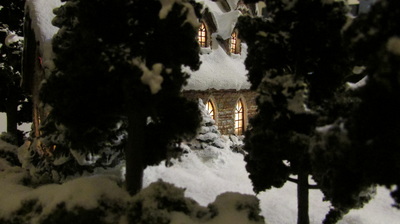
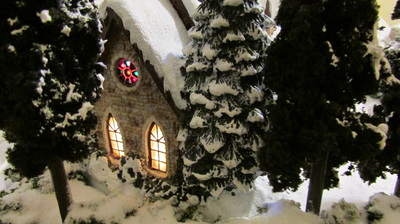
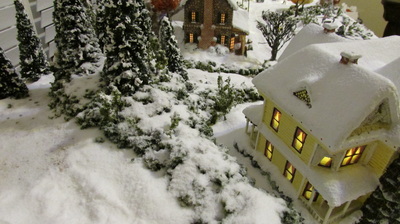
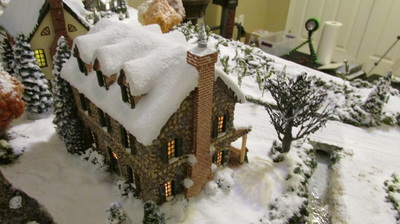
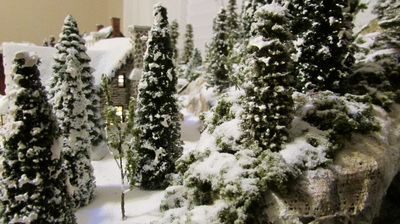
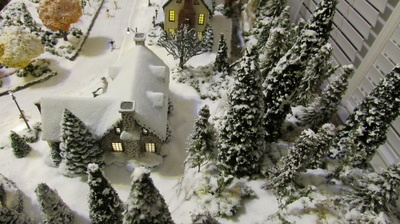
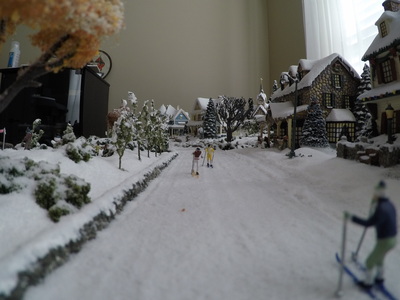
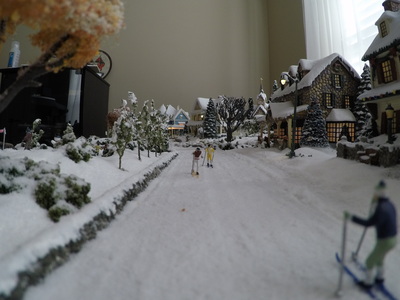
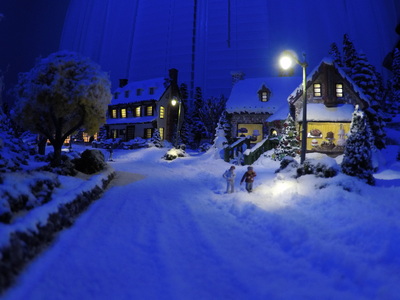
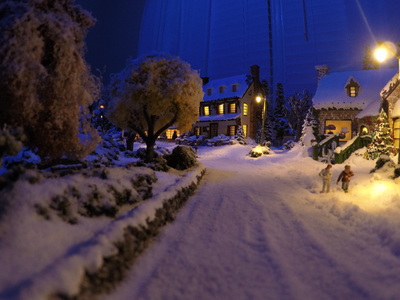
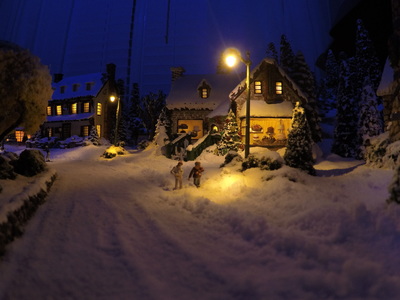
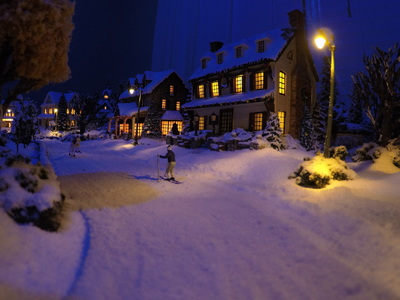
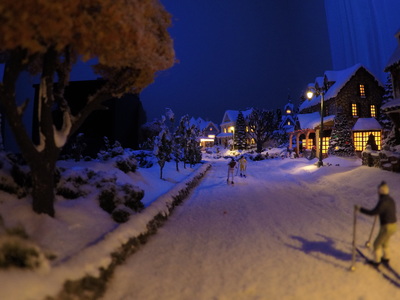
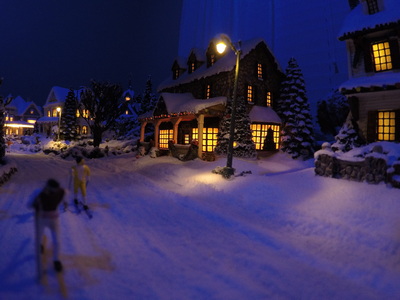
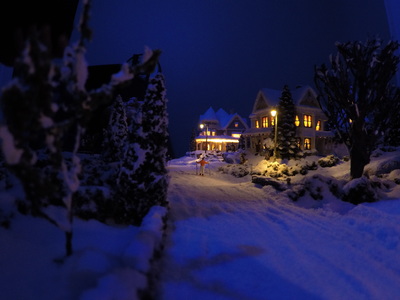
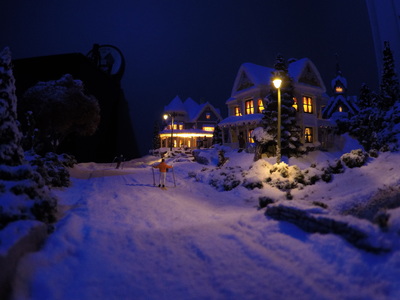
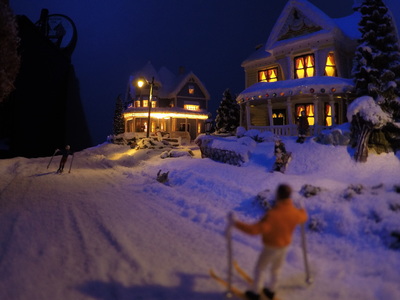
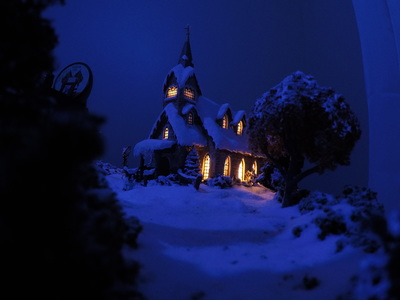
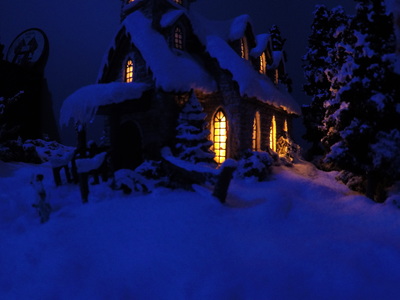
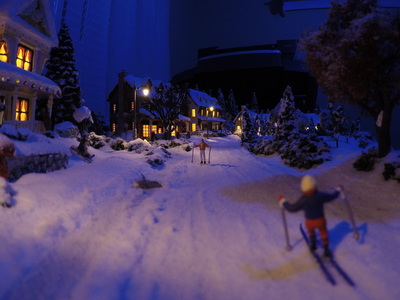
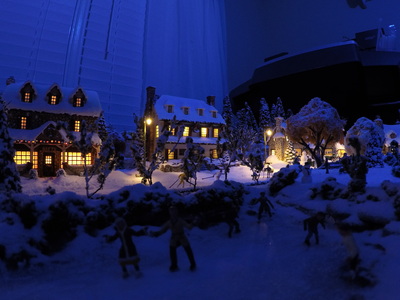
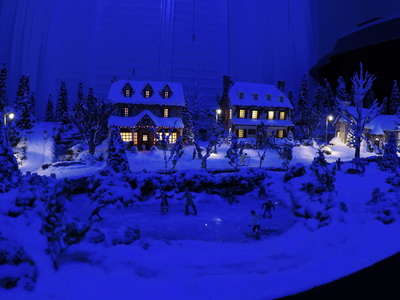
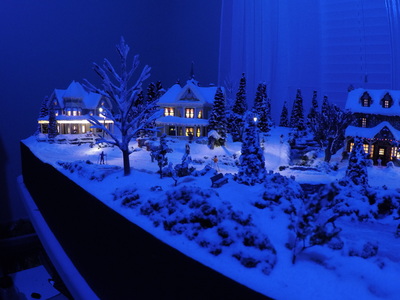
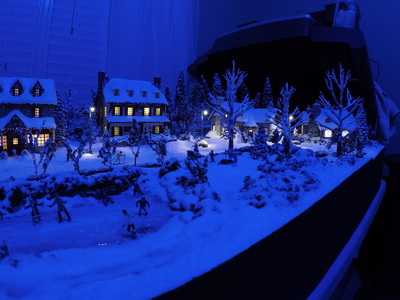
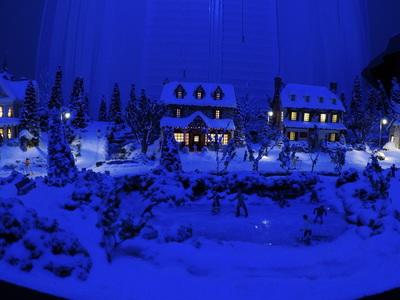
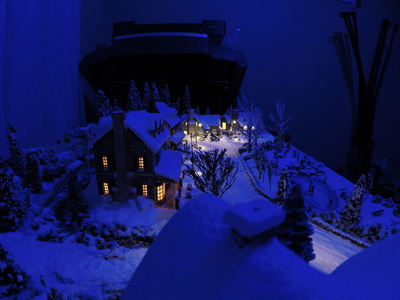
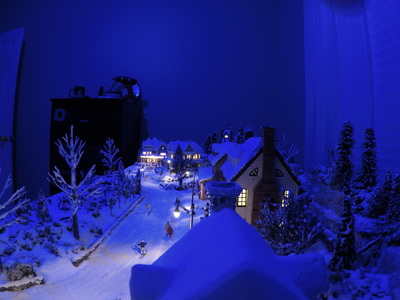
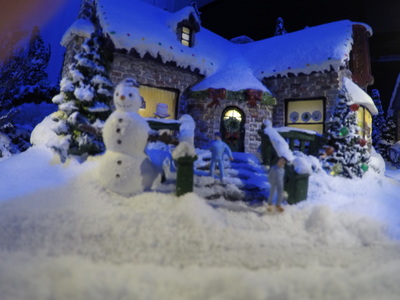
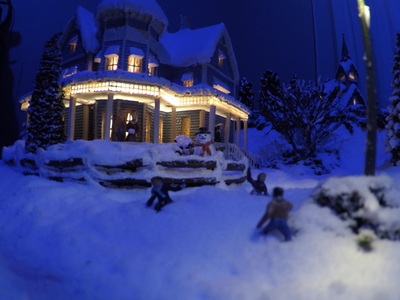
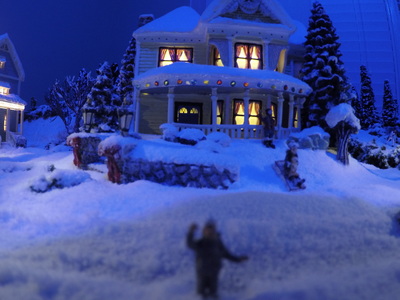
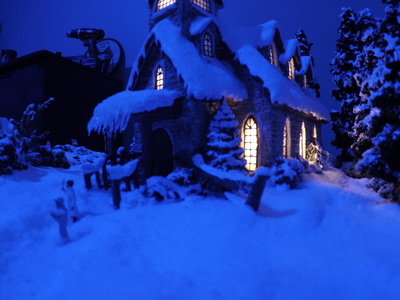
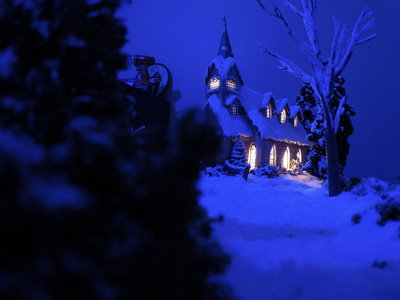
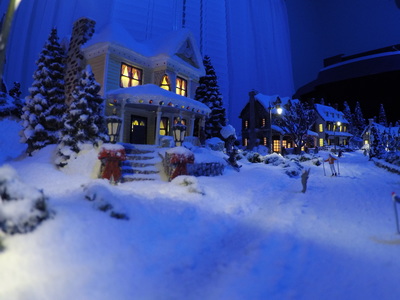
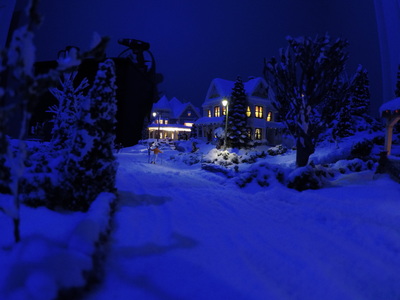
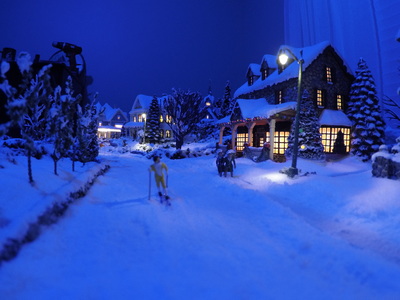
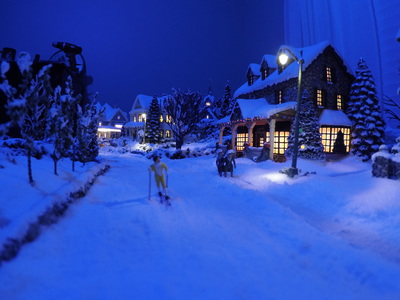
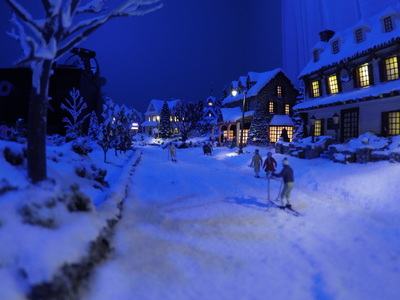
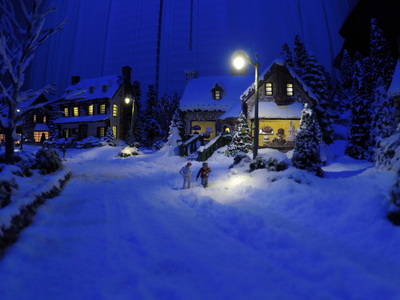
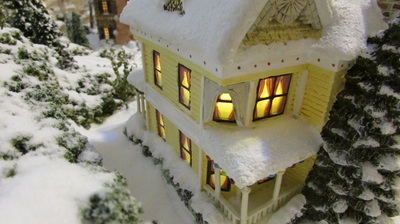
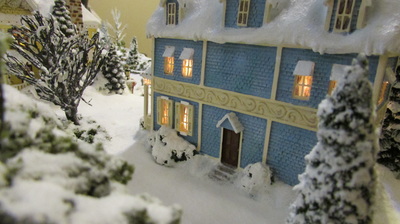
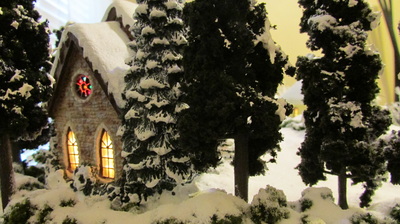
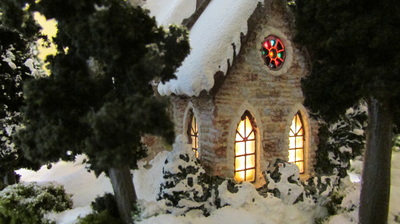
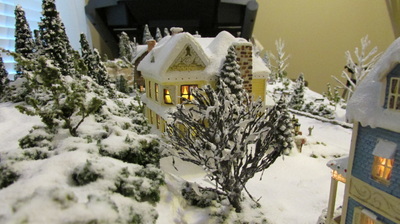
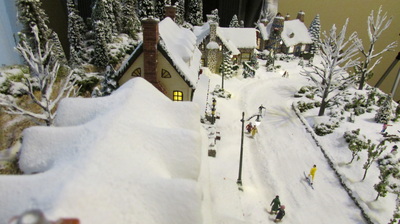
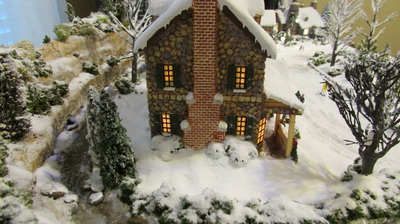
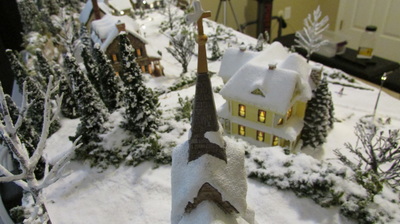
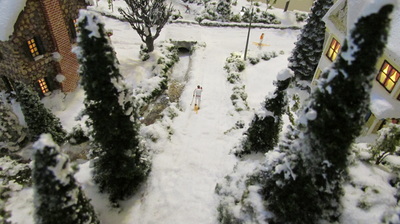
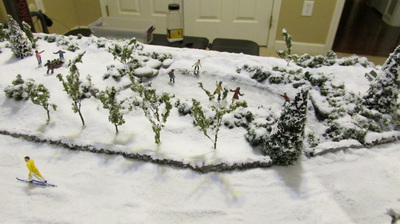
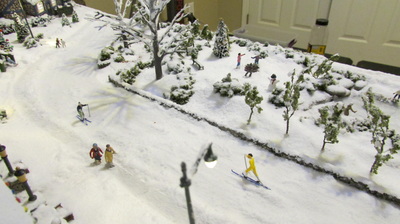
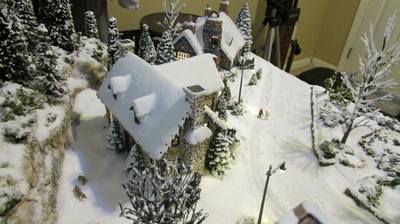
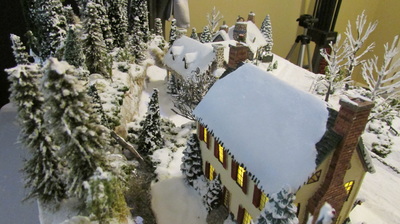
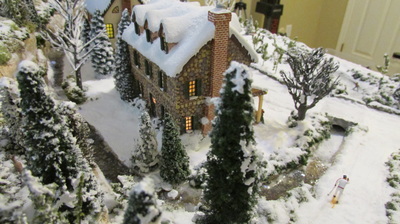
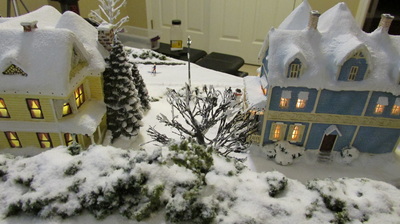
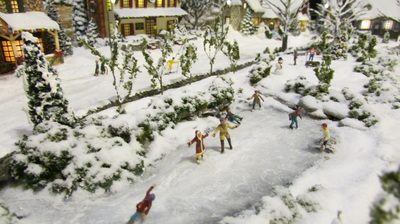
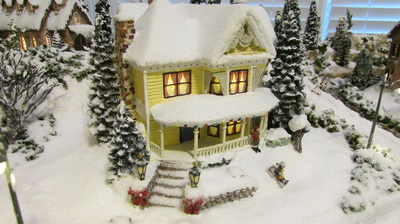
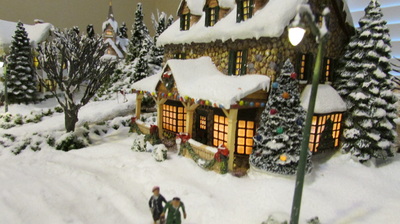
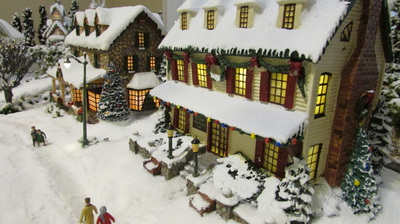
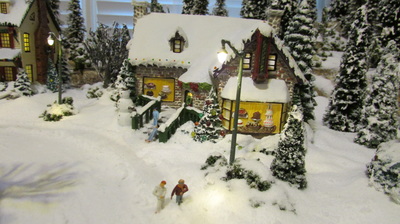
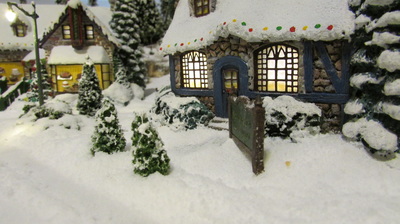
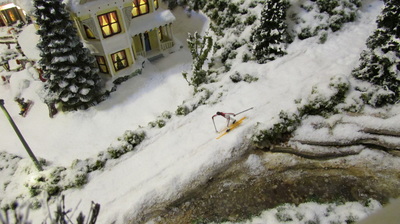
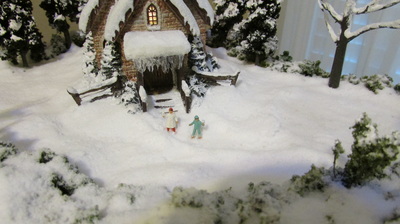
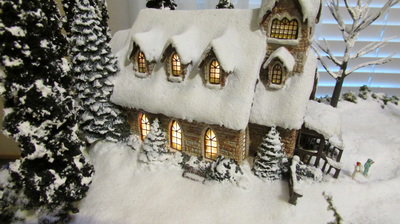
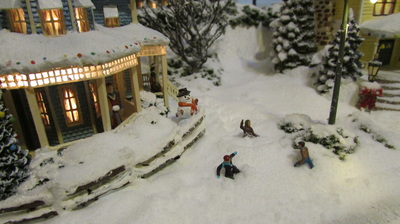
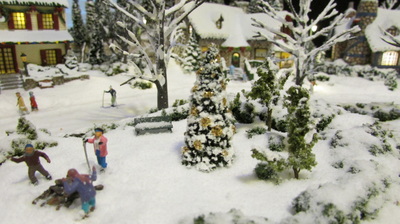
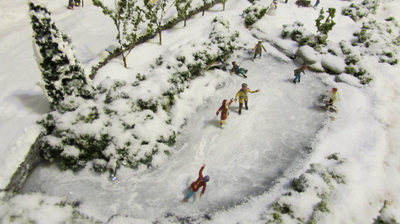
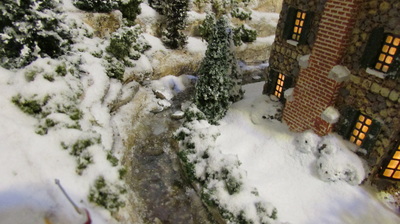
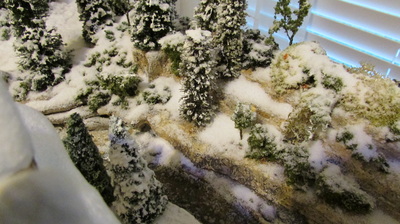
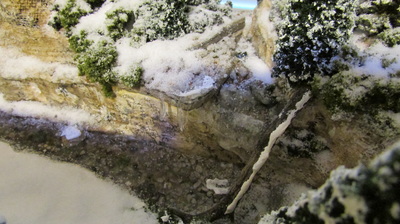
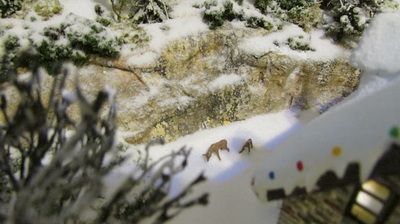
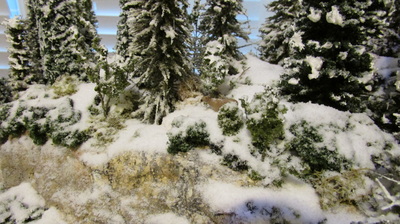
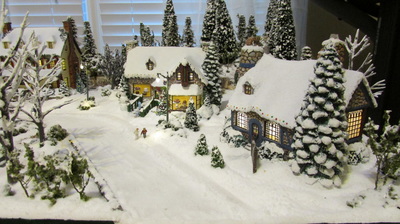
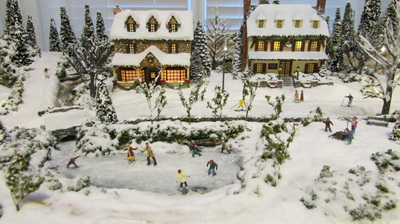
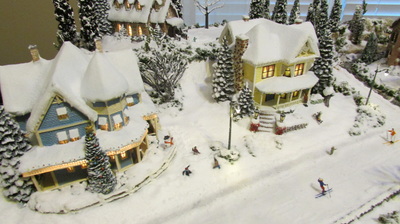
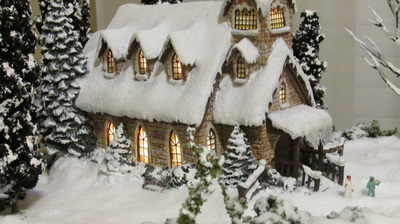
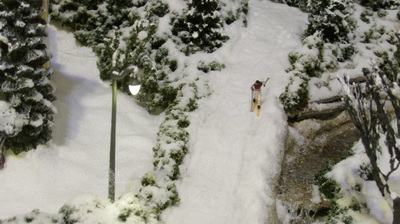
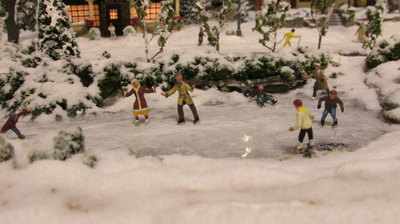
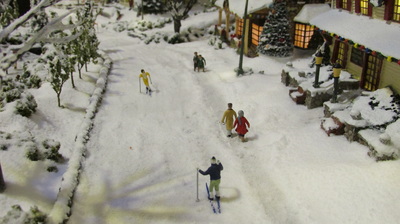
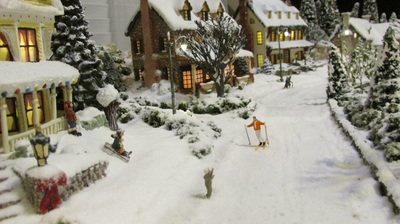
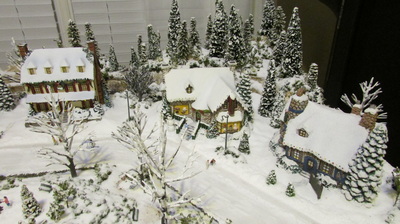
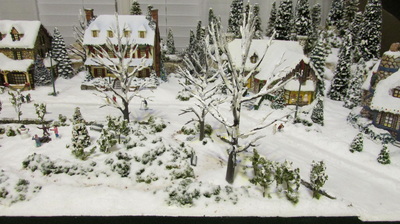
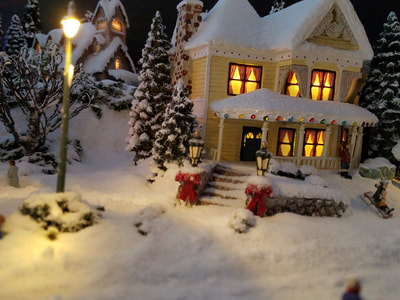
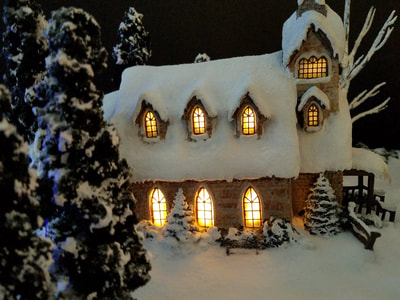
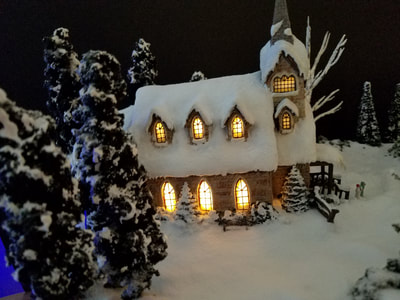
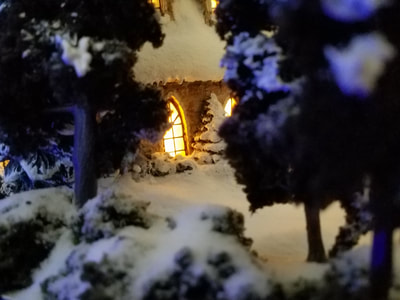
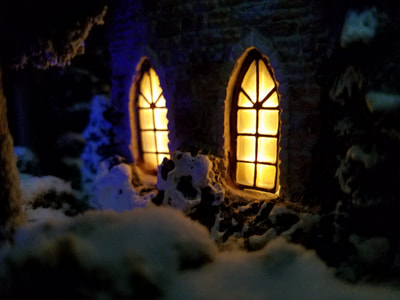
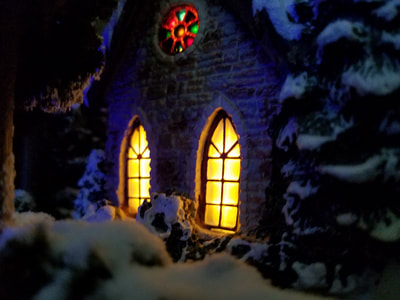
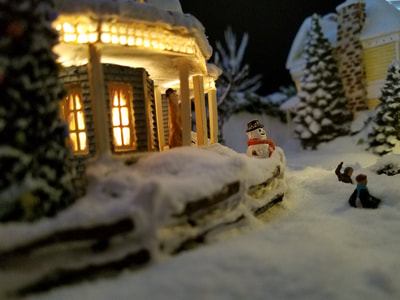
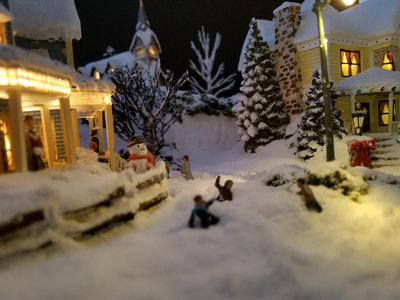
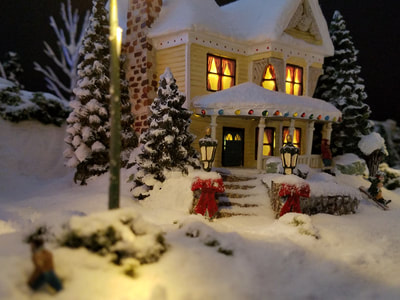
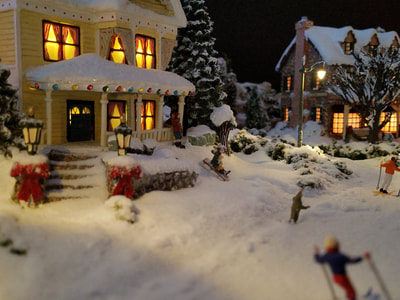
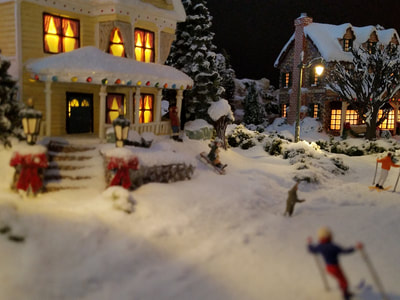
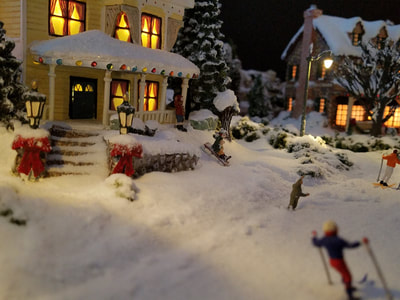
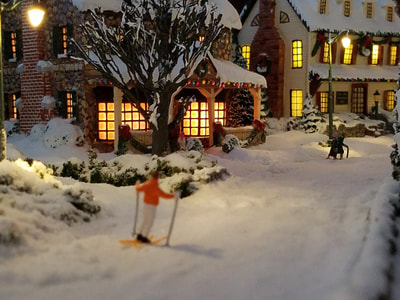
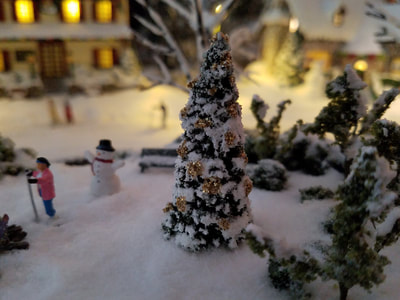
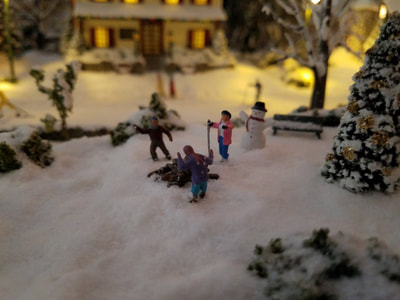
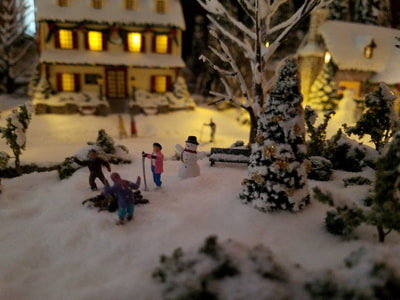
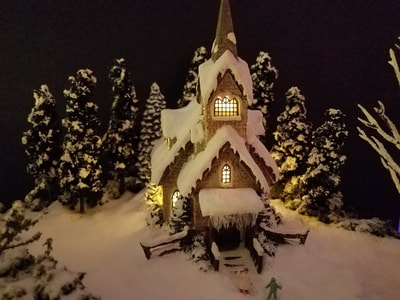
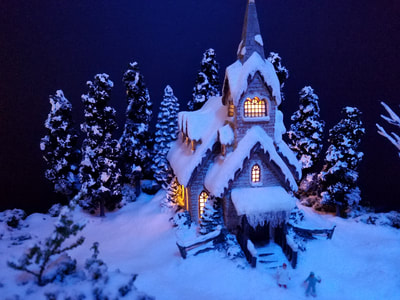
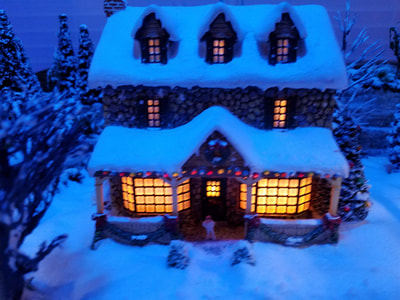
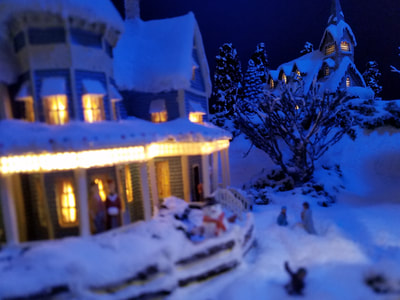
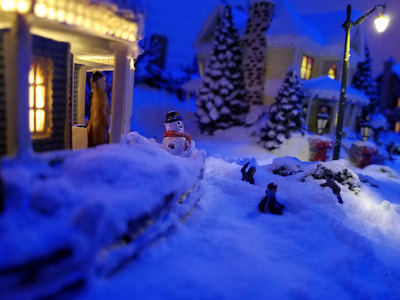
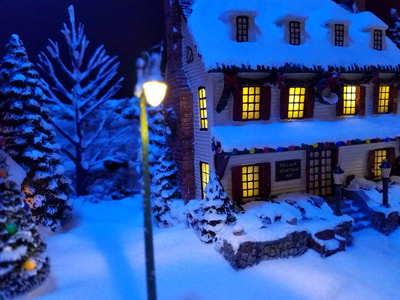
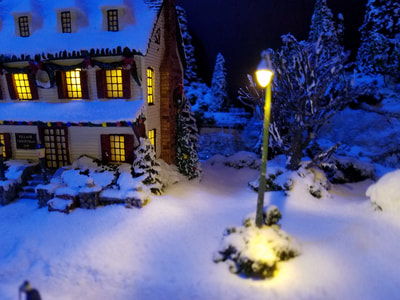
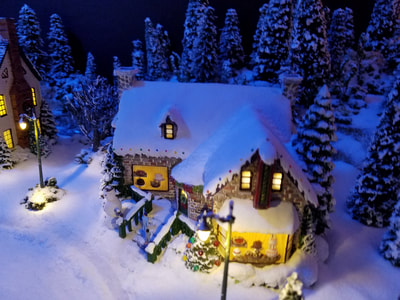
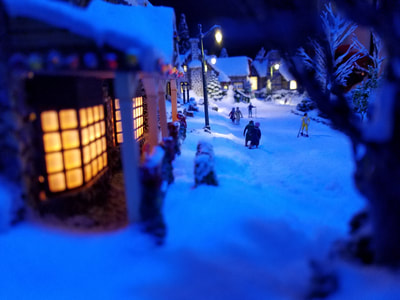
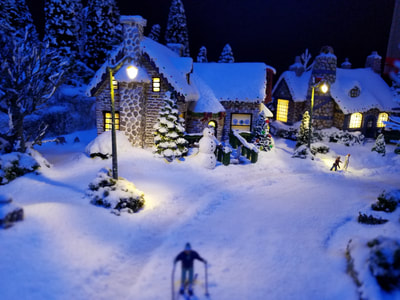
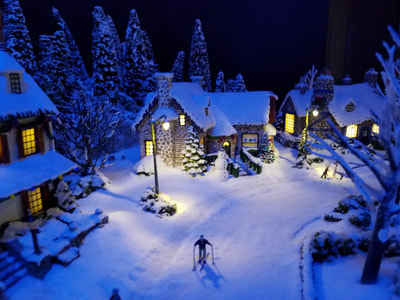
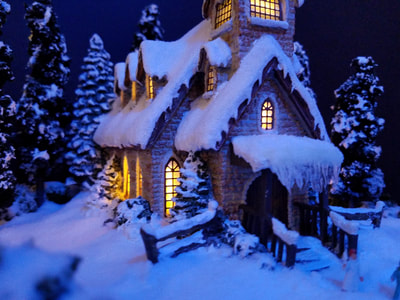
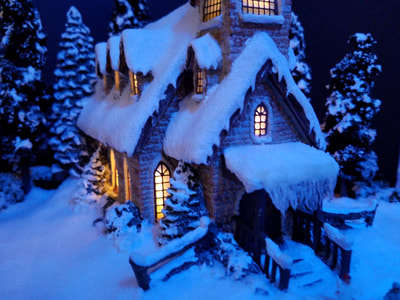
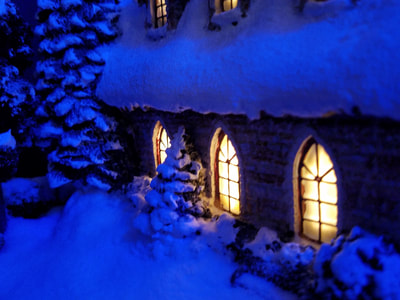
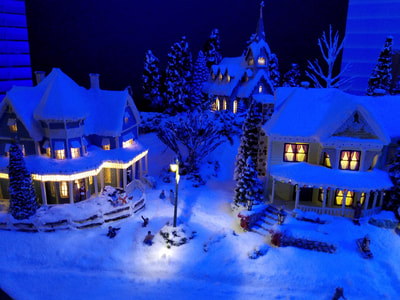
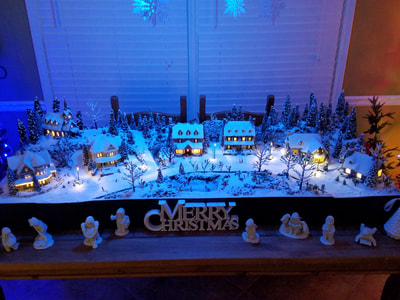
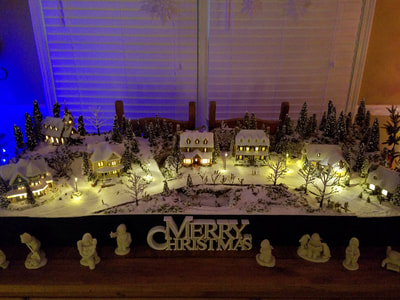
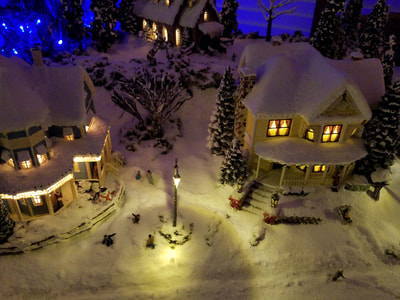
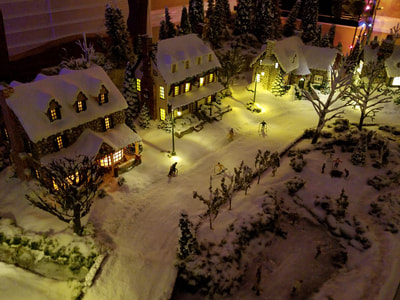
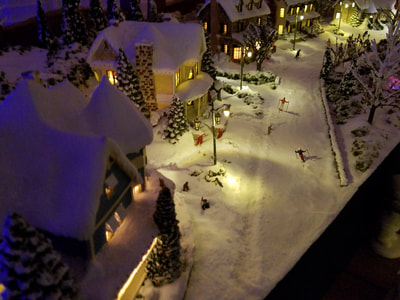
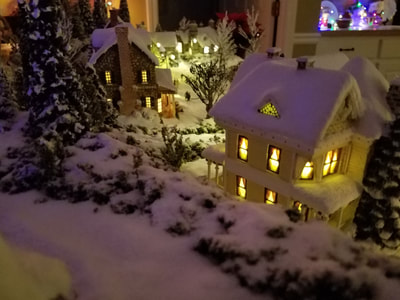
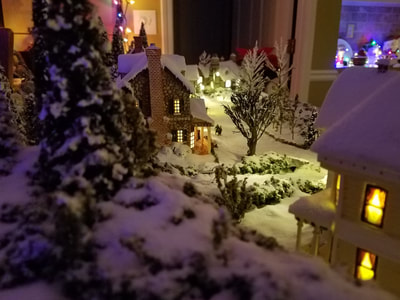
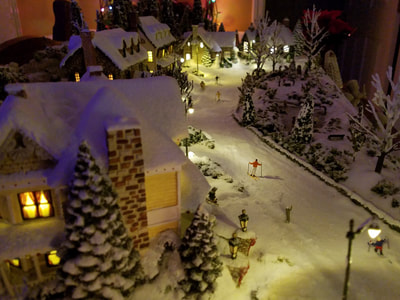
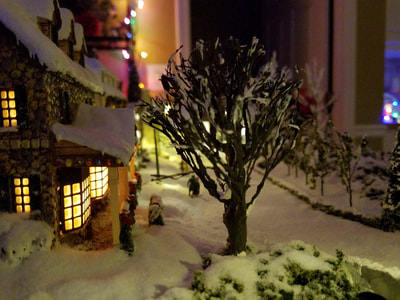
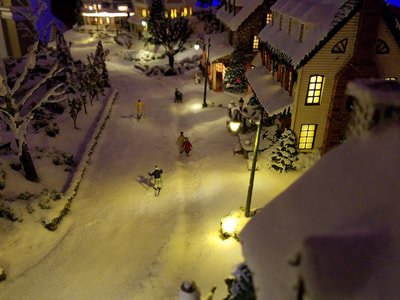
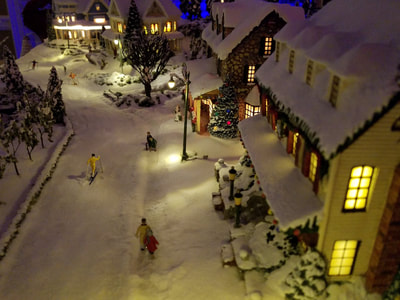
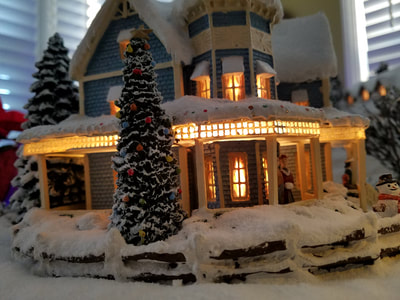
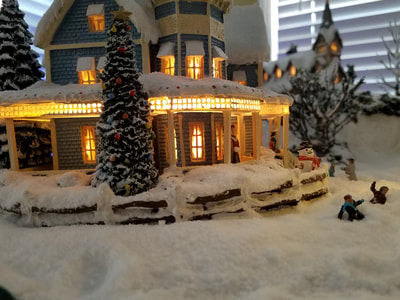
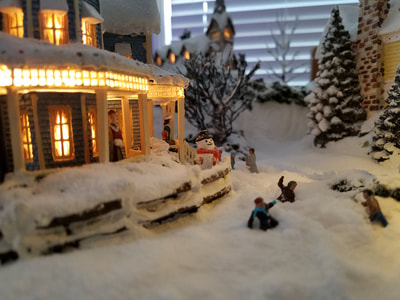
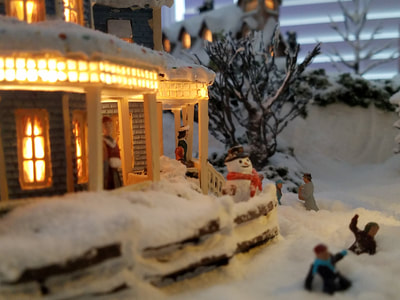
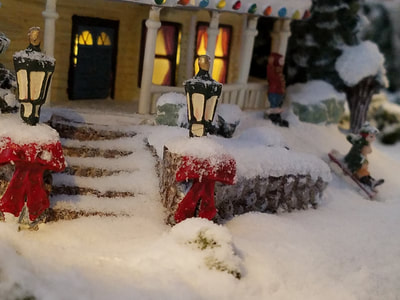
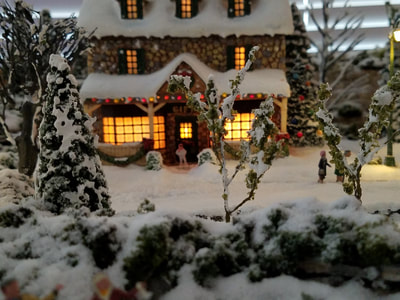
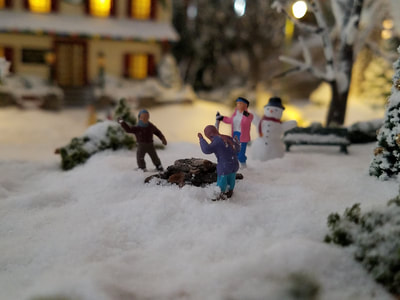
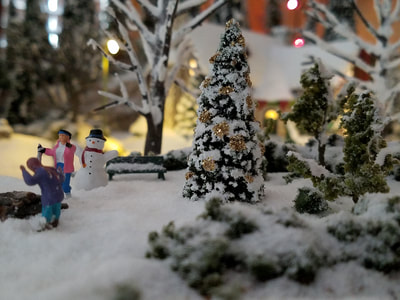
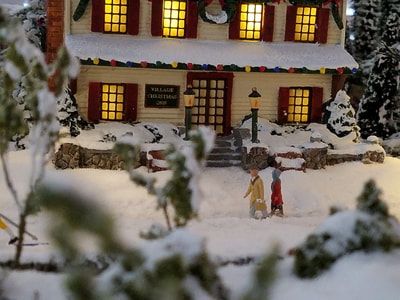
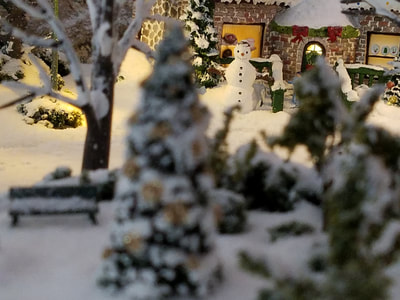
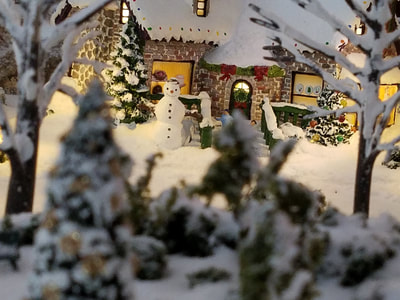
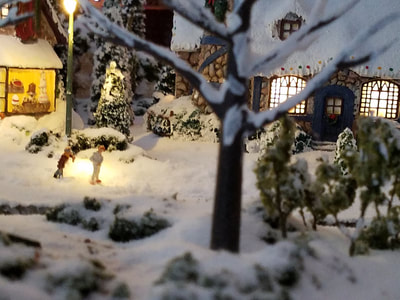
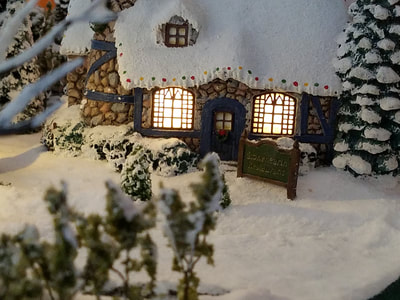
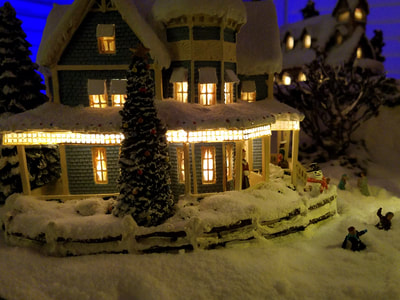
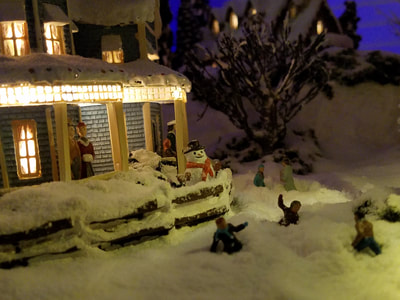
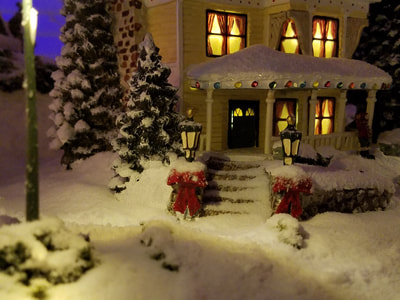
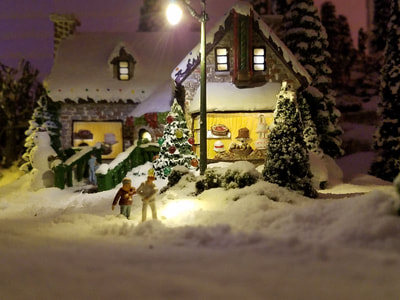
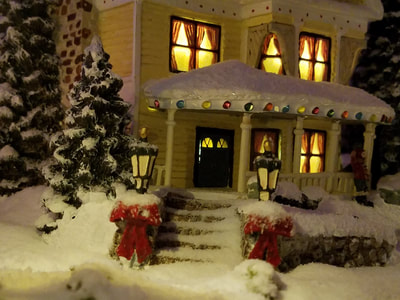
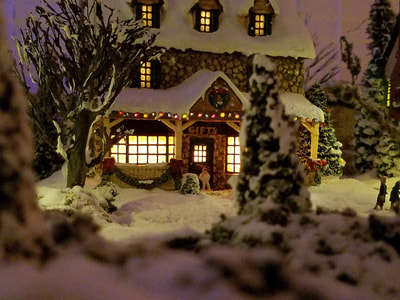
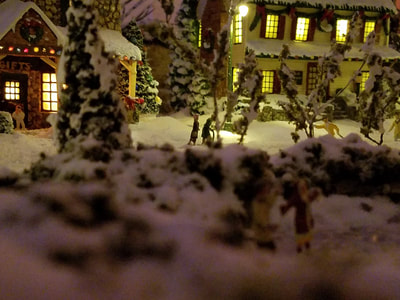
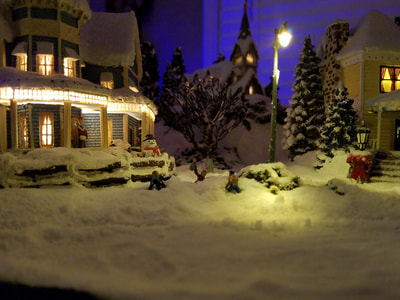
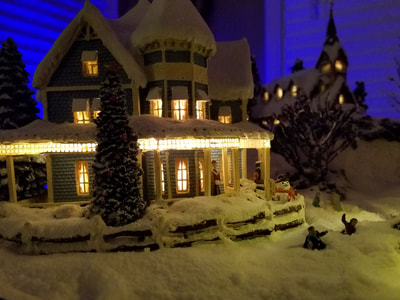
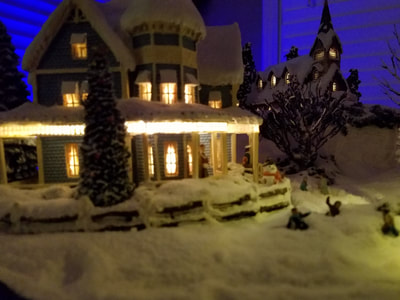
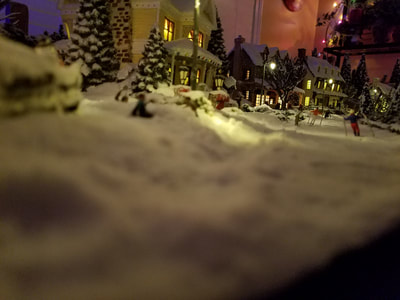
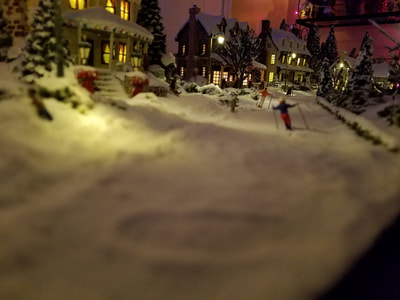
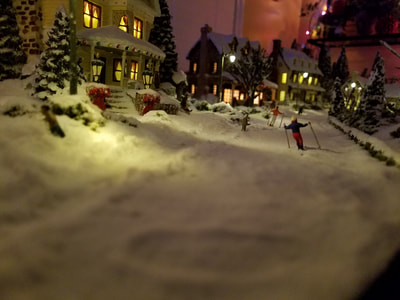
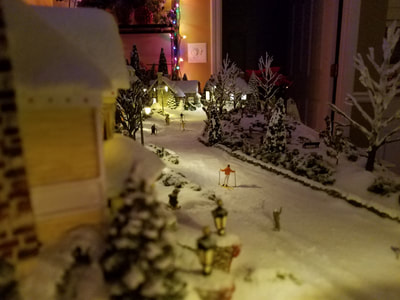
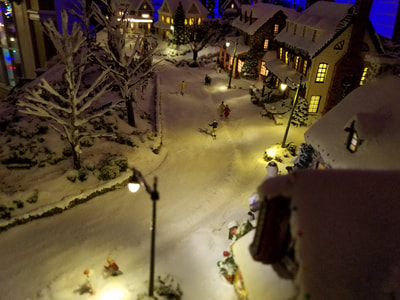
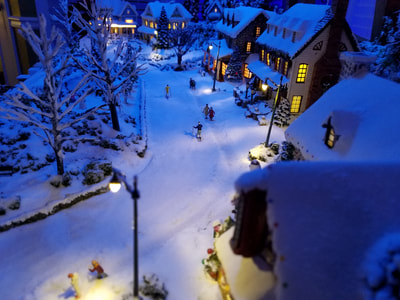
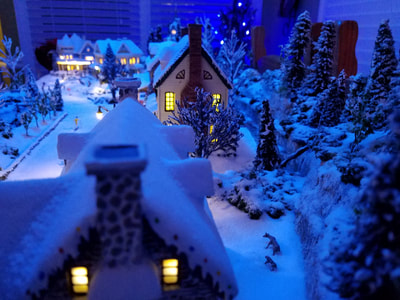
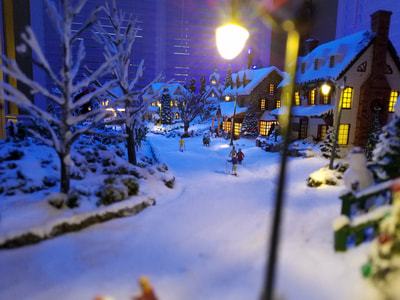
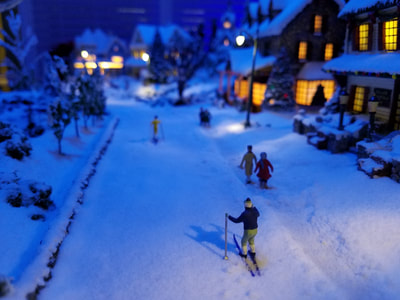
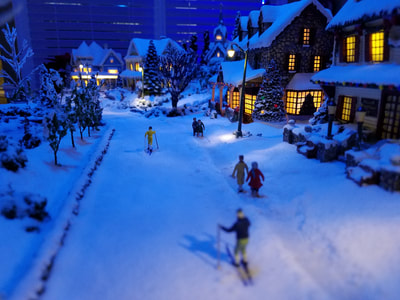
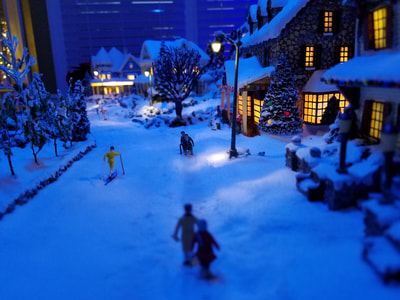
 Walking down a snowy street Walking down a snowy street EDIT: Latest pictures have been added at the bottom of the post. I apparently have more hobbies than I thought I had. :-) My wife and I bought a bunch of Thomas Kinkade Hawthorne Christmas Village houses and buildings off of eBay to use as a Christmas display. We put them out last year on some fluffy cotton stuff but being picky like I am, I just wasn't satisfied with that look at all, I wanted something that looked "real". My interest in model trains goes back to when I was a kid, and I had started looking at creating a detailed and realistic train layout when I remembered the Kinkade houses. I started searching the internet for some examples of designs where people had used the house in some designed setting but I couldn't really find anything, so I started thinking about creating my own winter scene. So....here is where I'm at. First, I've never done anything like this before, so it was all new to me. Second, I spent a lot of time watching videos, reading up on materials, finding examples, and collecting images of scenes I wanted to duplicate, etc. After a lot of thought and consideration, I jumped in head first. And yes, I have messed up and still messing up. :-) The great thing is that if you don't like something, you rip it out and start over. The Kinkade houses aren't exactly HO scale, but that's the closest scale to what the the houses are, so that's what I used. I don't have a lot of before images, but even these images are "before" as it is still in the working stage. I'll try to break these images into groups to help show the progression of the build from this point forward. I wanted to quote a piece from the Thomas Kinkade website, and it says perfectly what I was trying to capture in creating this diorama: "The look of Christmas, with its trees and garlands and twinkling lights, is of course well known. But for Thomas Kinkade, the challenge in painting Christmas scenes was capturing the spirit of the holiday – the warmth, the joy, the good fellowship and family feeling. He loved the contrast of the cold gleam of moonlight on snow with the warm radiance of golden light pouring through the windows of a festively decorated cottage. That golden glow is truly the light of love." These are some of the images that I used to help me in the inspiration and design of the Christmas Village, and of course they are all Thomas Kinkade paintings. I tried to incorporate as much of his scenes as I practically could into the diorama. This first group of images were taken after some very basic landscaping had been done. The original pond had to be redone when I realized that its elevation was higher than the stream that was feeding it. :-) I blame the clown that is working on it now... :-). I may need to redo it again as I probably dug it too low this time. :-( I'll get it right eventually. I created a wooden frame for the base and glued sheets of foam over the top and the dimensions are 60"x24". The elevated areas were created using wads of paper and plaster cloth along with pieces of foam cut to shape. Almost all of my supplies comes from Woodland Scenics and they probably have the most complete set of supplies and materials anywhere. Not only that, they have tons of how-to videos that show you how to use their products. There is no way I could do this without those videos showing the way. 10/10/16 - Busy Weekend Much more accomplished this weekend. Most of the landscaping except for the park area is done, although I find myself going back and adding and enhancing what I thought I had already completed. Can't help myself. :-) I've started adding the realistic water to the layout but it has to be added in layers so it's a slow process. I should have used a different water product and I still may on certain sections. And while it may look like snow, I haven't added any of that yet, that will be the last step before completion. I have used a product called Flex Paste for some of the snow areas and more will be used to create drifts etc., but the final product is powdered snow that will go over everything. When that is done, you won't be able to see where the house fits in the Styrofoam. I'm getting ready to landscape the "park", the area in the very front of the display. I've saved it for last so I wouldn't tear it up working on the other areas. The park is where the pond is located, so I'd like to get my "water" in place before I do that final landscaping. I am re-thinking the water material I'm currently using. I started by using Woodland Scenics Realistic Water, but it requires 1/8" increments and 24 hours drying time. Instead, what I should have used is Woodland Scenics E-Z Water. E-Z Water is used for deep pours and dries in 15 minutes, but it must be done in one pour. The only problem at this point is that I can't pour E-Z Water over Realistic Water. Learn the hard way. When creating the layout, you have to build it like a regular landscaped non-winter scene. All the plants, shrubs and trees have to be added before any snow can go down. The one thing I am not adding is grass, as that will be covered by snow anyway. 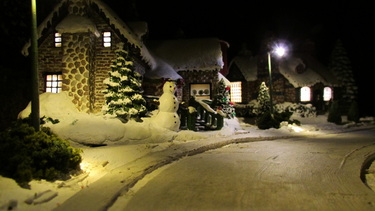 10/10/16 - Night Scenes I took some pictures with the lights off just to see how things were going to look in the dark. The houses all use a C7 Christmas light bulb for light. I've replaced some of the incandescent bulbs with LED's, but I'm not happy with the light output. I have some new ones on the way and hopefully they will work out better. The "Just Plug" street lights look awesome and cast a light that makes them look like real street lights, I'm very pleased with that addition. In the future I'd like to add more "Just Plug" lights and possibly a couple of vehicles to the scene. I'm also going to find a blue LED light to cast a faint glow (like moonlight) over the entire layout to enhance the nighttime look. For an example, see the last image in this gallery. There is no snow on the roads right now but it almost looks like there is. The roads were formed with Smooth-It, a product that provides a nice smooth road system. I need to fill in the gap between the road and sidewalk with some grass like material before I cover it all up with snow. I'll have much more to come as I continue working on it... 10/11/16 - Yes, I will redo the pond. Last night I started adding snow to the hills behind the houses. It's going to be a multi-layer process to get it just right. I want to make sure I pay attention to how the snow "falls" on things so that it really looks like fallen snow. It's almost ashamed to cover up all of the landscaping, but hey... that's winter. If I had to do it over, I would also add more deciduous trees into the mix, and I would make it thicker. I may still add a few more trees just to try to make it more lush. The pond... yes, the pond has been a pain in my arse. I've learned a few lessons about water features. First, don't use any slope in the stream or creek if you want the water to have any depth. If you have a slope, the Realistic Water will just run down to the lowest level and not pool. What I've had to do to get around this issue is add dams to sections of the stream so the water collects instead of running off. Second, make sure you thoroughly cover the water feature in plaster. The Realistic Water will seep through any holes or other porous areas of the layout, and make it difficult to build up any depth. And speaking of depth, they really only recommend a 1/2" or less of Realistic Water. You might think that's not enough to make it appear deep, but it really is. Woodland Scenics makes a product called E-Z Water that you heat and pour and it can be used to make deeper pours. Unfortunately, I can't use it on top of the Realistic Water, but I can use Realistic Water on top of the E-Z Water. So I think I'll raise the pond back up some, and then use E-Z Water for the main pour this time, then maybe add some Realistic Water over the top. E-Z Water has to be used in one pour, you can't go back and add more or it will leave a transition line in the water, so the pour needs to be planned and setup ahead of time. Icicles will be my next first time part of the project, but that will be easy and I will use a product called "Water Effects" to create those. You simply get a piece of wax paper and with a toothpick, drawout of lines of Water Effects on the wax paper. Once they dry (and they dry clear), you peel those off and tack them anywhere you want icicles. I'll have more pictures tonight as demolition begins on the pond. :-) 10/11/16 - Pond Re-Construction Underway I added more plaster to the pond and covered up the water I put down. I needed to raise the bottom of the pond by about 1/2", so I mixed up some plaster and covered everything up. I'll let that dry and then paint it a darker color before re-adding water. I do think I'll use E-Z Water on the pond so I can get it a little thicker. If I need to, I'll give it a top coat of Realistic Water mixed with a little white pigment to make it look like ice. Two days of snowfall in the mountains... :-) I'm starting to get a better accumulation of snow now. Not sure how deep I'll go, but I have a real desire to have a blizzard. :-) Of course that's probably just my own personal "what I'd like" kind of thing but hey... who's building this? :-) The water in the stream is starting to look good and get some depth to it. At some point I'll add a little white pigment in places so it looks like certain areas are frozen. The last image in this group shows the house with some snow that I added around the base just to show how the edge around the base of the houses will be covered up. It looks really good too. 10/12/16 - Work continues... Painted the pond today, so that's going to dry for 24 hours before water goes in. I also added another layer of snow to the background hills, but I'm not sure how much I want to add. With each layer, I spray Scenic Cement over what's already there, lay down the new snow, and then add another spray of Scenic Cement, so it takes some time to build it up. Most of the stream has had it's last layer of water before the final "ice" layer. It's mostly the pond that will be icy, but certain places in the stream (near the waters edge, etc) will be icy as well. I'm still adding layers to the section just before the bridge. I'm making icicles for houses and for the waterfalls if all goes well. If it doesn't, nothing lost, just try again. The white "Water Effects" dries clear in 24 hours. I took a bunch of pictures today, again, no snow on anything but the hills right now. 10/13/16 - Construction Accident Started added Realistic Water today. I thought I would use E-Z Water until I heard some bad stories about it eating up foam, and changed my mind. So it's going to take more than a few layers to get it where I want it. The roads around the pond will not be in the position you see now, I'm just playing around with placement. Started adding snow to the all areas of the layout where there are shrubs and plants, and that required me to take the two left houses off to keep them from getting sprayed by Scenic Cement. The "construction crew" got a little careless when taking some of these pictures, and the camera strap caught one of the street lights... so now there is some utility repair work going on. Luckily, I had a spare street light, so that will get installed tomorrow after the pond dries. I'm also playing with icicles and the waterfalls. I'm redoing the icicles to be smaller but they are easy to make, so if I mess up, no big deal. There seems to be a creature in my forest... ;-) 10/16/16 - Working on The Park These images in this particular gallery don't necessarily appear in the proper order of assembly but you'll get the idea... Spent time today working on the Park feature. It's right in the front of the layout so I wanted it to look as good as I know how to make it, which at this point, probably isn't all that good. :-) I kept putting it off simply because I wasn't sure how I wanted it to look. I'm not sure why I have that fear... maybe it's just because this is all new to me and I don't want to screw it up at this point, I don't know. So I went ahead and forced myself to jump right in and it seemed to have gone pretty well. I added a stone wall around the perimeter of the park and I still need to go back and black wash some of the sections where I joined the pieces of wall together with plaster. I use a stone grey paint to paint them, and once that dries I go back and use some diluted black paint over the top. The black "wash" runs into the cracks between the rocks and gives them definition, and makes them look more like rocks. I've ordered more stone wall for the other side of the park so I can't get it all completed until that comes in. I will be adding a small Christmas tree to the center of the park as well as a bonfire with people standing around. Details make the difference. Once I get the landscaping done, I'll then go back over everything with snow and cover it all up. It's almost ashamed to cover up my landscaping but hey... it is suppose to be winter time! Filling the pond with water is coming along but it's a slow process. I actually tilted the whole diorama today to get more water in places where I don't have it right now. I'll keep tilting in different directions until it fills up like I want it, and then I'll then go back over it with a some white tint to make it look frozen. I do have HO scale figures that will be skating on the frozen pond. :-) I hope to have my street lights plugged back up today as well. I had three lights connected to one junction connector and when I unplugged the one street light to replace it, the wires for the other two street lights came out as well. These wires are SO tiny you can hardly see them, so it takes me a while to get them back in the holes. 10/16/16 - Getting close to being done... Wow... can't believe how much I've gotten done today, I'm getting pretty close to being finished! Today I managed to get pretty much all the snow down on everything except the road and park. All of the structures got "snowed in" so you can no longer see the base of the building, it's all blended in by snow. The park got a light dusting of snow but I need to wait until the pond is done before I finish that part. I can start adding certain figures to the layout, I just need to decide where I want them to go. I haven't decided if I'm going to have a vehicle or not, I'm back and forth about that right now. So, what's left?
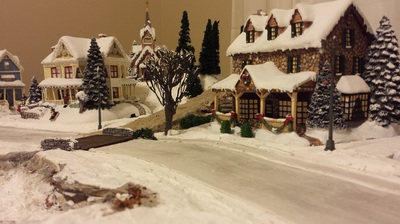
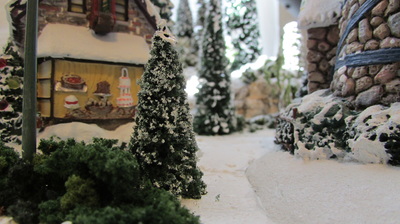
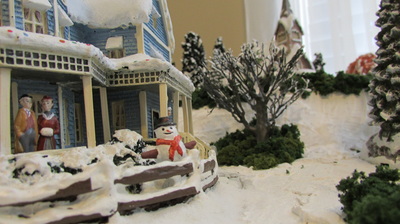
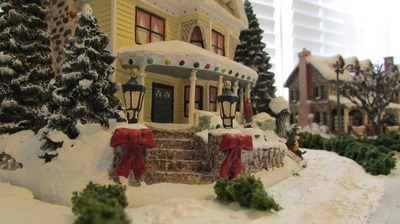
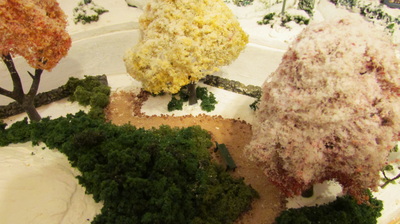
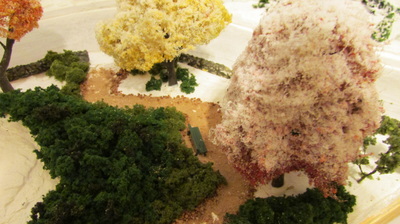
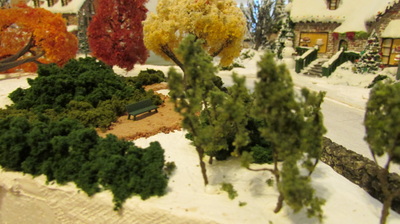
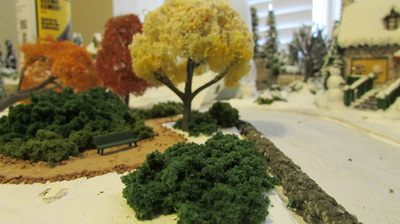
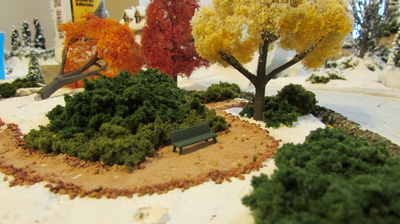
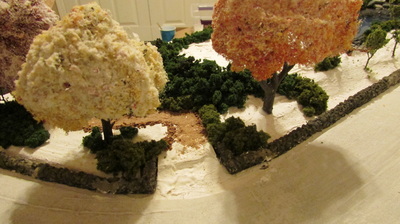
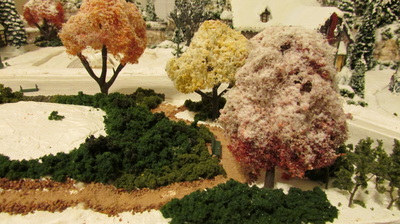
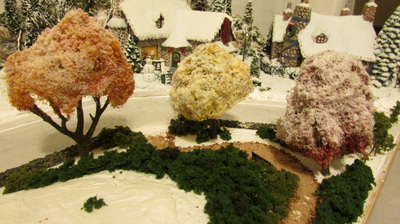
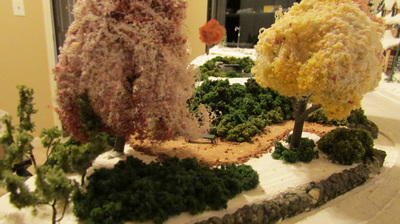
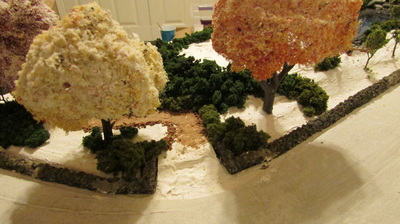
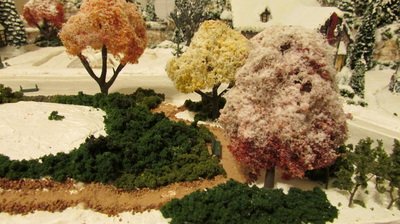
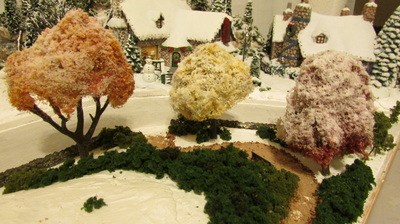
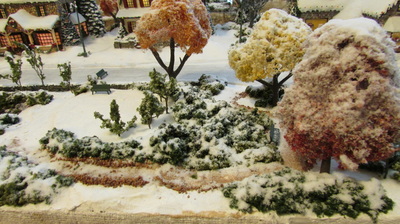
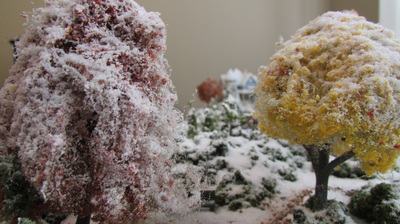
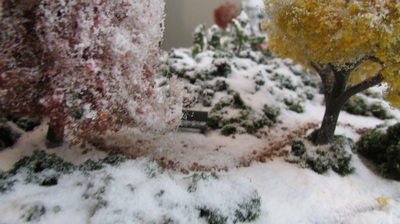
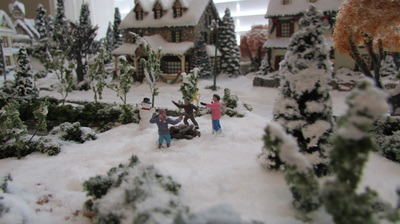
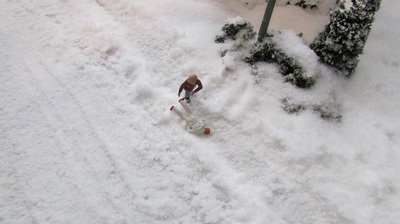
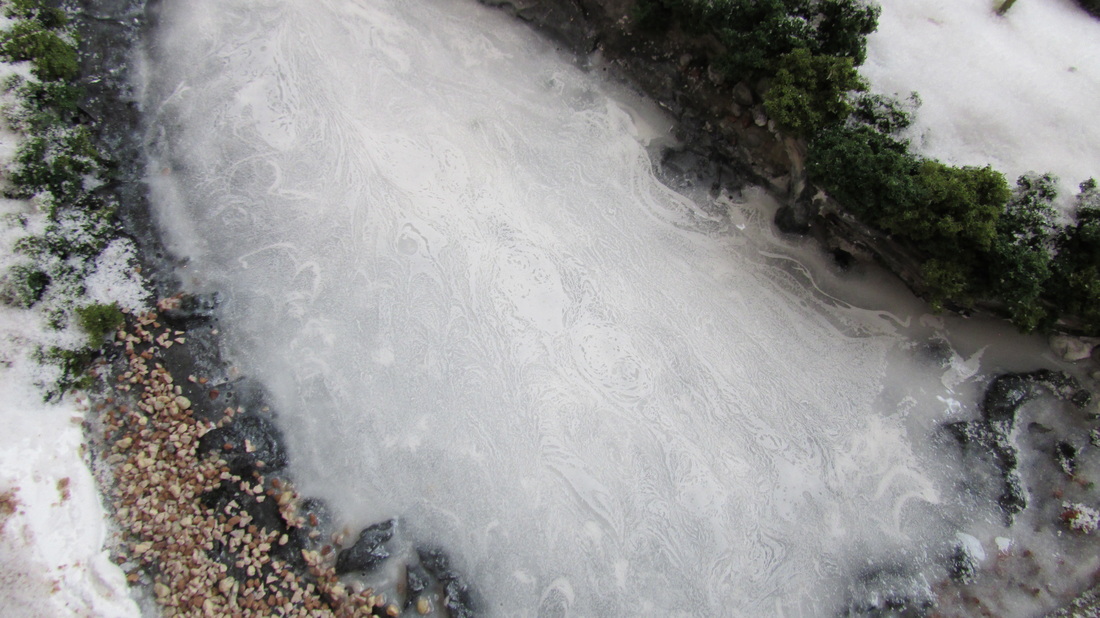
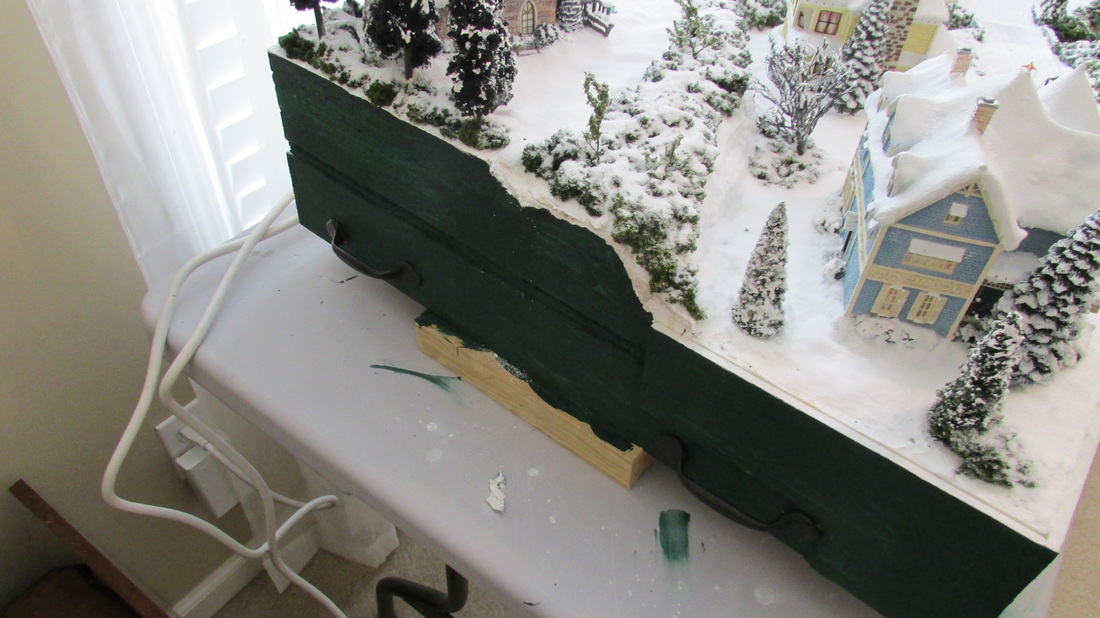
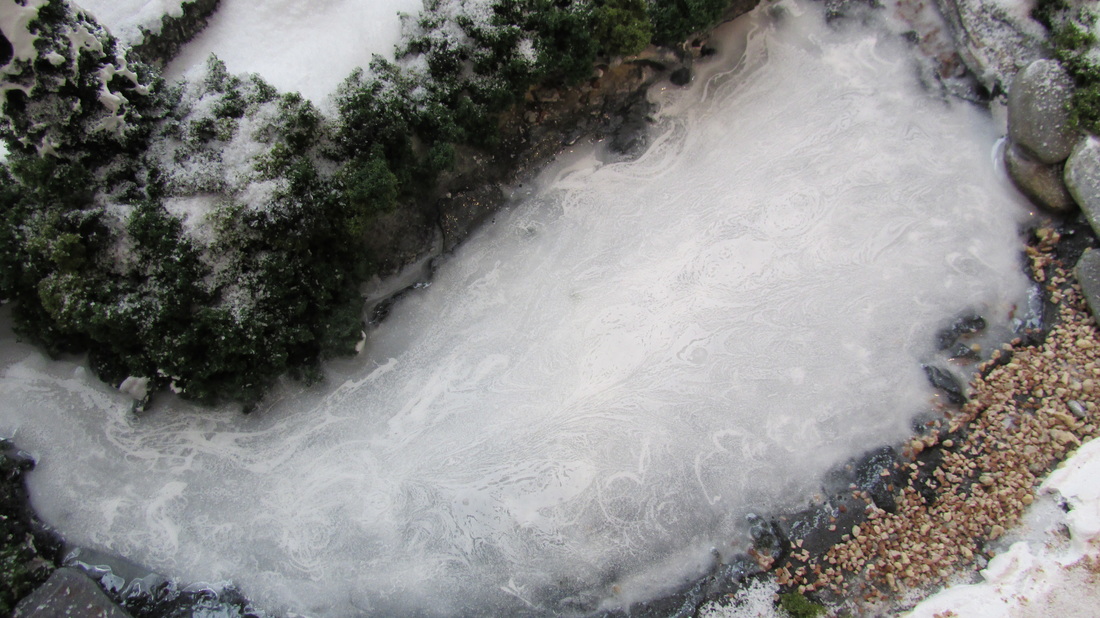
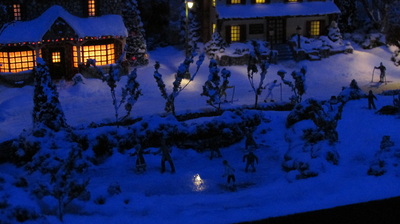
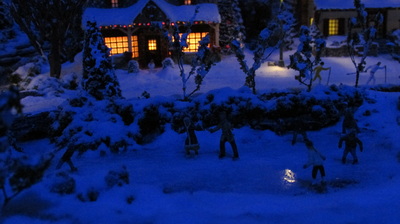
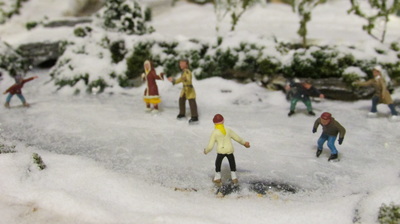
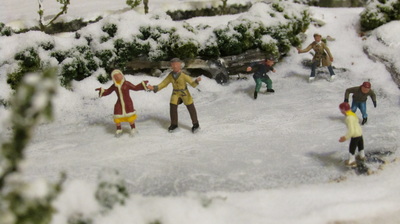
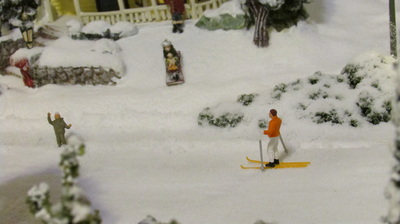
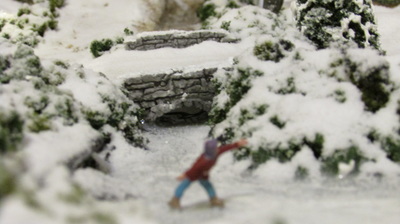
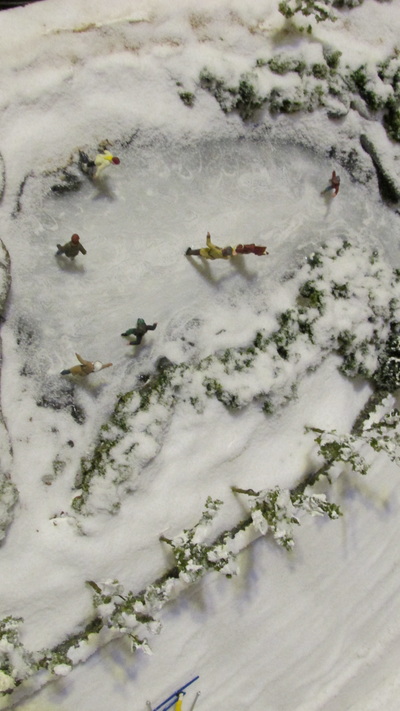
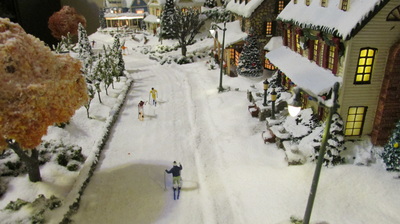
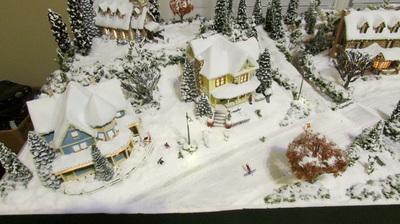
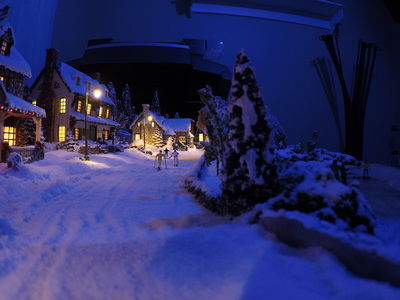
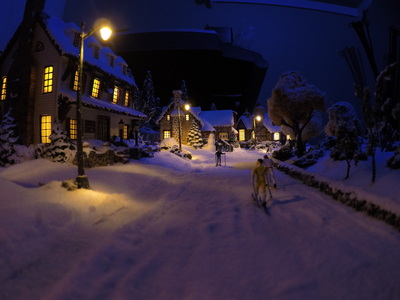
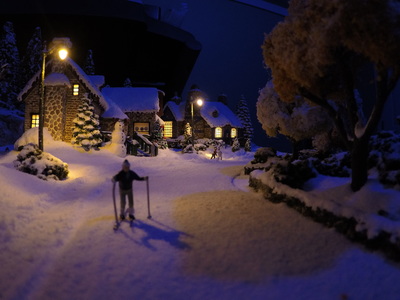
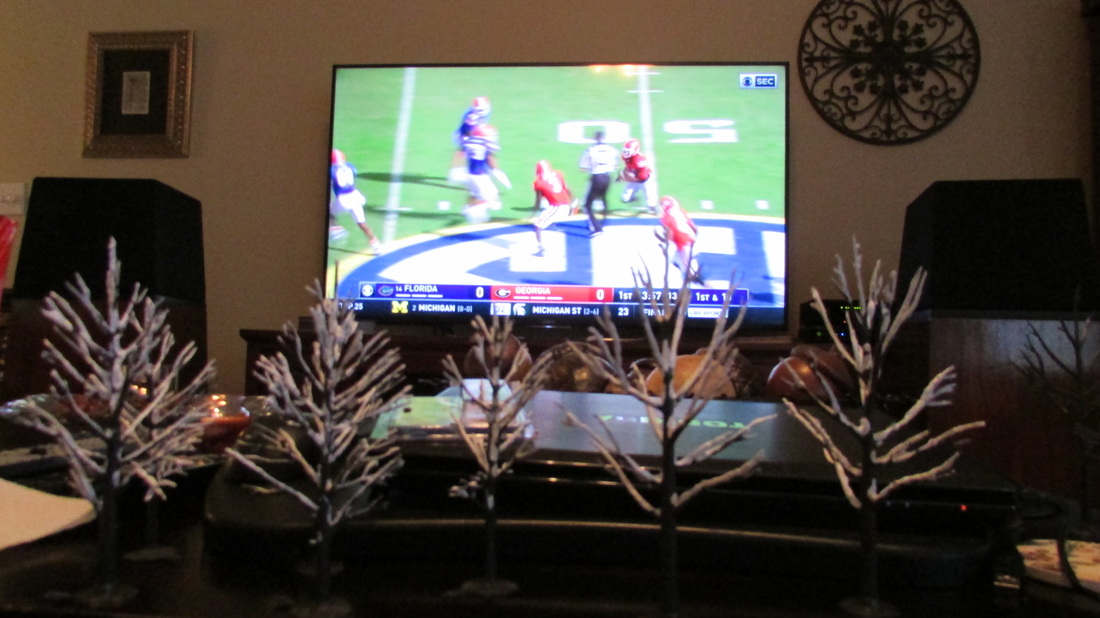
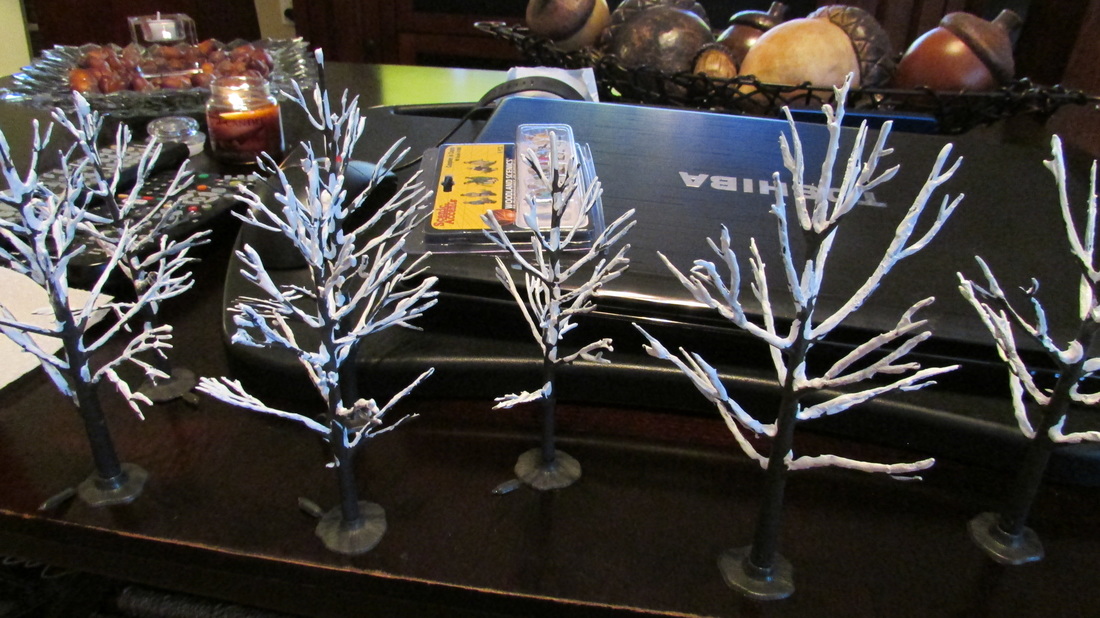
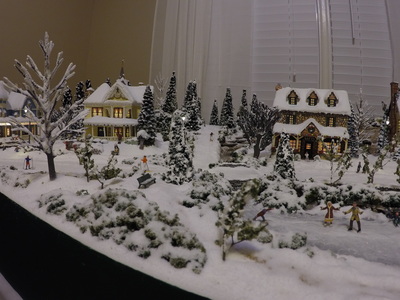
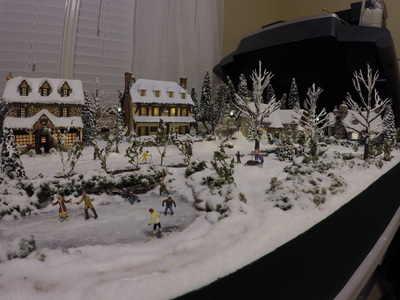
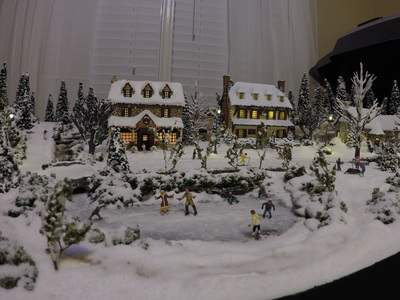
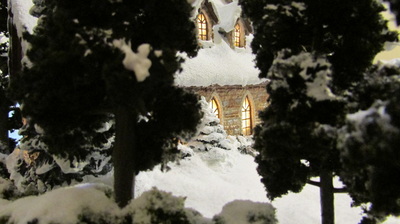
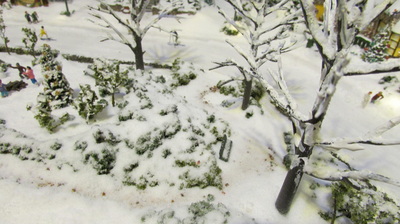
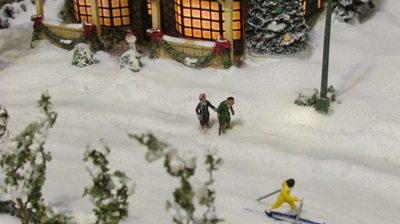
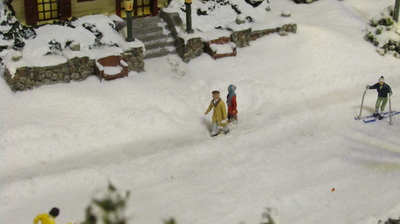
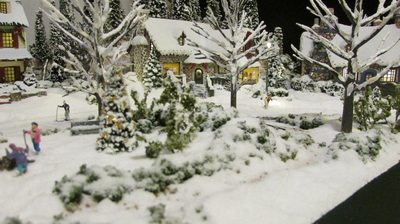
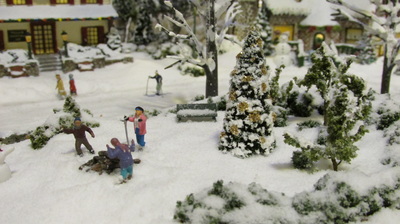
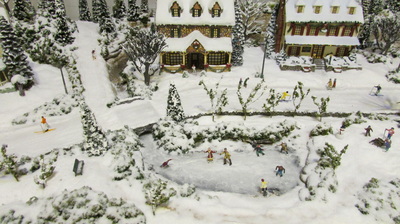
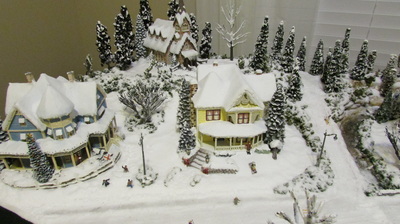
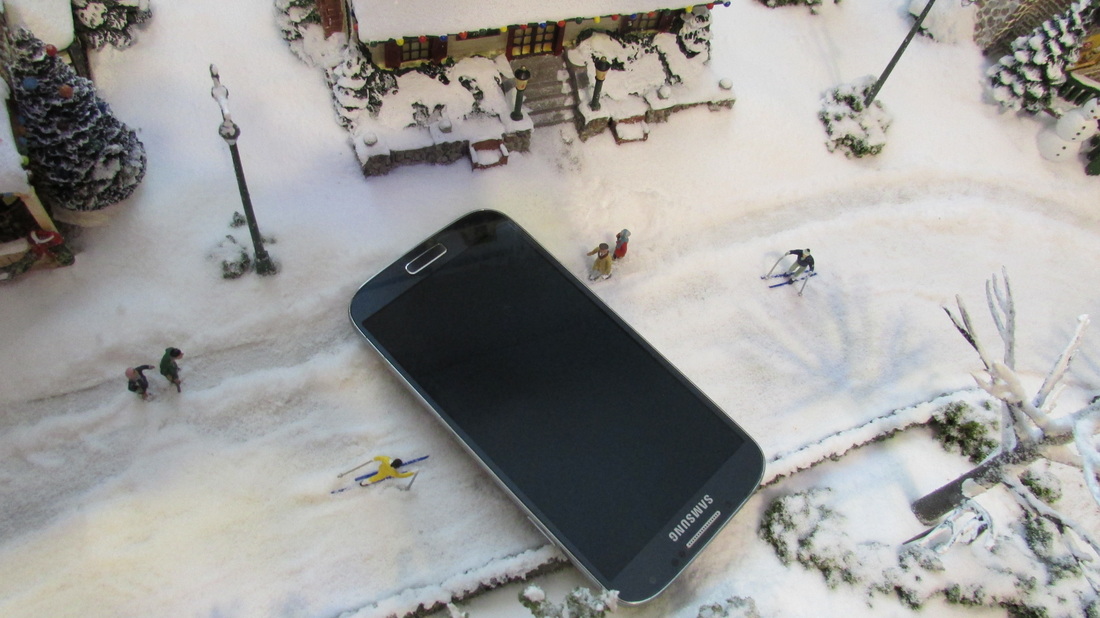
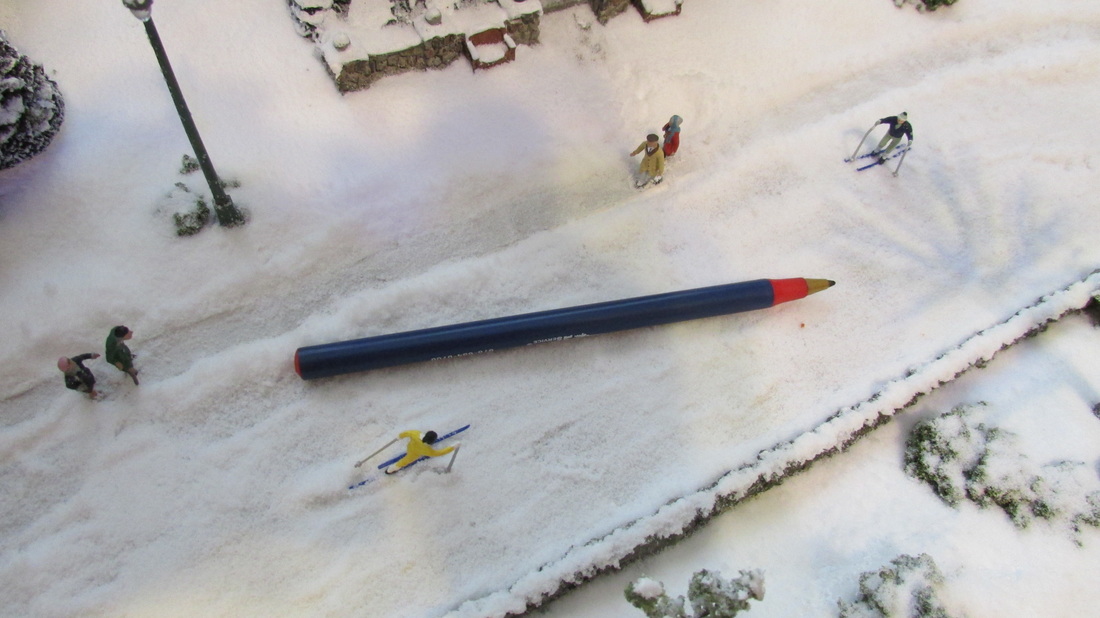
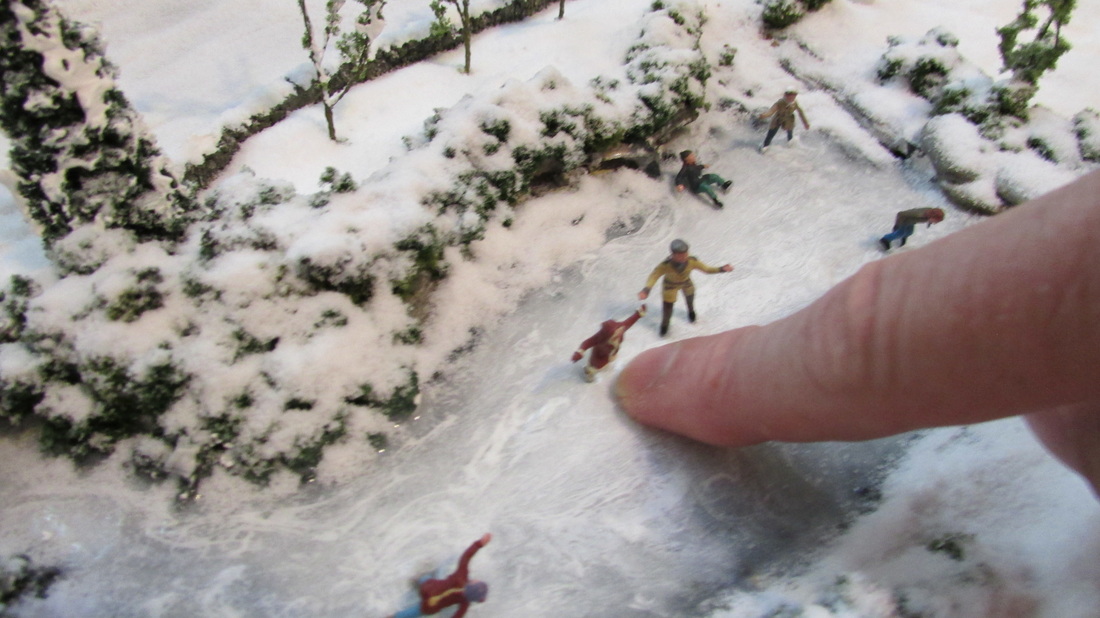
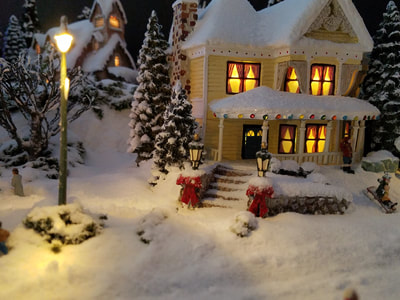
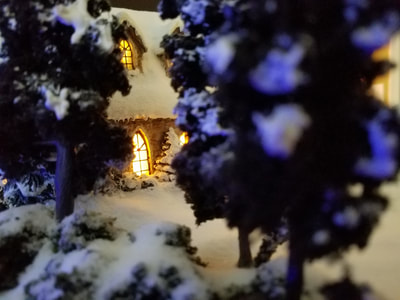
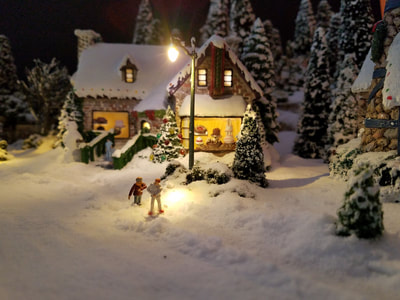
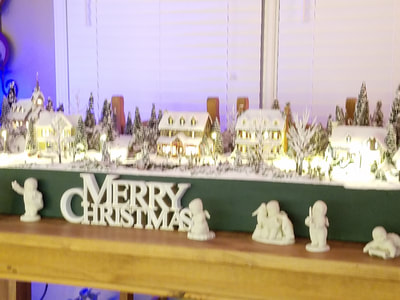
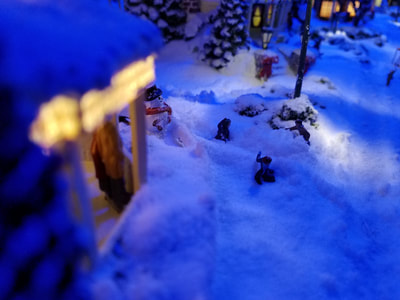
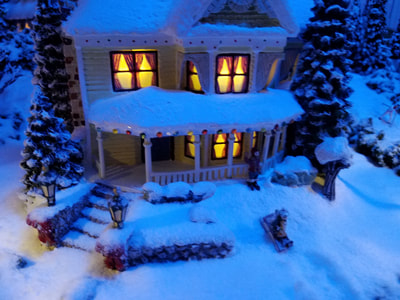
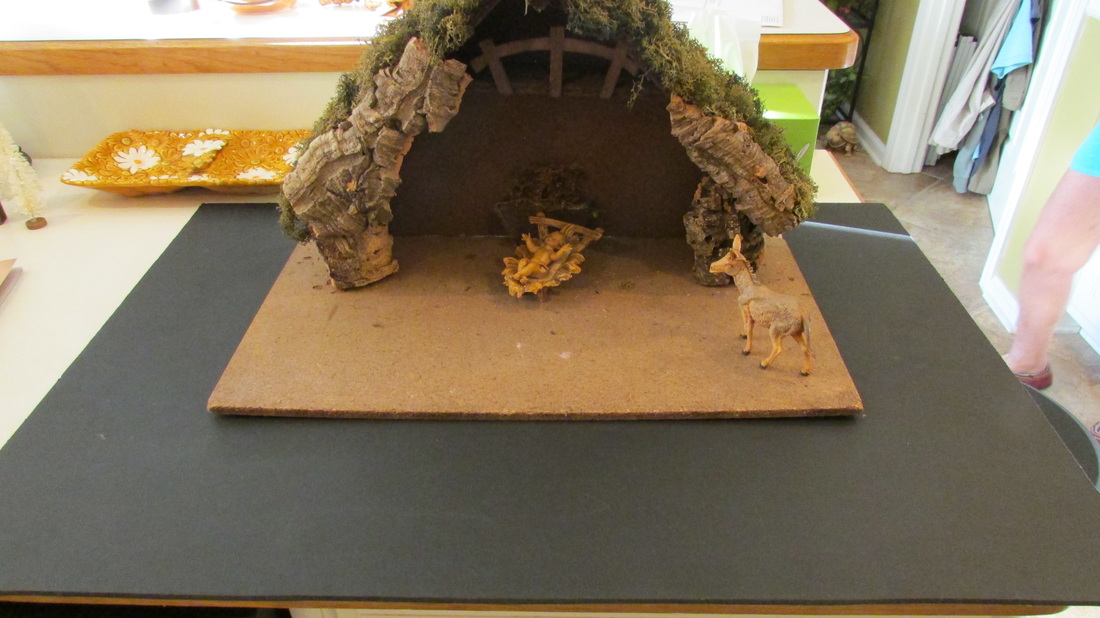
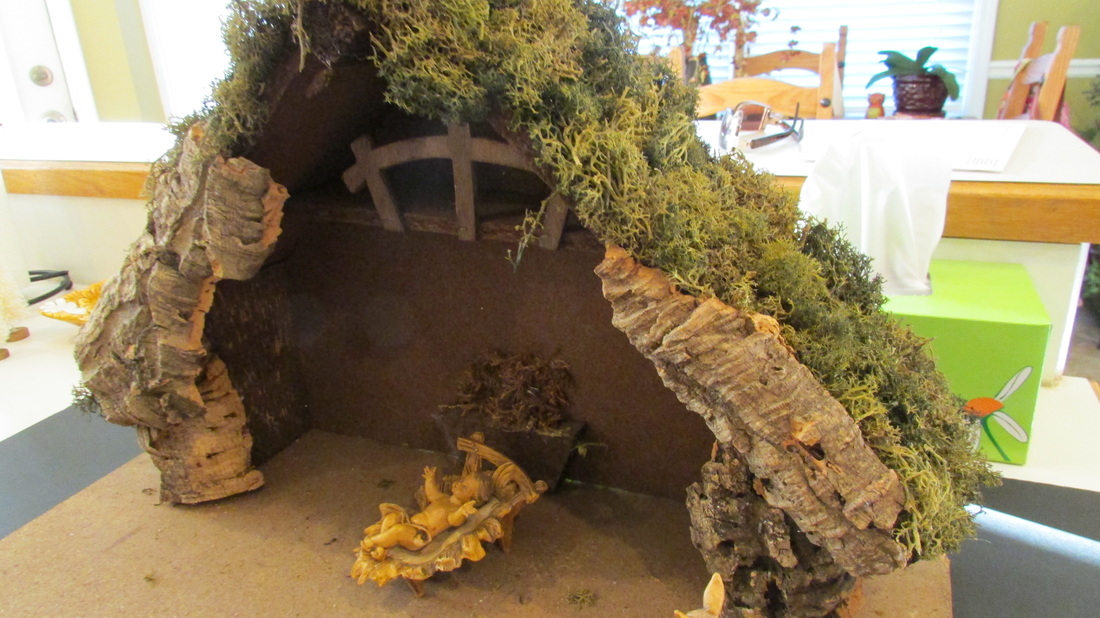
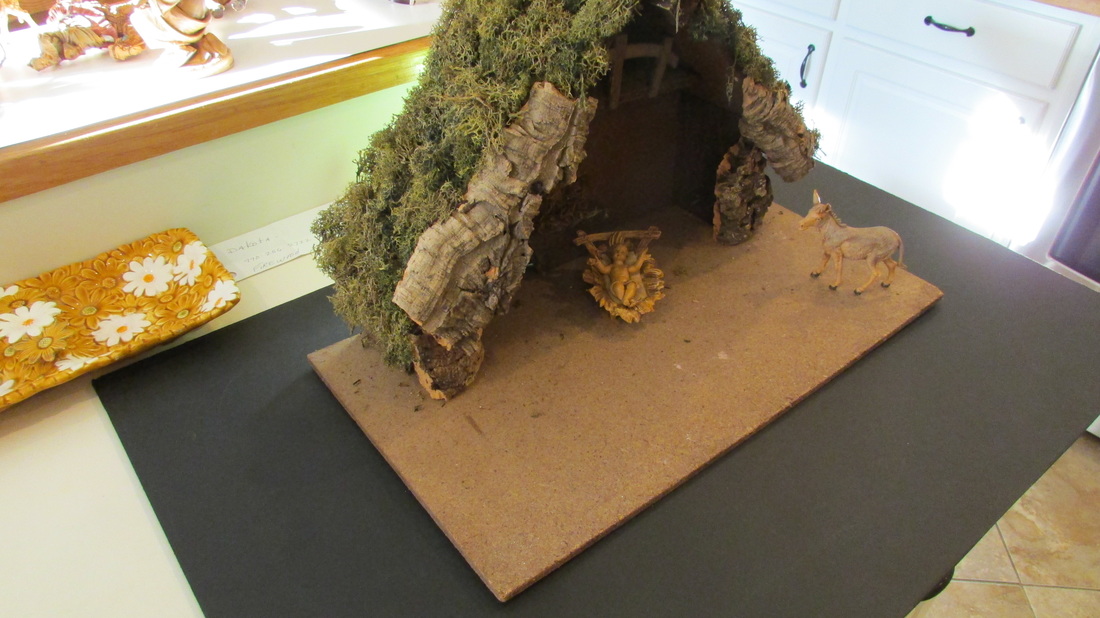
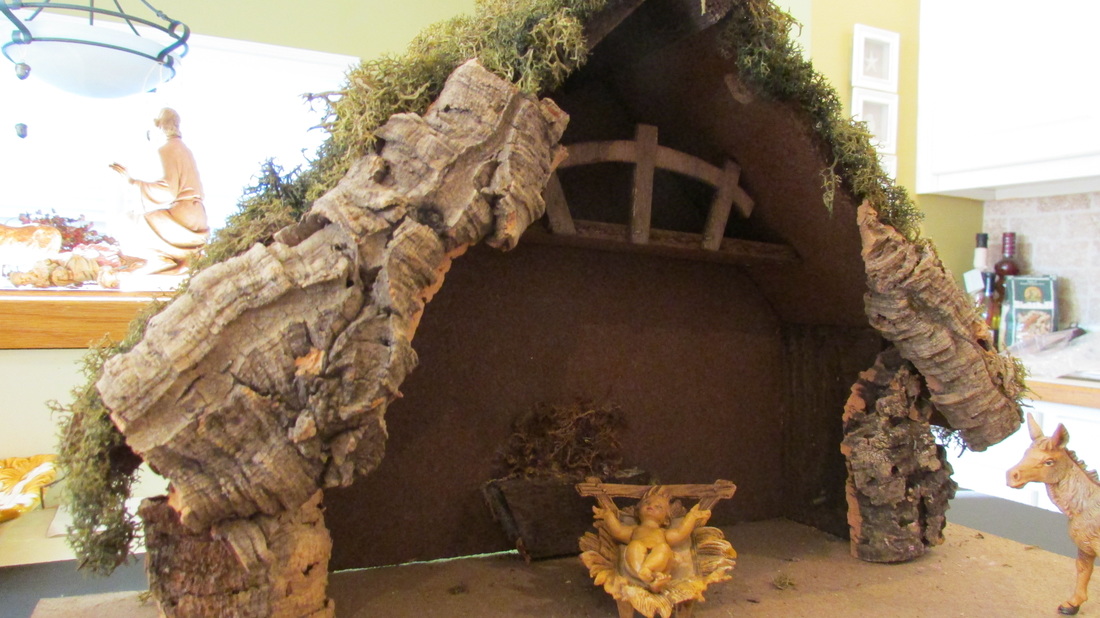
10/17/16 - Almost done I figure I'm about 90% done at this point. The park area needs more snow and the area around the pond needs more landscaping. I'm still adding the fake water to the pond and that may take another 5 or 6 days. By that time, the extra stone wall pieces and 4 trees, one that will be a Christmas tree, should be here. I also have to add a little stack of wood that will be a bonfire. None of the little people are glued in place yet, and some not in the places they will probably go. I also have 7 skater figures that I need to put out after the pond is done. I snowed in the road today and pushed a Matchbox car over the road surface to make it look like cars had driven on the road. I've found some blue LED light bulbs that I will be using over the diorama at night to make it look like moon glow. The last picture on this gallery will give you an idea about what that might look like. at least what I hope it will look like. :-) I still need to enclose the entire edge of the diorama with something... and still debating that one. I may use 1/4" sheet foam and then paint it black, my wife mentioned wrapping it in something like dark green felt. It is my very last worry in the build though. 10/18/16 - Adding final touches... I started putting foam sheeting around the outsides of the box holding the diorama, and I bought some dark green paint to cover it all up. More water was added to the pond, and I went out and bought a blue LED light to give the snow a moonlit glow... I think it works pretty well and matches the example in the previous group of pictures perfectly 10/21/16 - The Home Stretch Just a few items left to finish up before it's done. The two main items to finish are the pond and park area, and the outside edge of the entire diorama. I have covered the front and part of the sides with 1/4" thick pieces of sheet foam as well as adding handles on the sides to help in carrying it around. The foam was glued tot he sides and hopefully today (Saturday) I will get it painted. I'm going with a dark forest green color, I think the dark color will help in taking your eyes to the layout. I want the sides to fade away so that they aren't really noticed. I added the "ice" to the pond yesterday. I think I'll go back over it one more time today with just a little bit more white pigment. It looks icy right now, but not thick enough to skate on, it needs to look "thicker". After I add that layer and it dries, I'll lightly dust it with snow and it should give me the look I'm after. Before I do the snow dusting I'll go ahead and add the skaters. I have 7 little people with ice skates, and I think I'll have 4-5 on the pond with a couple standing at the edge watching. I added a little pile of wood for a campfire and have a few people standing around it. I have a plan to make the fire look like a fire, but it probably won't happen on this first go around. Woodland Scenics makes some "Just Plug" nano LED's that flash. My plan is to drill a hole underneath the pile of wood, and secure the LED's about 1/2" below the surface. I would then cover the hole with a flat piece of foam with a small hole that's maybe 1/8" and put the wood back on top. If the plan works, the flashing LED's would appear to be coming from the wood and the random flashing would look like fire. We'll see. :-) Once the water part is done, I'll go back and add more snow all around the edges of the pond as well as the rest of the park, right now there isn't much there and it looks a little out of place with the rest of the diorama. I also took some random pictures today. Since I'm been moving the diorama around, some of my little people that haven't been glued down have fallen over. :-) They'll just have to lay there until the end. Also, I would not use these fall deciduous trees on a winter layout again, and at some point I will replace them with trees that I've made. These were pre made using a poly fiber product that is like a carpet. When I added the snow and Scenic Cement, it made the poly fiber sag once it was wet. To me, they just don't look like real trees. Next time I'll buy the armatures (the woody part of the tree) and glue my own "leaves" on the branches. I've already got a stack of these armatures so it's just a matter of getting some fall foliage to glue on them. It's kind of funny, but when I got started I decided NOT to make trees and just go the easy route and buy the pre-made trees. And don't get me wrong, there are different levels of pre-made trees and some are very nice, but also very expensive. I think you are better off buying pre-made evergreen trees due to the density of the plant material. There are also varying levels of quality for these trees as well, and I have about 3-4 different qualities on this layout. If you ever decide to try to build a diorama, you'll find yourself doing more and more from scratch instead of using the pre-made materials, trying to make it look as realistic as possible. 10/22/16 - Close now Today I painted the foam surround, or the sides of the base of the diorama. Now your eyes focus on the diorama because you're not distracted by the ugliness of the unfinished surfaced. I added more white tint to the pond and I think I'm done with that feature. Once the water dries (tomorrow) I'll finish the landscaping and snow around the pond and add the skaters. In the end it will get a light dusting of snow, but that will wait until after the skaters are added. 10/23/16 - Well... is it done? Well, added the last coat of paint to the front of the base, glued down all the little people, added the skaters to the pond, finished the snow around the pond.... there really isn't much left to do. :-) I will go back and add more snow to the fall colored deciduous trees and I'm still waiting on the rock wall to arrive so I can finish the left side of the park. The night pictures don't really do it justice, I need a better camera to capture that. I may even try my GoPro in low light mode to see how those images look. If you click on an image, they will display larger and you can go through them one at a time. Some GoPro images  10/27/16 - More Changes I've decided to pull up the deciduous trees. I originally wanted to go for a late fall/early winter type of look, but that just isn't going to work with this winter layout. I have ordered new tree armatures so I can make 5 (5-7" tall) new deciduous trees with no leaves. It will be more fitting to the winter look of the diorama. I should have those early next week and it will take me an evening to get the trees formed and to add "snow" to them. It's a pretty simple process to pull the old ones up and glue the new ones back in place, and it really doesn't mess up anything. Once I get them back in I'll re-snow around them and you'll never know anything happened. I did get the remainder of the stone wall in for the park, and I got that painted and installed. I also went back and re-snowed the entire layout, but mostly focusing on those areas that didn't have much snow to start with, and I really think that it looks much better now. I also have a few more people on the way that are three older couples in coats (click on image), and I'll place them on the sidewalks once they arrive. I'm still seriously considering adding a "Just Plug" car to the scene. The Just Plug vehicles have working lights and would be a great addition to the diorama. All of their current vehicles are generally from the 1940's to 1950's era and I'd really like a vehicle a little older, so we'll see. I'll have some additional images that will reflect all of the recent changes once I change the trees out. The bases10/29/16 - Making trees... The tree armatures arrived today, so while I was sitting around watching a football game, I decided to make and paint the trees. The Woodland Scenics armatures came in a package of 12 and are 5-7" tall and they come flat in the package. I used Woodland Scenics Flex Paste to add snow to the trees after I twisted and bent the branches into shape. I'll lightly spray them with Scenic Cement and dust them with the fake snow just to add more texture to the Flex Paste. The bases don't get used as the armatures have pins on the bottom that I can just press into the plaster, but they are a great way to hold the trees while they dry. If you were actually making these deciduous trees, the stands would be great for holding the trees after adding the leafy material. These trees are going to be a better fit for the rest of the layout versus the fall colored deciduous trees. The six little old people arrived with the trees, so those will get glued down tomorrow along with the trees. More pictures then. 10/30/16 - Done? Other than gluing down 2-3 little people and re-dusting with snow... I declare this thing done. :-) Leafless deciduous trees were added last night along with a 4 little people, so there really isn't much left to do! I'm sure I'll nitpick little things along the way, but everything that I wanted to do has been done. I would like to do something different with the bonfire (I need flames) and still considering adding a vehicle. I'd love to find a horse pulling a sleigh but I've come up empty handed so far. I still need to glue down two more people. It's been a fun project. I had no clue what I was getting into when I started and I've learned a lot along the way. I've had people ask me how much did it cost to build this. Alot! :-) I still have materials left over and I initially had to buy some tools, but I've spent more than $600 from Woodland Scenics alone. Granted, most all of the products and accessories I used came from Woodland Scenics, so it was the majority of the build. But if you include the frame materials and the things that I've purchased elsewhere (I bought some Woodland Scenics products at Hobby Lobby), and not including the houses, I probably have $800 in materials. We purchased the houses off of eBay and those were approximately $50-65 each, and there are 7 of those on the diorama. I added lots of detail to the layout, so you could do it cheaper, it all depends on how you want it to look. At this point, I wouldn't be afraid to tackle a larger, more complex project (trains?) in the future. I think I will be taking our Nativity scene and building a diorama around it... :-) Can I have it done before the holidays? :-) If you'd like to find out... stay tuned! The pictures in the first gallery below were taken with a GoPro Hero4 camera. It was set to 7 mp medium perspective and set to night mode. I used the GoPro app on a tablet to control the camera and take the pictures. I just set the camera down and look at the tablet screen to see what the camera is looking at and readjust my view if necessary. The shutter (if you call it that) stays open quite a while on the night pictures, so it's nice being able to do all of the camera control from the app. The next group of pictures were taken with a Canon Powershot SX500 IS camera. I wanted to get some shots from the back and sides of the buildings for a different perspective. Just wanted to give you an idea of the size of things.... click on any image for a larger view. 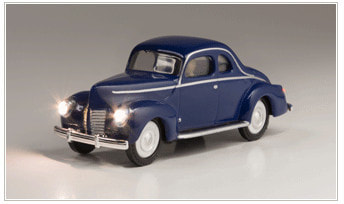 01/23/18 Here are the latest updated images. More changes coming that include lamp post in the park area (LED like the street lights), probably 3 vehicles (like the vehicle in this image) that have working headlights and taillights, more trees for the background, and I may re-work the frozen pond. Already looking ahead... ;-) This is a very old Nativity scene that my parents had when I was a kid. Some of the bark has fallen off and it needs a lot of TLC. Sooooo... here I go for the second time, let's see what I can do with this.
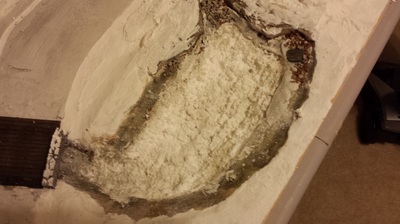
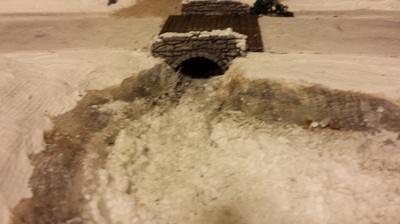
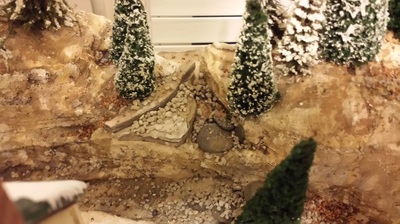
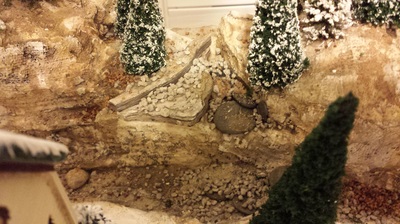
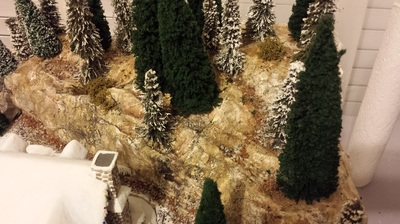
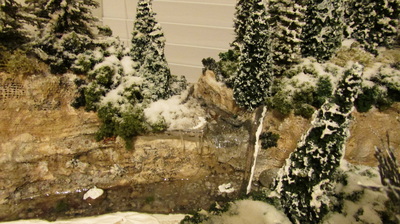
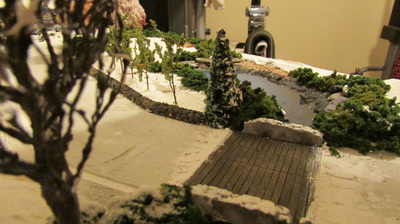
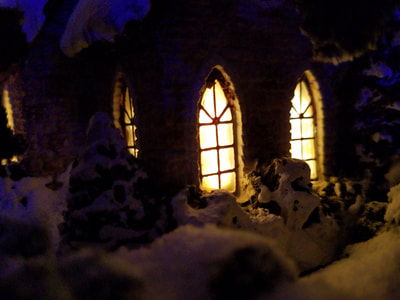
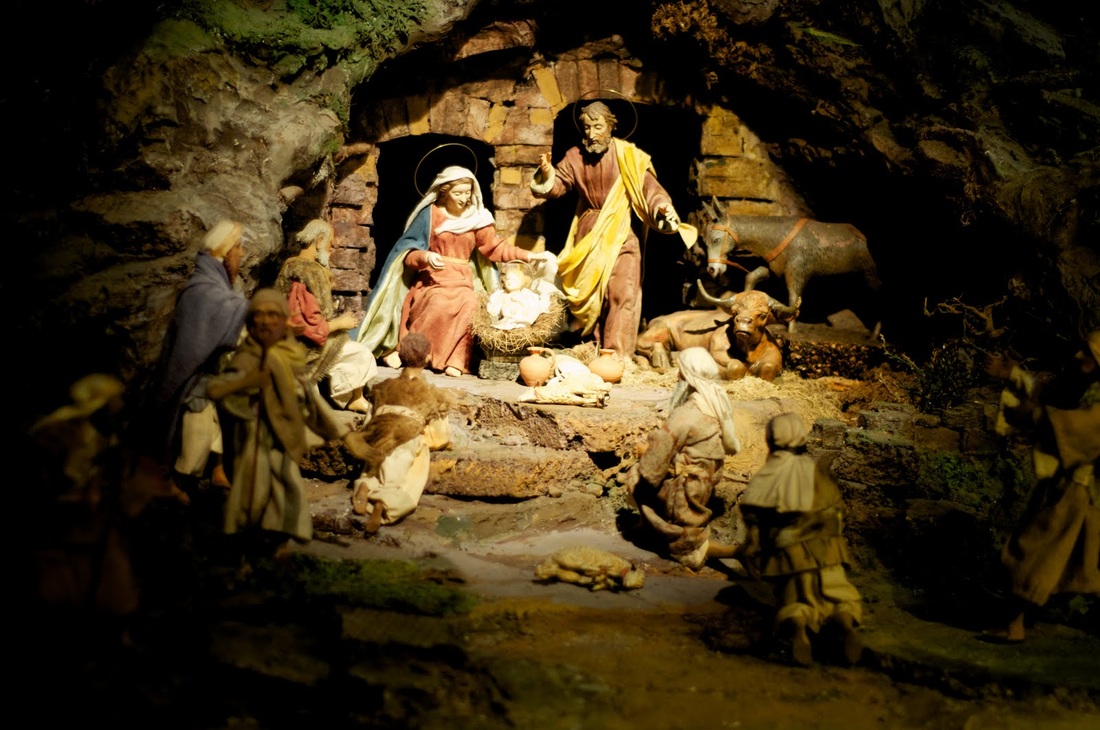
The entire scene will go on the black piece of foam. I'll use a thin piece of plywood as the base with the foam on top of that. I need to securely attach the structure to the wood base as it's come loose. Once that is reattached, the wooden base will be glued to the foam. There will be major changes to the interior of the structure and I will add some layers to elevate the center part so it's not all flat. I'm still debating the background part, and that gap you see in the rear is for that. I' thinking that I may want the structure to be built into a rocky cliff of some type. What I'll do is go search for ideas and images, and use those to copy the bits and pieces of detail that will go into it. I've included one image that I've already found that I will be using as a guide. I'd really like to do the stone wall at the rear of the structure, and I will add the layers for the elevated area in the middle. Click on any image for a larger view.
36 Comments
|
AuthorJust my own opinions and thoughts... Archives
May 2019
Categories
All
|
OLD NORTH GA WX BLOG






 RSS Feed
