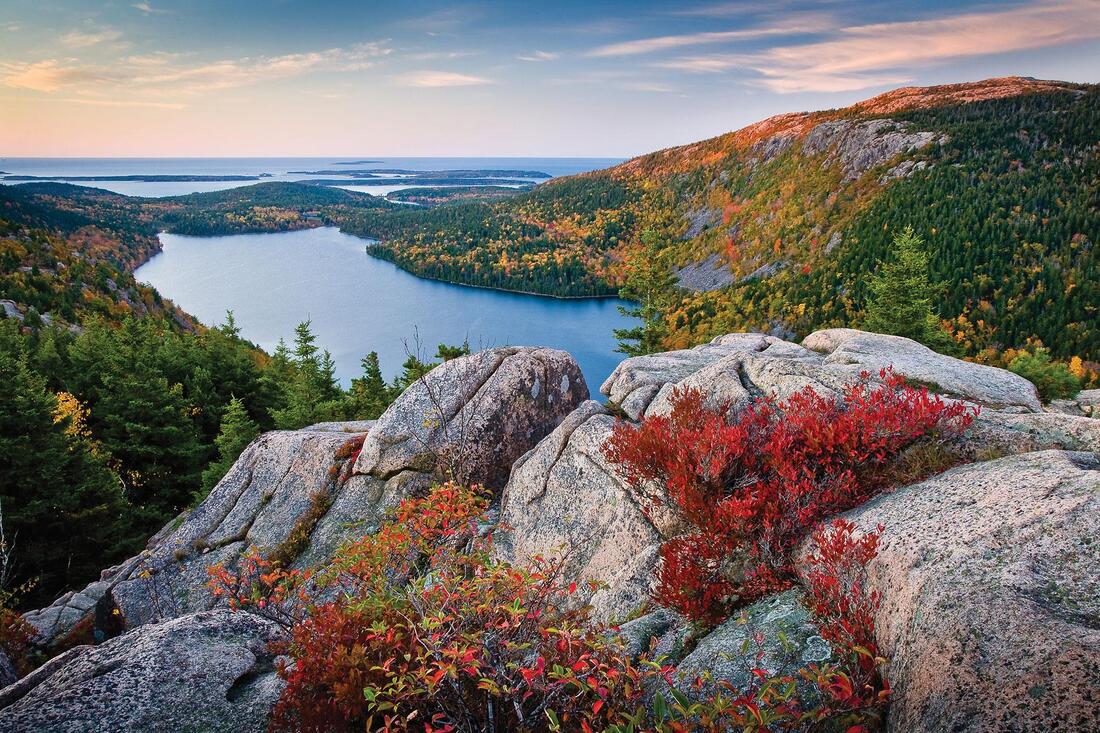
 Acadia National Park Acadia National Park
This is going to be the story of our two week vacation through the New England states, complete with all of the places we will see, things we will learn, and memories that we will make. Amy and I will include as many pictures, videos, links to the places and things we do, as well as any other information we can find to help document the entire trip. (You know, just in case you'd like to go sometime :-)
When I was 16 years old my parents took us on a trip to the New England states and I still remember parts of that trip to this day. Since my wife Amy has never been to that part of the country (except for a trip to NYC), it will be a new experience for her and a great refresher for me, and there are a lot of places that we'll be going that I've never seen as well, so this ought to be fun! This is going to be a driving trip. We thought about flying up and getting a rental car up there, but there are so many great places to see along the way, it would be a shame to not take the scenic route by driving versus flying. The total round trip length is about 3000 miles, so it's going to be a long haul with many days in the car. And since I didn't want to put that kind of mileage on my own vehicles, we are renting a SUV (Ford Explorer supposedly) for the trip. We have most of the itinerary planned now, so I'll be posting maps and more details as we get closer in time. Basically, we pick up the rental vehicle at on Wednesday the 29th, start the trip on the morning of the 30th, and we return home on Wednesday, June the 12th. During the time we are gone, we will pass through a total of 15 states, 11 of which Amy has never seen. On the way up we will travel through Georgia, South Carolina, North Carolina, Virginia, Maryland, Delaware, Pennsylvania, New Jersey, New York, Connecticut, Rhode Island, and into Massachusetts. We will set up home in West Yarmouth (next to Hyannis, see map below) in Massachusetts for a stay at the Holly-Tree Inn condo. From there we'll spend almost an entire week exploring Cape Cod and the surrounding area before we embark on a two day drive up the coast to Bar Harbor Maine where we'll stay another two nights at the Coach Stop Inn Bed and Breakfast. We plan on getting off the beaten path and hug the coast as much as possible in order to see all the sights along the way. Our route will pass through a very small section of New Hampshire (Portsmouth) on our way into Maine, and we will be stopping at numerous places all along the coastline before staying at Kennebunk Friday night. The next morning (Saturday) we take the back roads that will lead use to Bar Harbor. Sunday morning after arriving in Bar Harbor, we have to get up REAL early so we can go capture the sunrise (the sunrise is 4:50 am!!!) from Cadillac Mountain in Acadia National Park. From there we will drive up to the US-Canadian border at Eastport Maine, maybe see the "Old Sow", the largest tidal whirlpool in the Western Hemisphere, and eat a lobster roll at Quoddy Bay Lobster before heading back to Bar Harbor. The return trip begins after breakfast on Monday the 10th, and the first day on the road will lead us across the beautiful forest and mountains of northern New Hampshire. We stop for a three hour round trip ride on the Cog Railway to the top of Mount Washington before continuing the trip south along the Vermont/New Hampshire border where we'll stop to sleep in Woodstock, Vermont. After an overnight rest, we get up early the next morning to begin a long day of driving toward the Cave Hill Farm Bed and Breakfast in Virginia. Rising with the sun on Wednesday the 12th, we'll drive on a section of the Blue Ridge Parkway through Virginia and North Carolina before hopping back on the interstate to finish the trip home. We have a lot of things planned while we're gone, like stopping at the Independence Hall in Philadelphia, taking the ferries to Nantucket and Martha's Vineyard islands for day trips, a 4 hour whale watching tour, a guided walking tour inBoston, a trip to the top of Mount Washington, and stops for what is supposed to be some of the best seafood (IE... lobster) and lighthouses anywhere. In between, there will be a thousand other things to see and do, and I hope we can capture it all so you can follow our fun. I'll break all of this out by making a new post for each day of the trip, so we should end up with a minimum of 14 different post. I'm sure I will also create a special post or three for those special side trips, highlights, and activities that we do. I'm also sure the post will be delayed since I can't spend all my time writing blog post :-) Who knows... I've never documented a two week trip before. I'm just winging it right now ;-) The Hardware
In order to capture all of the sights and sounds of the trip, I just "had" to buy more electronic gadgets and equipment. Of course :-) The camera I really wanted to buy I just couldn't get right now, a Sony A6400 camera with a couple of nice lenses. Of course I couldn't just stop with the camera, I would also need a good gimbal to go along with it. By the time you add all of that up, I'm in the $2500 range (IF I'm lucky), so all of this will have to wait until sometime after the trip. That won't leave me with a shortage of cameras though :-)

Samsung S7 Edge
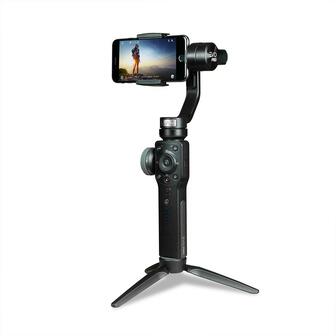
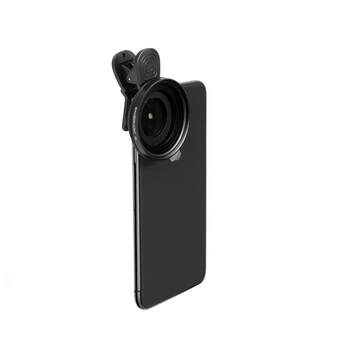
Even though this is my phone, this is one awesome camera. The picture quality is superb and it handles low light conditions with ease. While the camera can record 4K videos, I will have it set for 1080p resolution to help save space and make them easier to share. I plan of doing a few time lapse videos using the camera and hopefully one of those will be the sunrise on Cadillac Mountain in Acadia National Park. To make sure I get the best pictures and video possible from this camera, I purchased an EVO Pro Gimbal to help me keep things steady and a Sandmarc polarizing filter to help with the image quality/reflections in bright light conditions. The gimbal is the EVO version of the Zhiyun Smooth 4, and I have it paired with the FiLMiC PRO app (paid app) on my phone. I can control almost all of the cameras features from the handle on the gimbal, even things like exposure and focus, as well as start and stop videos and take pictures. The FiLMiC PRO app is a must have if you use your the camera in your phone for lots of photography and/or videos. I'm also using another paid app called Lapse It Pro. Lapse It Pro is a full featured time lapse application for your phone. 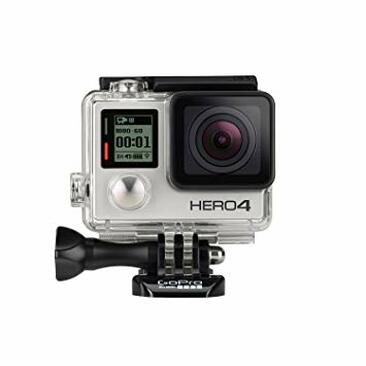
GoPro Hero4
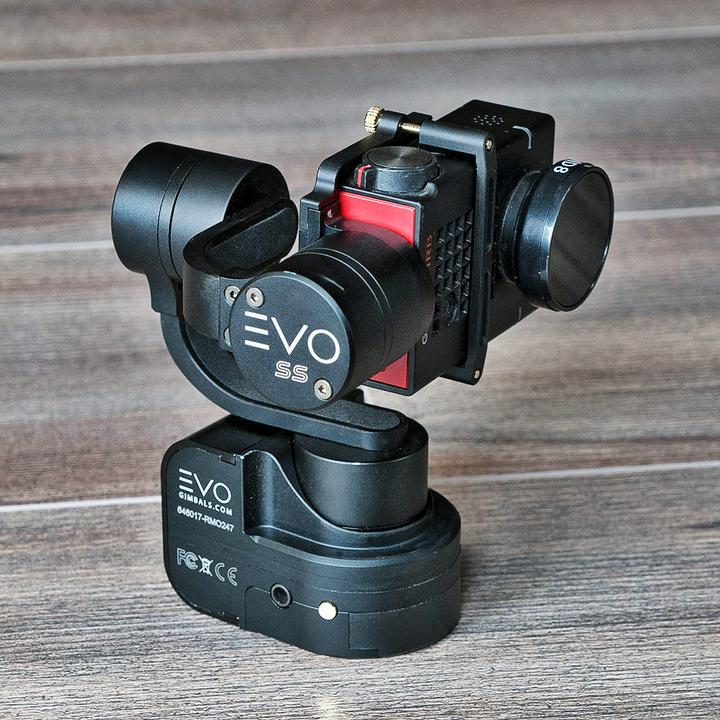
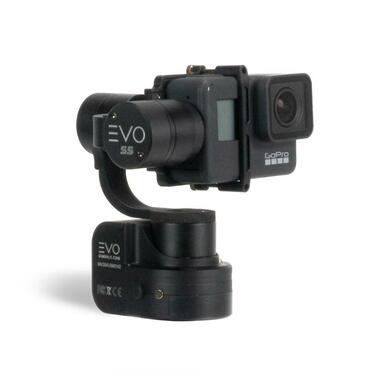
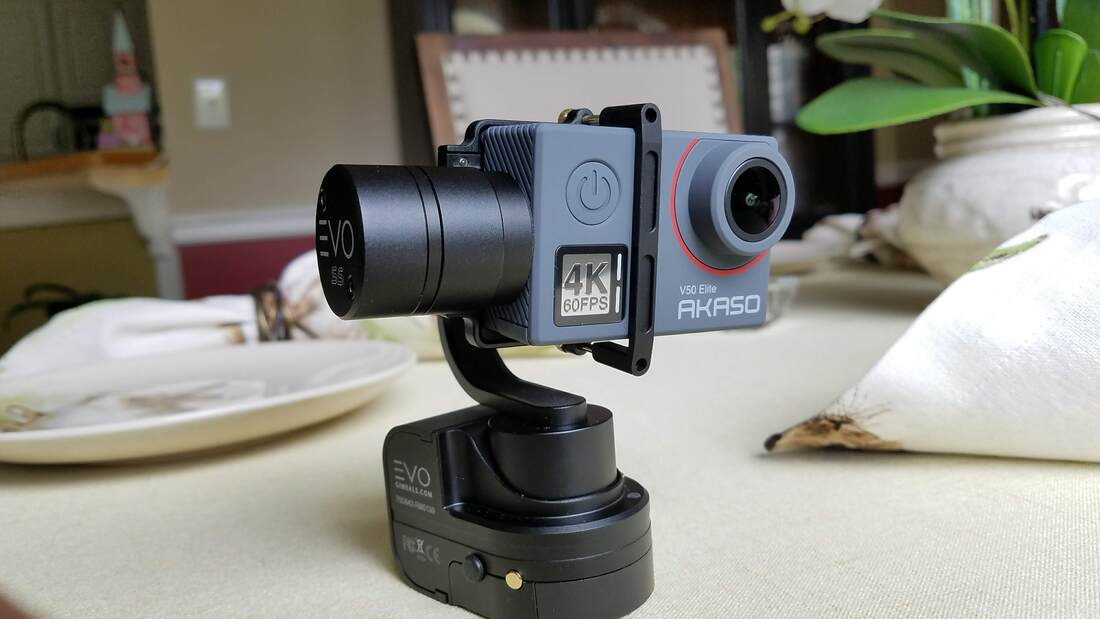
I've had this camera for a while, and it's still a great little camera. This has been my autocross camera for 3-4 years now. It too will take 4K videos but I will be using this in 1080p resolution. I really love the quality of this camera. I also like the fact that I can set it up to do time lapse videos, so it will be used for those as well. And like my S7, I also purchased an EVO SS 3 axis wearable gimbal that I can use with this camera as well as the new Akaso 4K camera that I purchased (see below). I might look stupid with it on, but I also have a Stuntman Chest mount that I can attach the gimbal to for hands free recording. If you'd like to see how smooth the gimbal is on a chest mount... take a look at the video below. 
Akaso V50 Elite 4K Action Camera
I just got this camera for the trip. It was pretty inexpensive (cheaper than the GoPro) and packed with a lot of features, so I thought I'd see how it works compared to my GoPro. Preliminary thoughts are that the picture quality is not quite as good as the GoPro, which is a little disappointing. But I'll give it a chance and put it through its paces. Again, I will "probably" not be shooting 4K videos, but I might try to do one or two just to see how they turn out. 1080p is all that most people can stream, so I'm going to stick to that resolution for the most part. This camera and the GoPro can be mounted on the EVO gimbal, a head strap, chest strap, pole, suction mount, roll bar mount, or any mount that a GoPro can mount on. I will have a lot of flexibility in how I mount and use these, so I'm going to try to be creative. I'm really going to have to learn more about Adobe Premiere Pro to manipulate all my videos. 
Rove R2-4K Dash Cam
One more. :-) This will be my dash cam for the trip. I haven't had it in the car yet, but played with it in the house and really like this. This tiny camera has a ton of features:

Samsung S4 (x2)
When you need a backup. We have two working S4 Galaxy phones that also shoot 1080p videos. We will use these as supplemental devices just in case. I also have a Samsung tablet that is used for various miscellaneous uses that will go with us. That's all I've got :-) I really hope we can get some great shots of the trip... if not it will entirely be my fault :-) 
I almost forgot a couple of items that I can't do without. I know I'm leaving out things like my tripod, power strips, various mounts, all kinds of cables, flashlights, kitchen sink, and all types of other assorted pieces that you would possibly ever need. Or not. Be prepared I say! :-)
Key Power Quick Charge 3.0 6-Port USB Wall Charger (x2) Because I have SO many devices that charge using an USB charger, I needed lots of charging ports. This is the latest charger that I've bought, and I bought two of them.

Qualcomm Quick Charge 3.0 5-Port USB Wall Charger
This is the first charger that I purchased a year or so ago. These are the only way to charge when traveling, especially if you have a lot of devices to charge, and I could really use one more like the one above. I believe I counted about 14 things that I own that need a USB charger. This one is a 60 watt/6.4 amp charger. With all three chargers, I have a total of 17 charging ports. I have a separate 2 port charger for our Fitbit's, and a separate charger for the storage battery (see below). 
Ultra High Capacity ZeroLemon ToughJuice 30000mAh 7A Output Portable Charger
While it says charger, it is a giant battery that you can use to charge your devices. This is a "MUST have" if you do any extended picture taking or recording and you aren't going to be near a power source. If you found yourself in that situation, this would be one of those items you wouldn't want to be without.
0 Comments
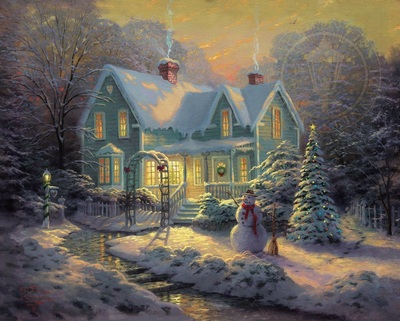
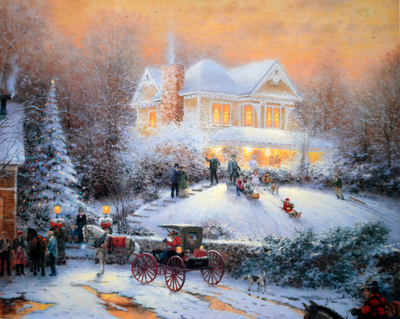
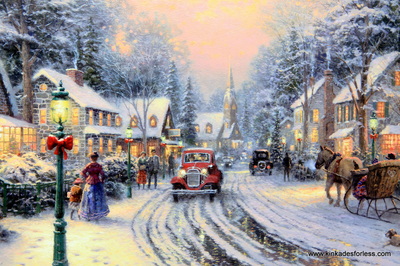
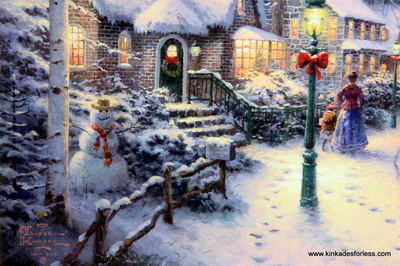
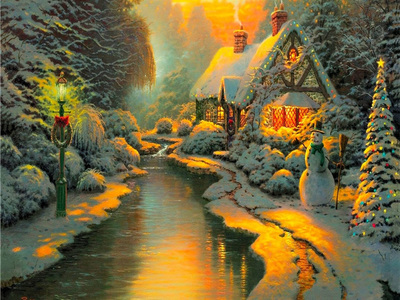
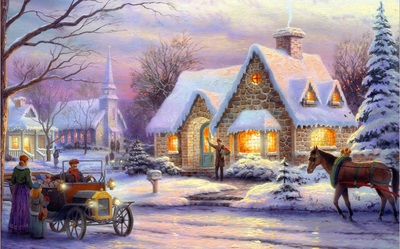
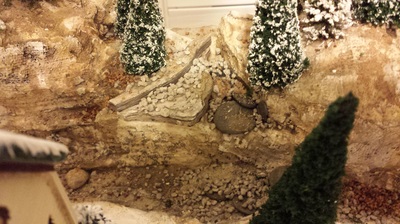
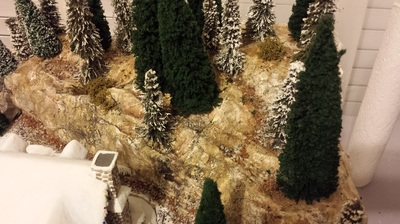
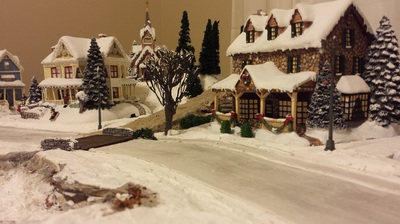
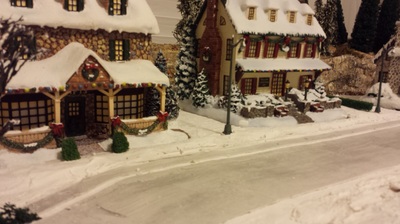
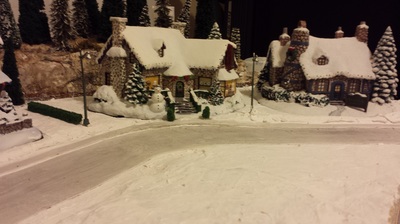
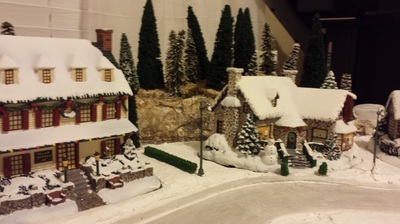
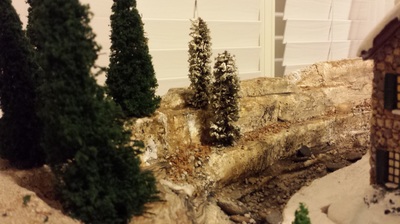
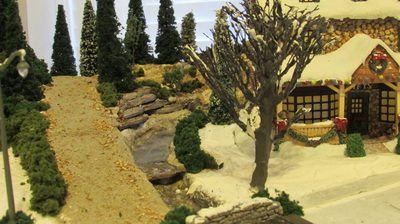
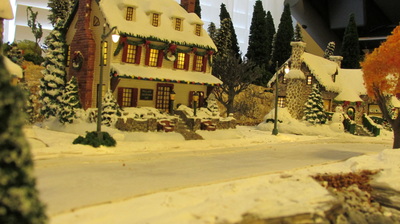
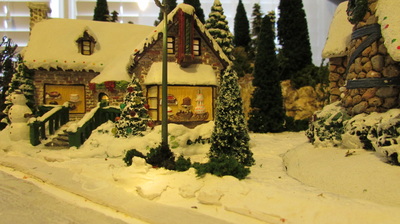
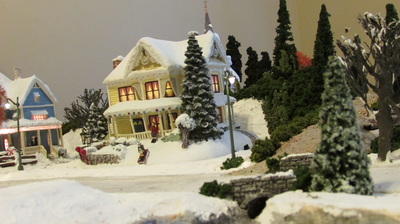
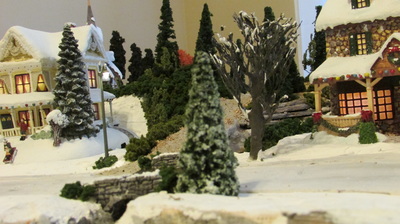
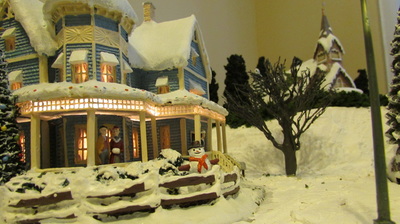
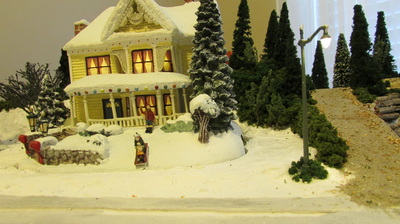
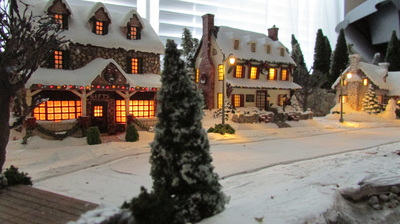
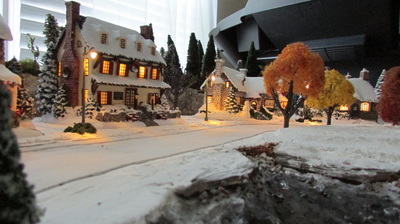
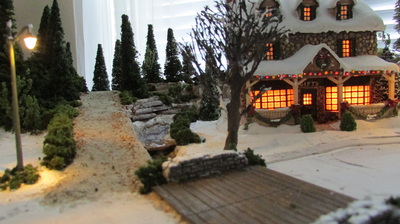
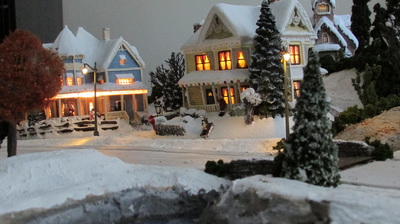
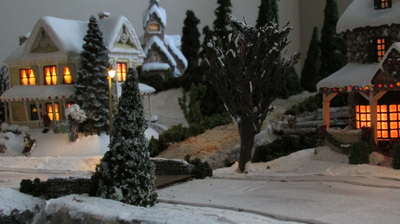
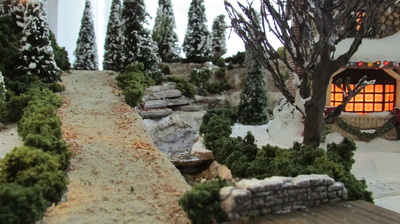
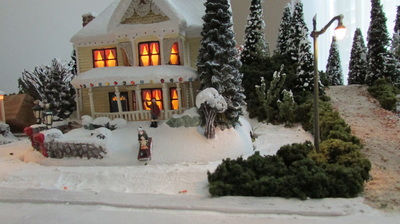
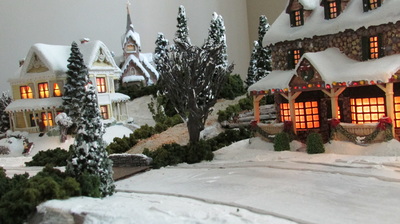
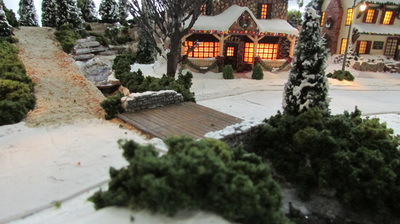
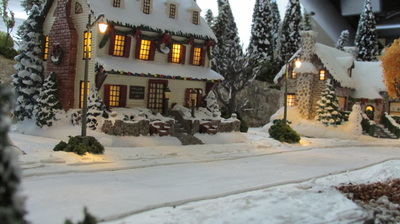
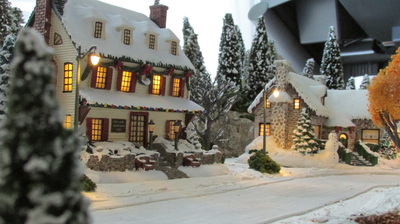
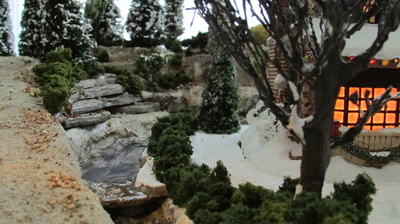
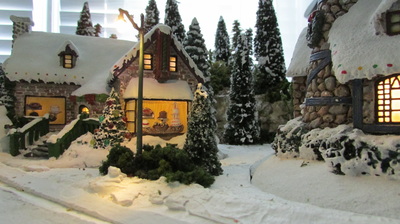
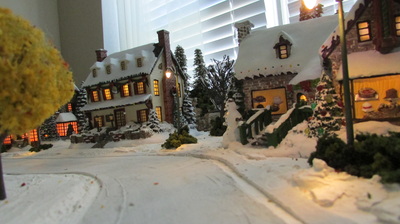
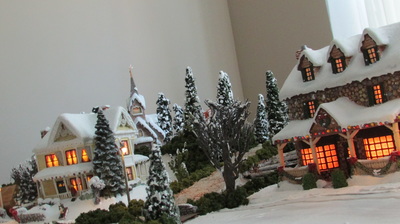
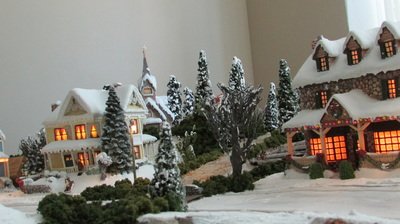
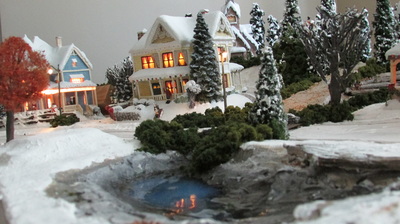
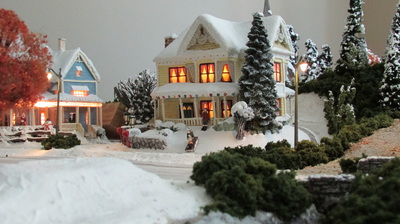
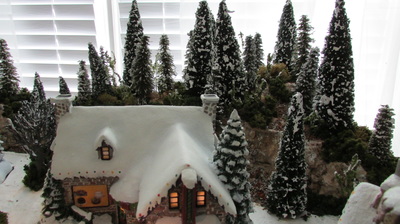
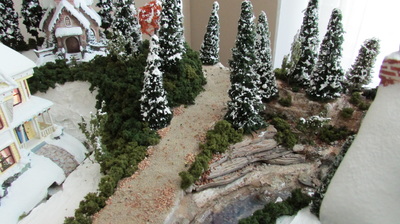
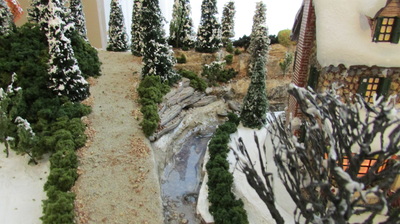
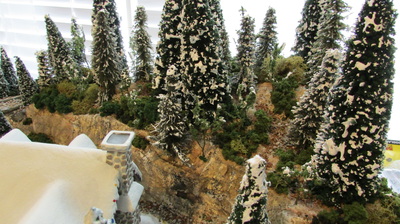
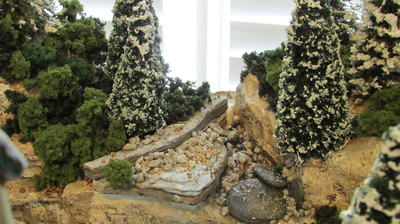
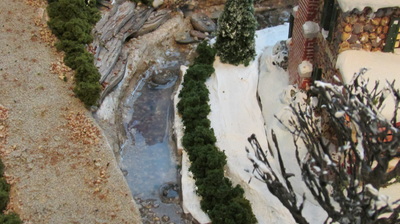
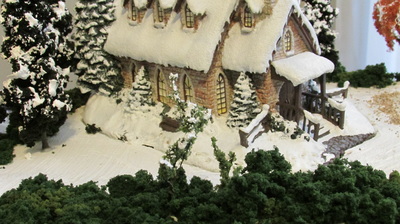
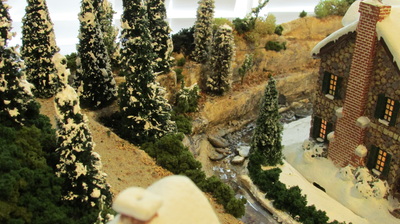
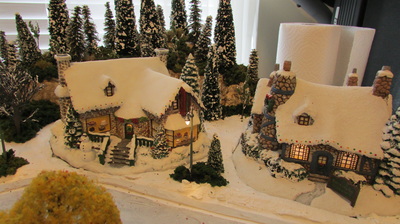
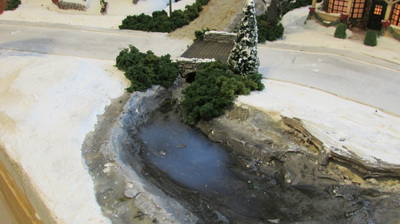
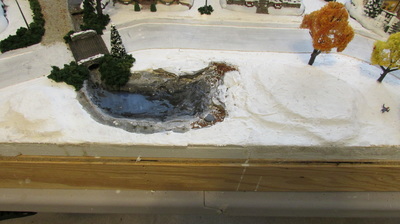
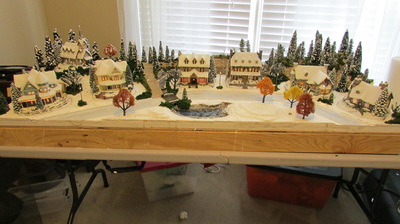
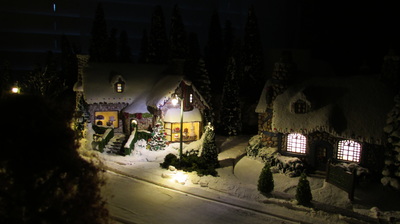
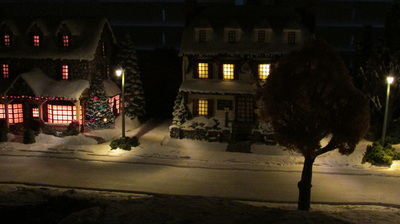
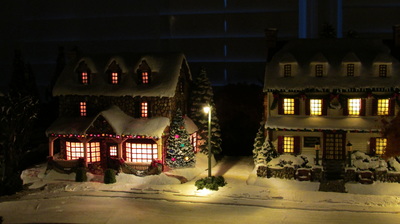
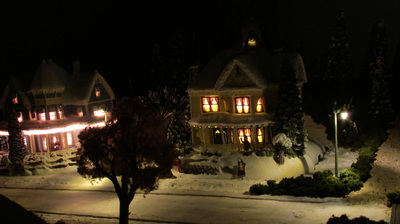
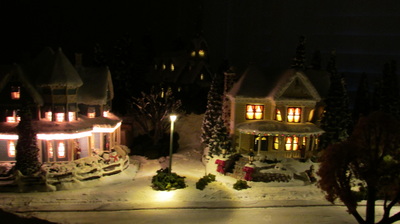
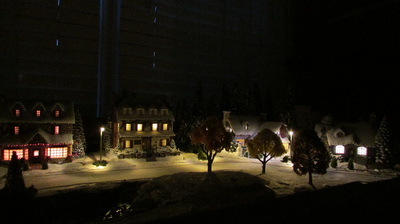
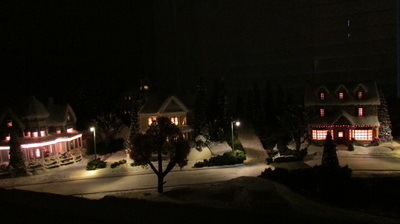
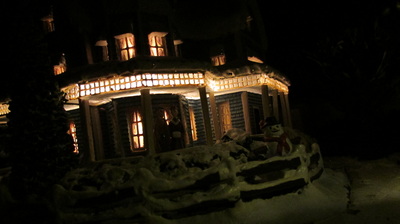
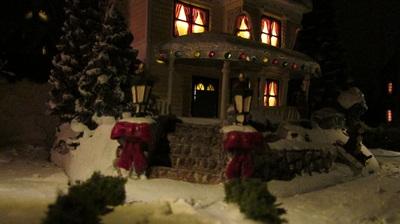
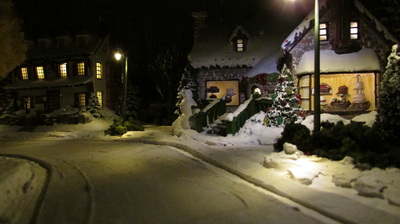
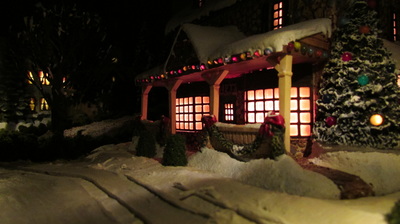
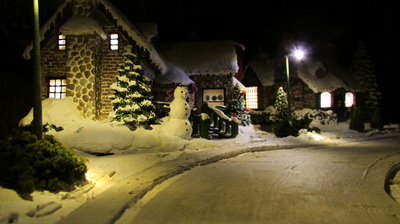
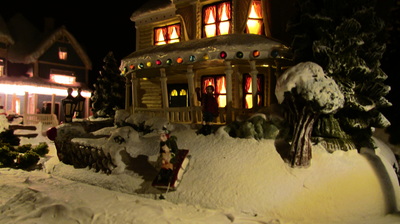
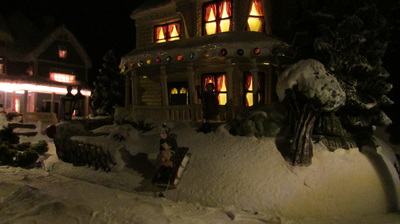
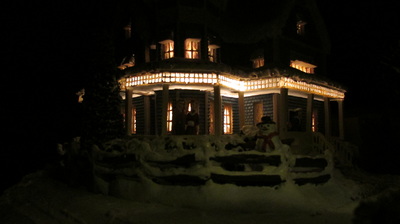
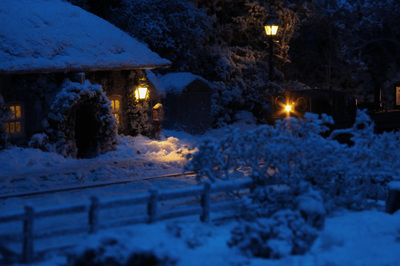
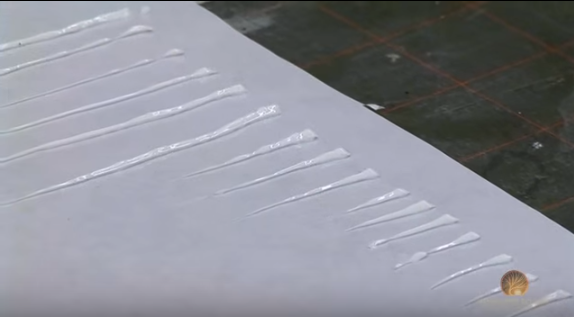
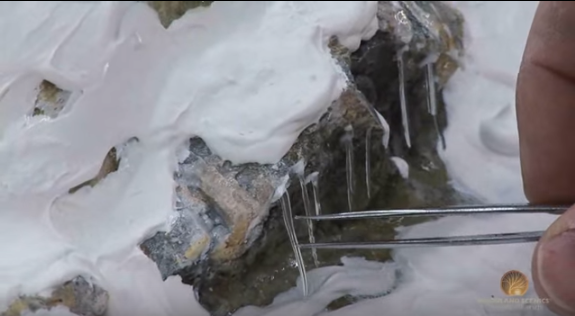
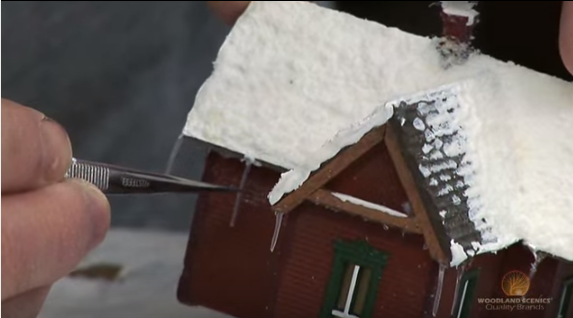
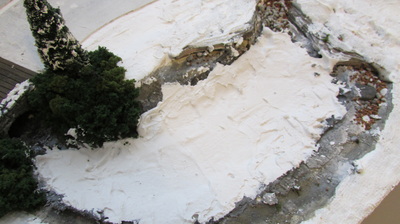
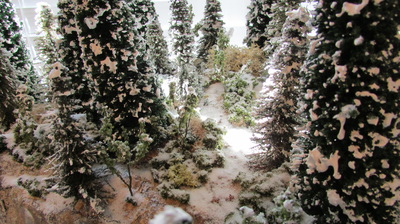
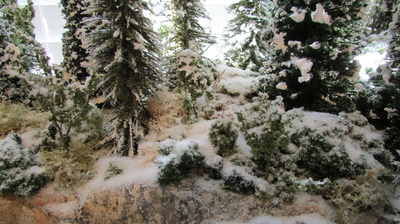
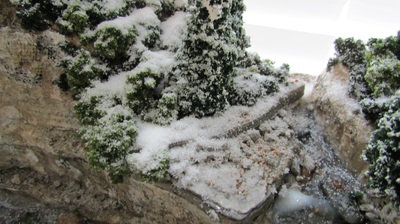
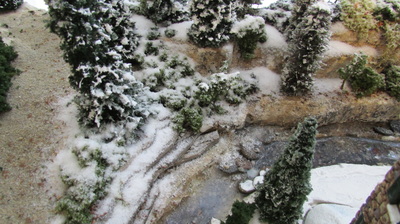
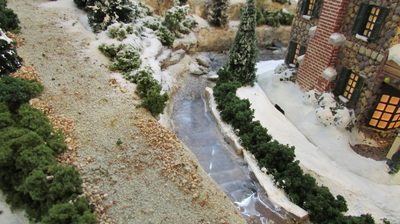
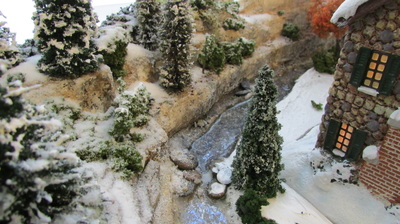
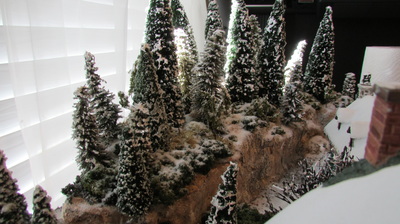
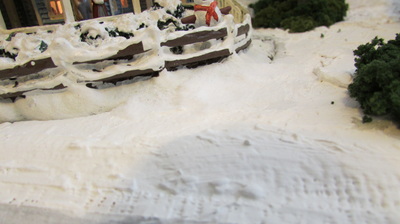
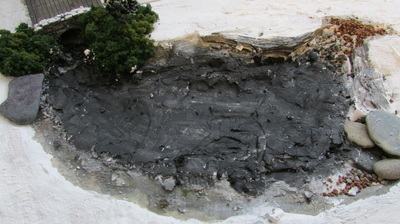
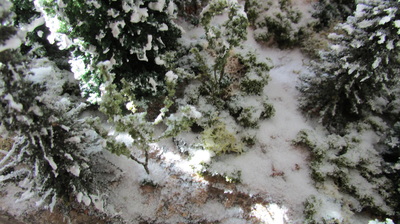
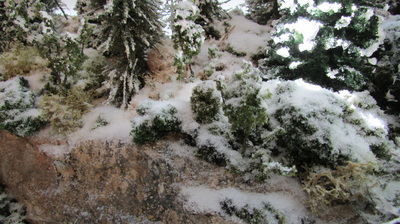
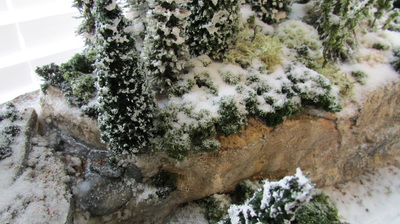
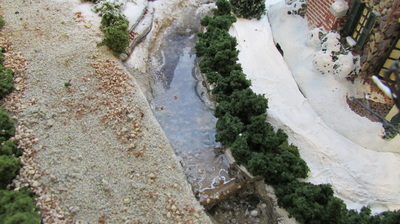
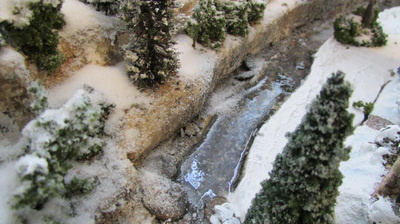
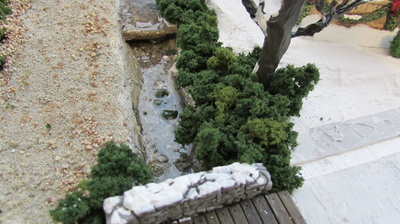
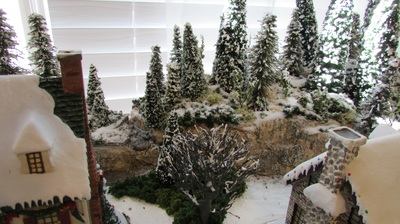
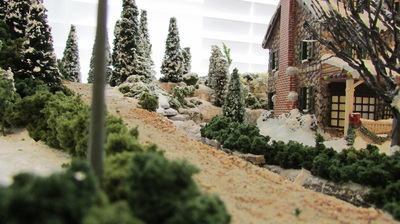
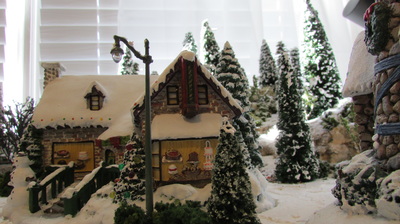
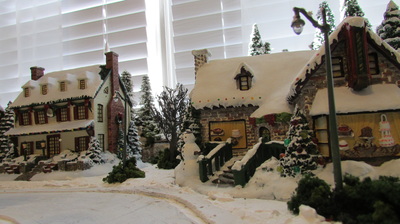
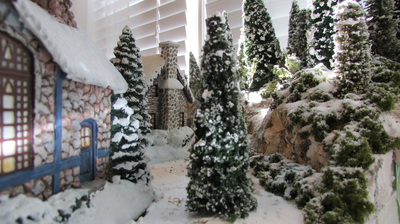
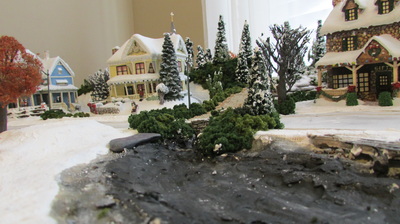
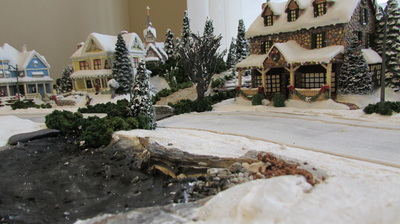
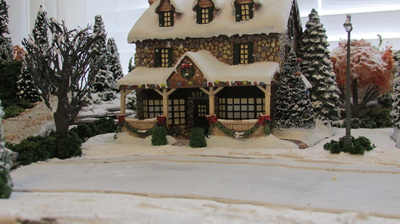
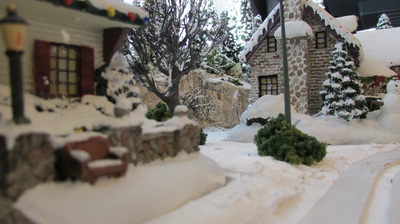
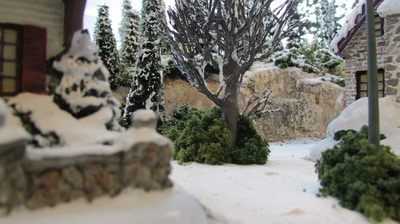
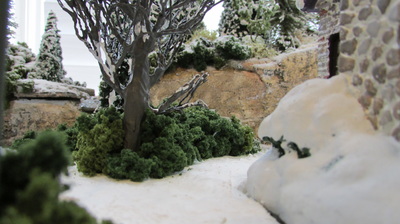
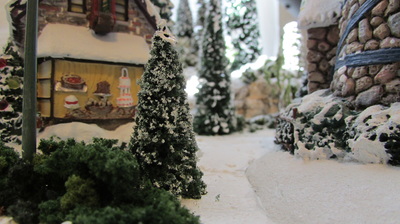
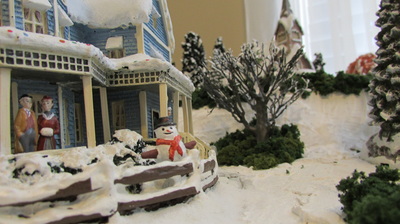
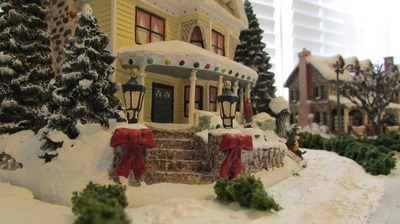
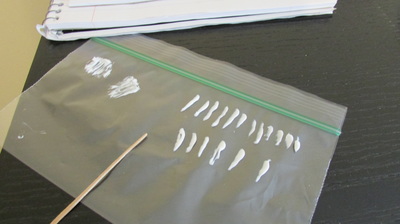
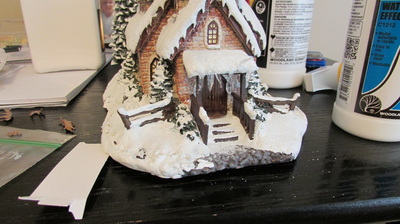
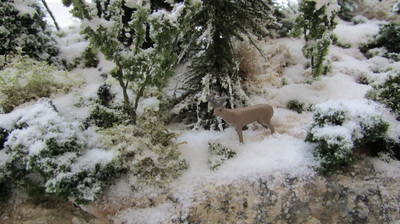
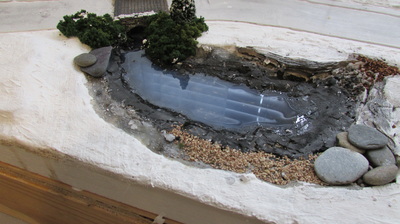
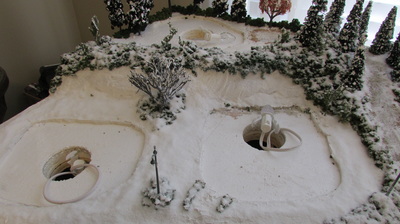
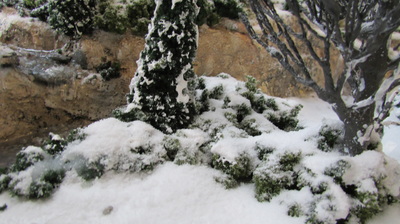
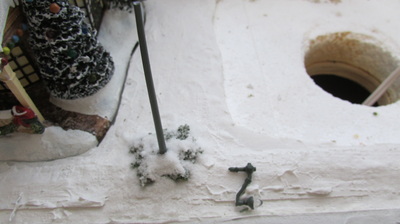
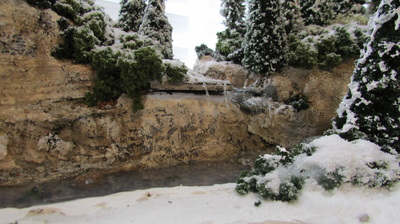
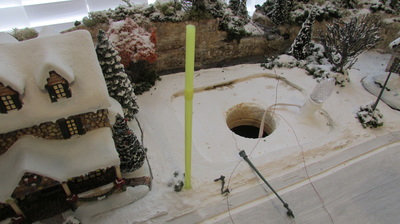
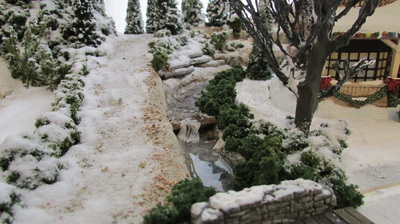
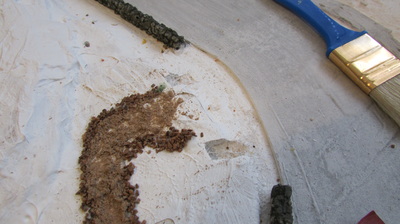
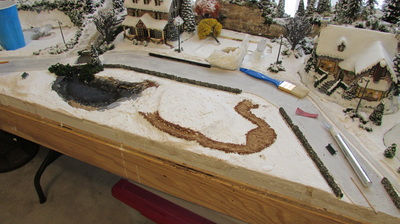
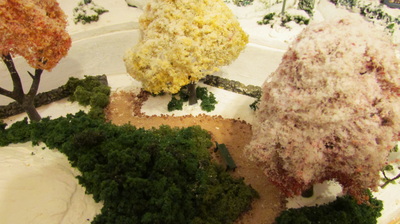
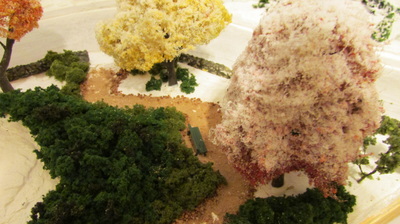
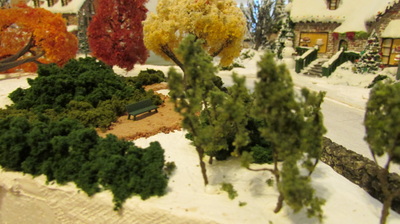
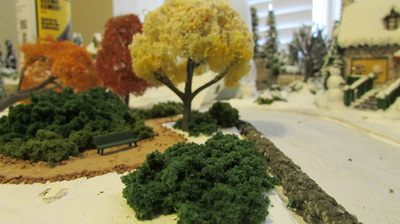
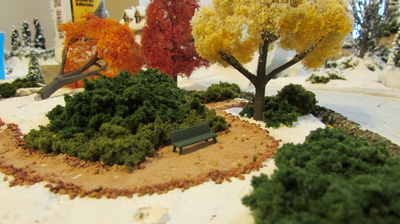
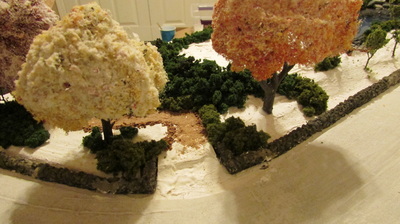
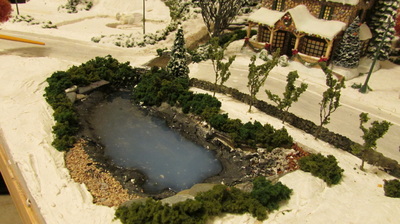
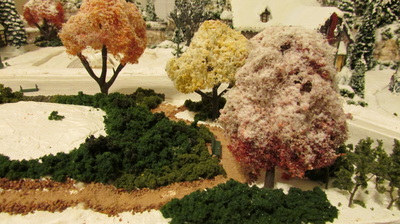
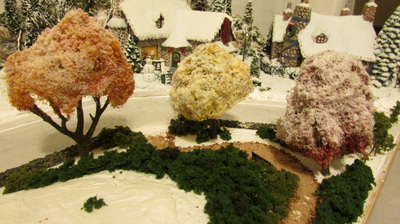
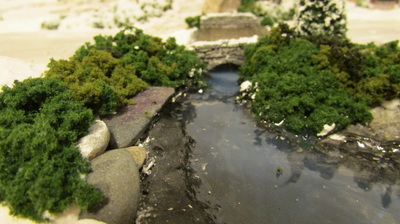
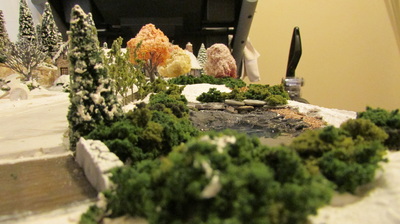
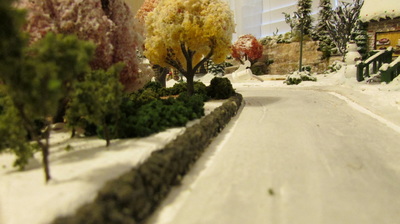
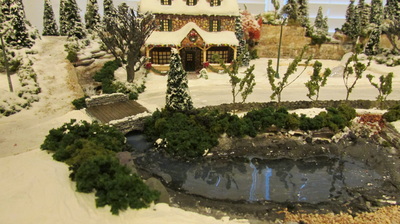
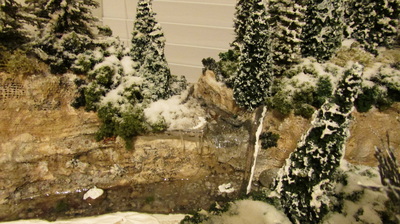
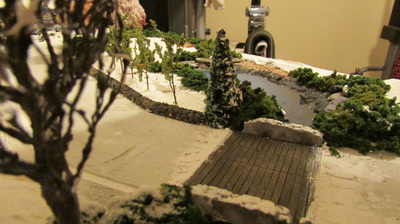
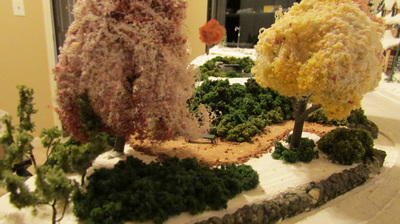
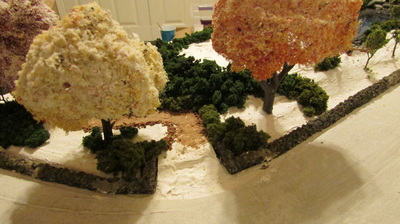
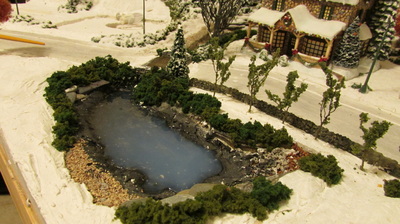
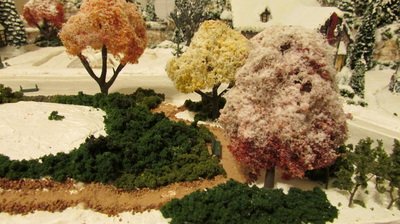
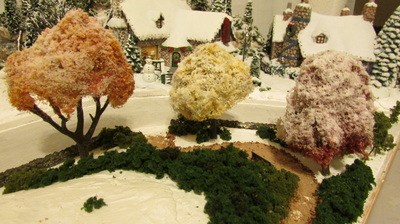
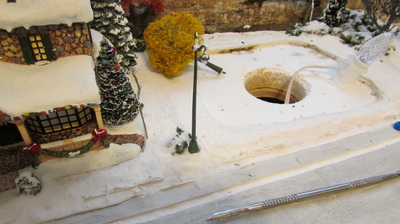
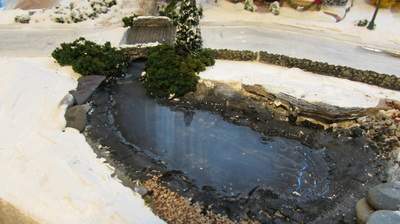
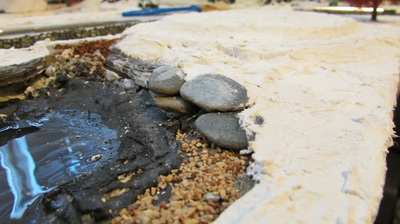
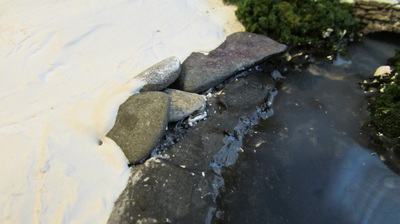
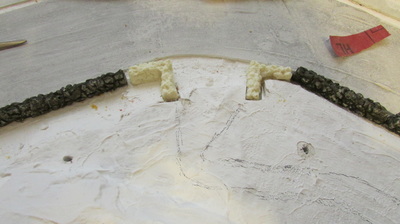
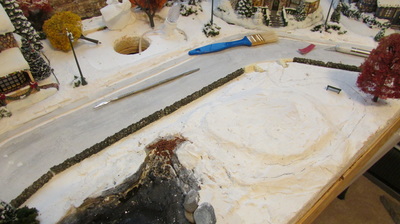
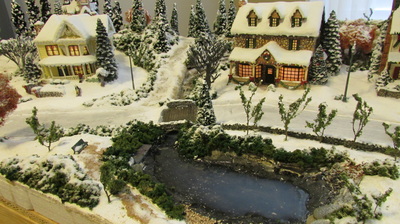
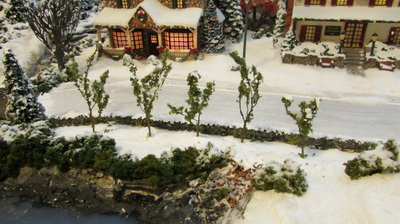
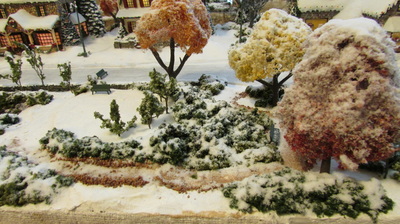
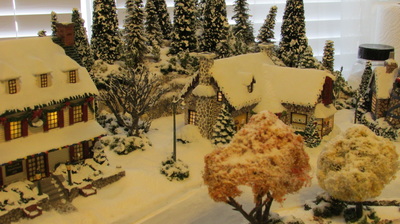
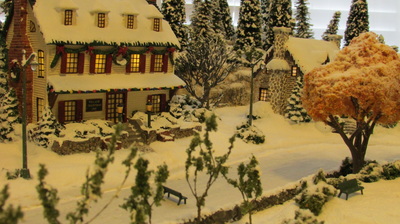
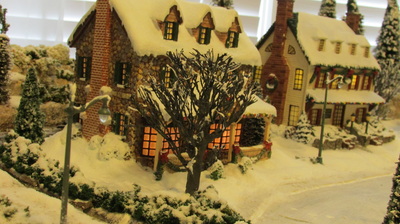
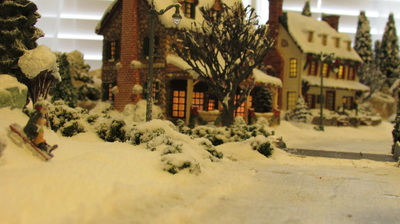
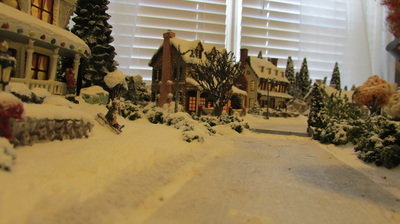
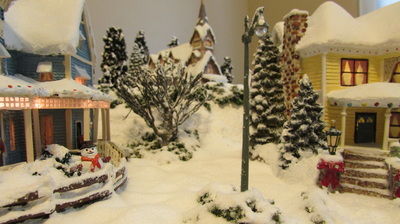
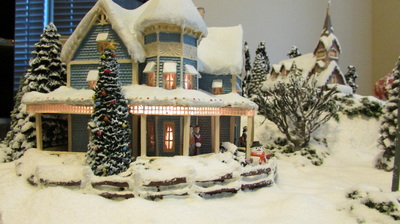
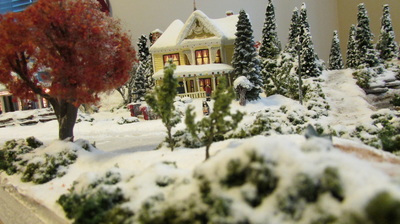
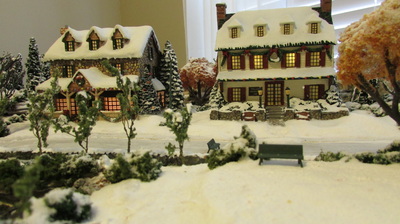
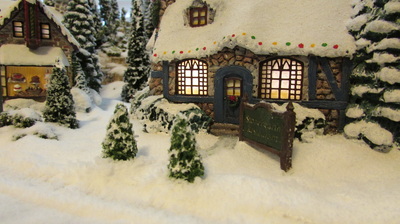
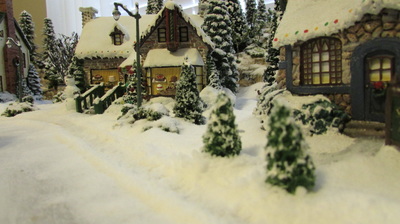
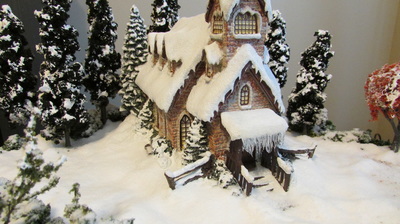
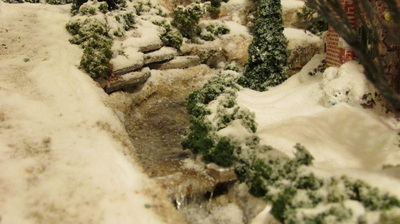
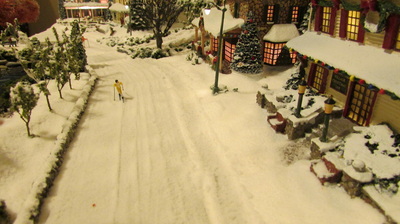
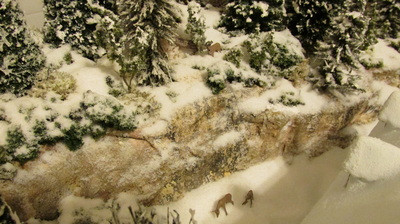
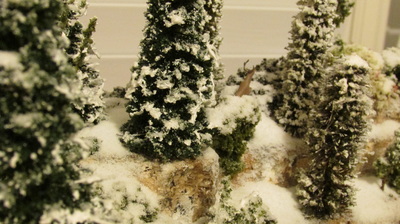
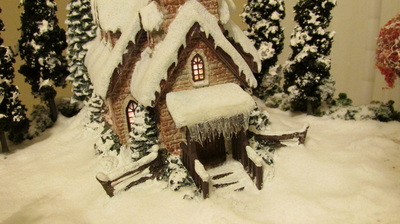
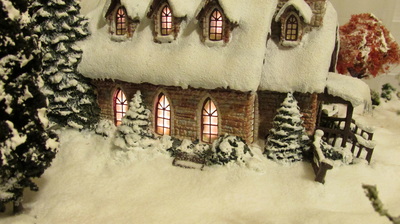
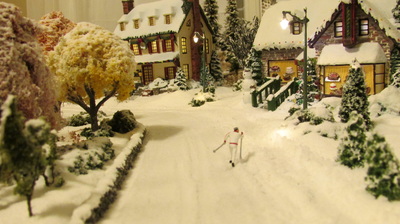
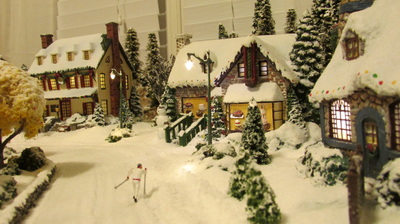
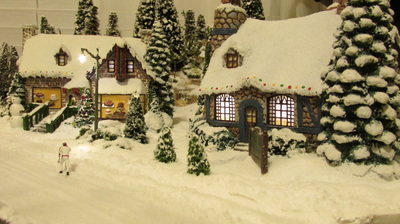
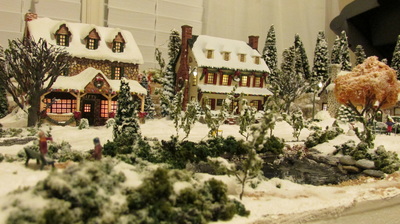
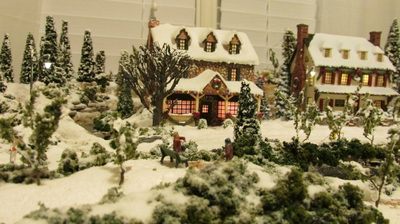
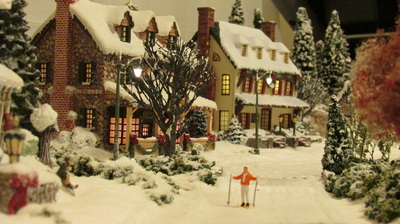
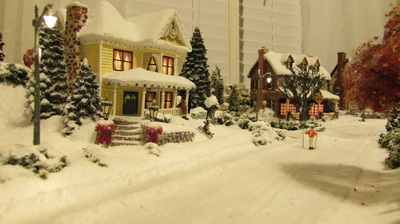
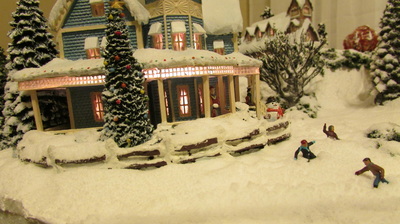
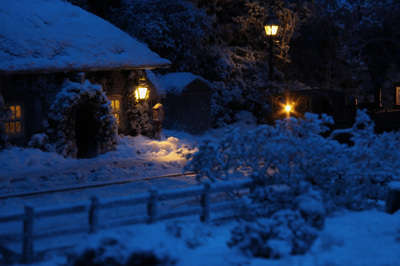
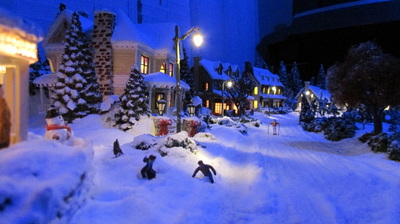
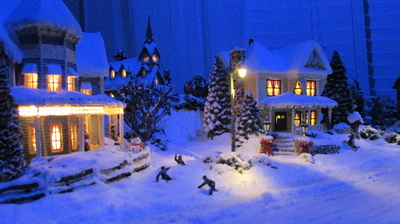
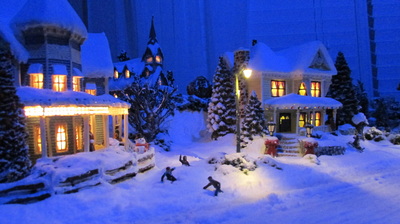
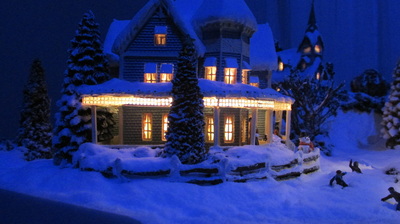
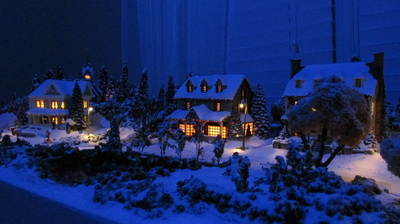
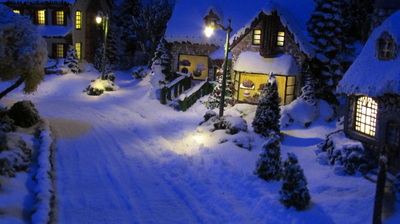
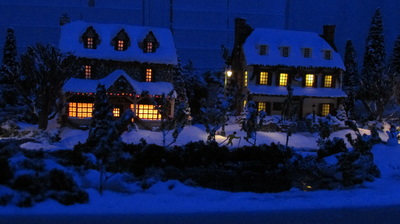
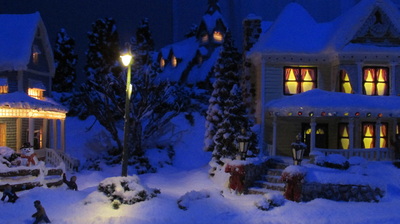
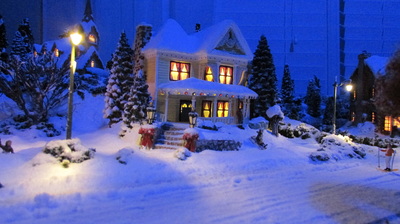
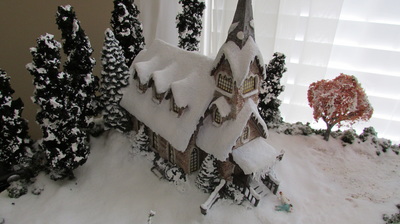
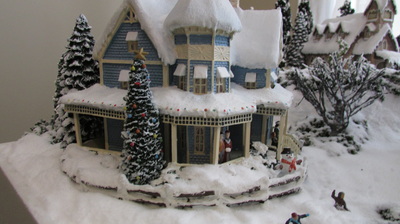
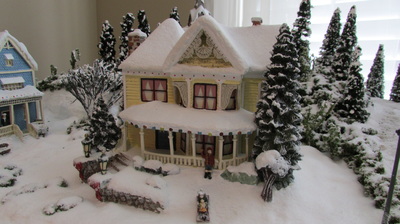
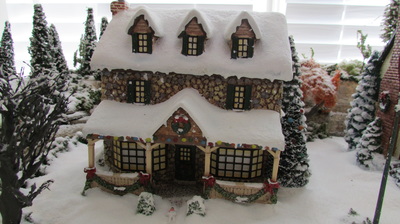
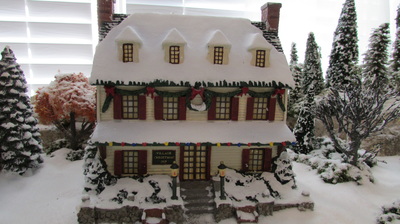
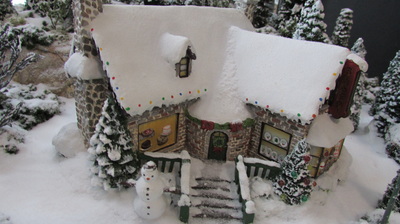
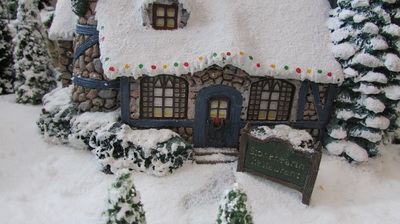
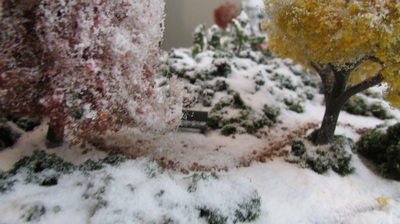
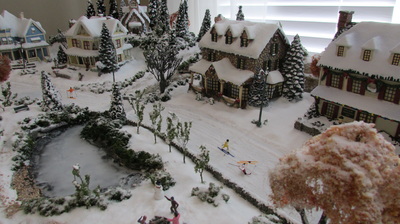
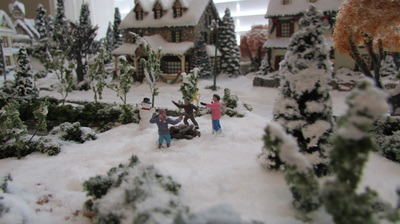
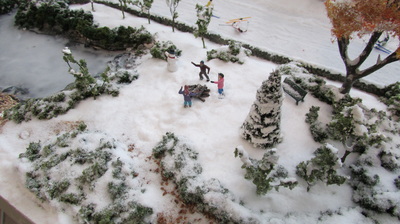
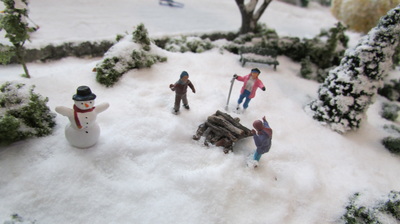
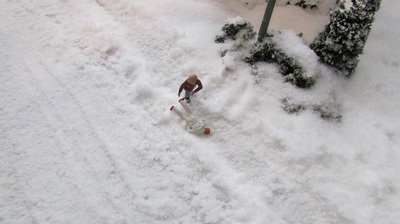
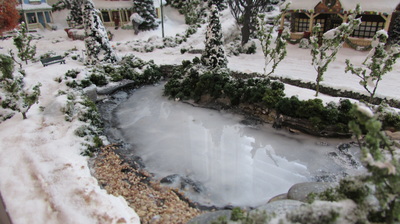
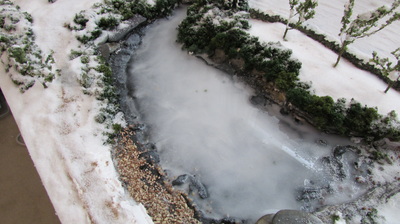
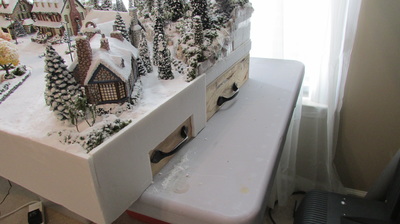
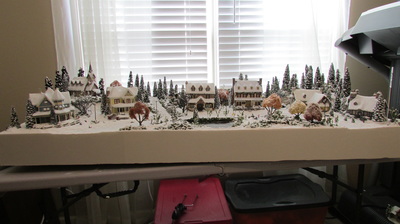
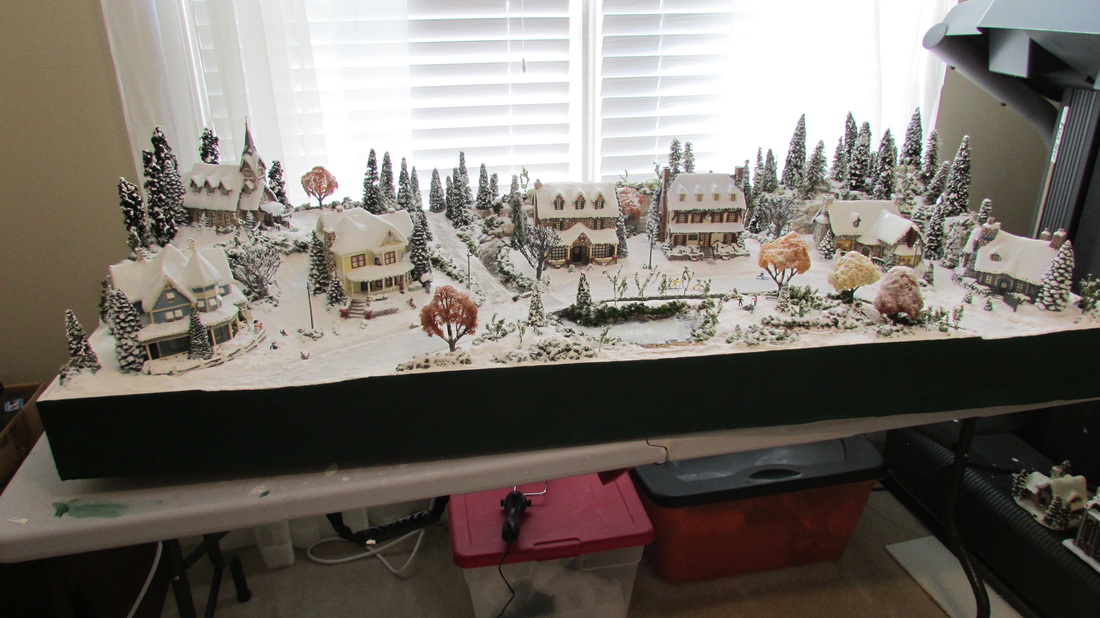
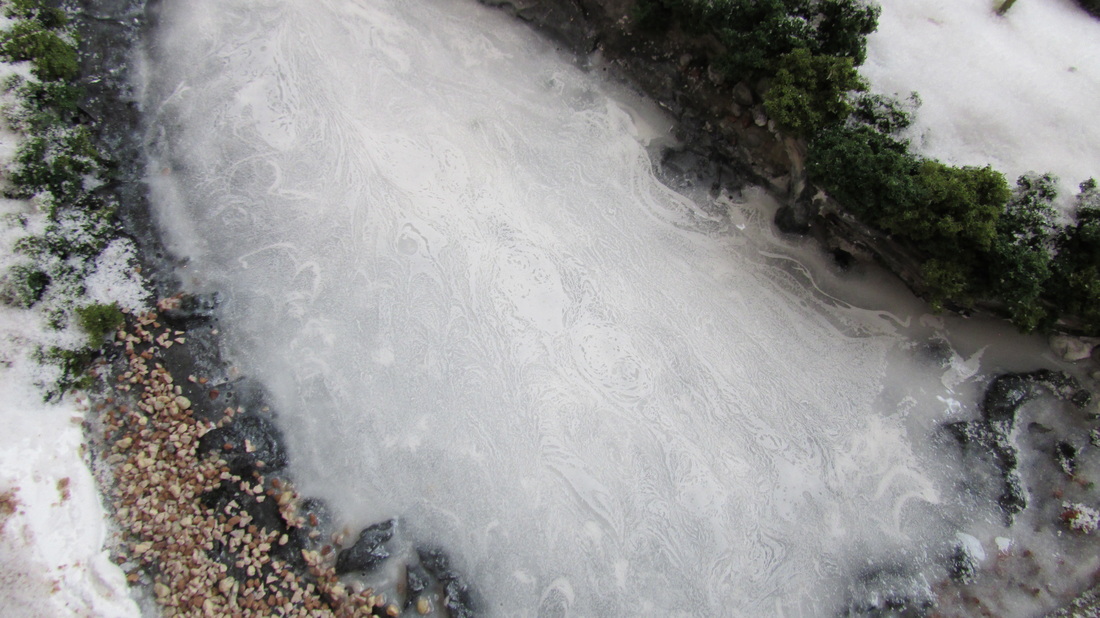
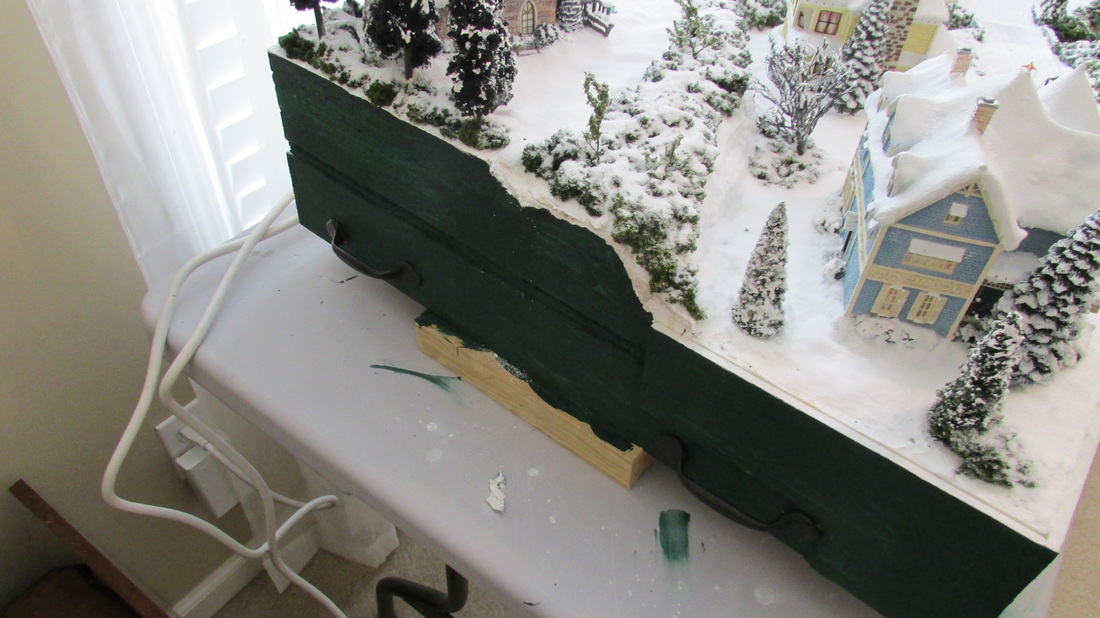
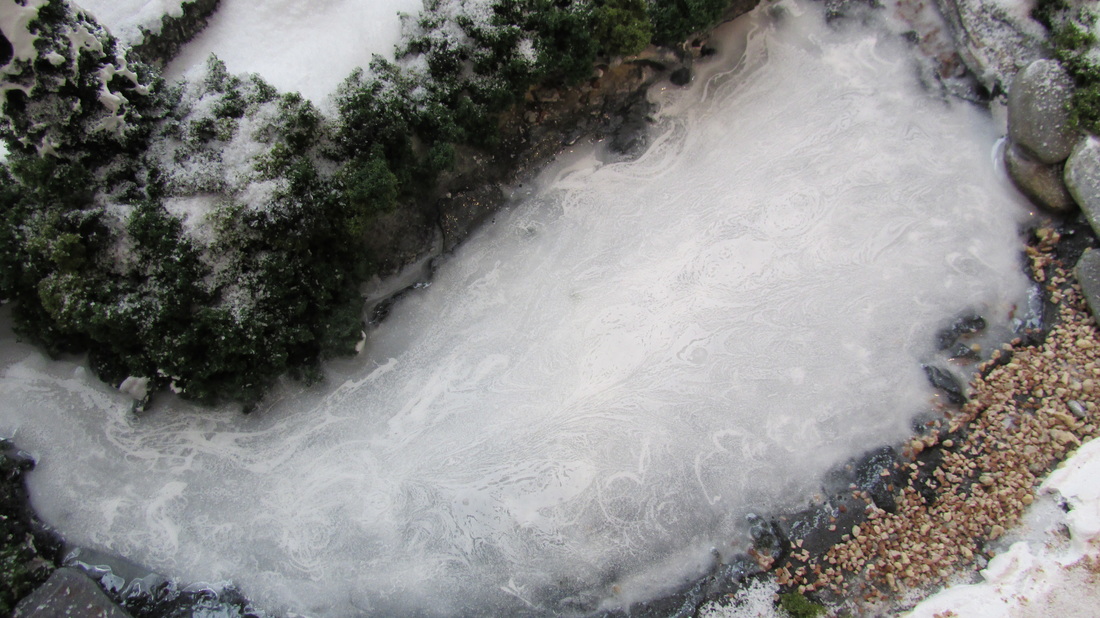
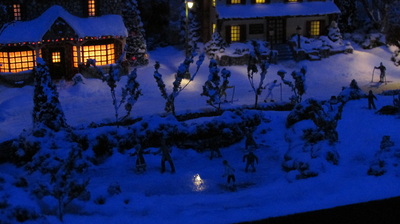
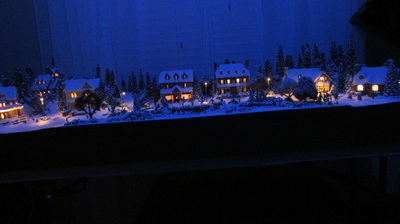
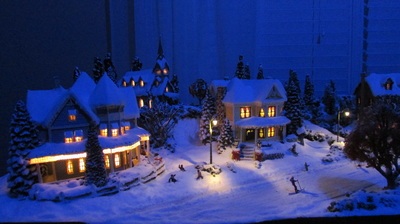
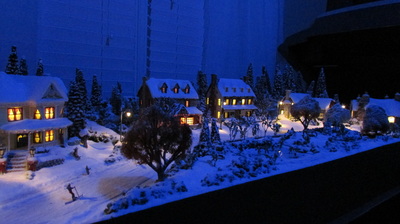
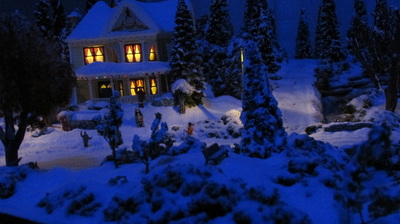
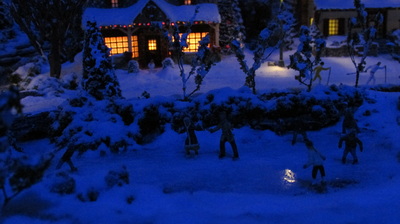
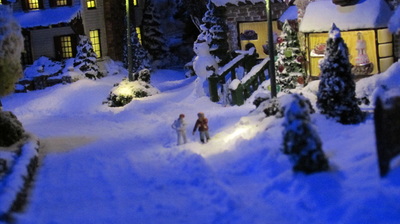
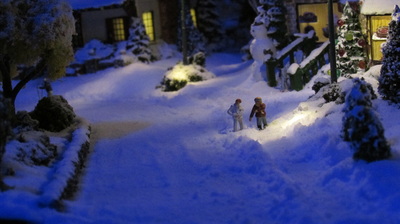
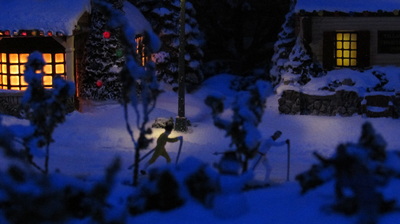
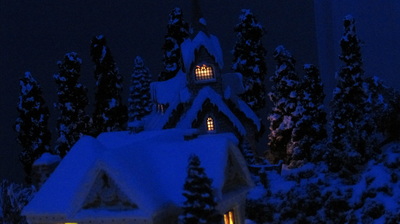
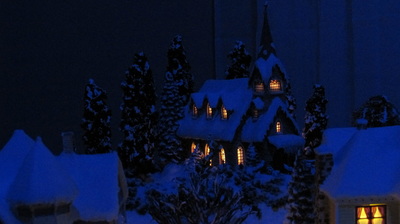
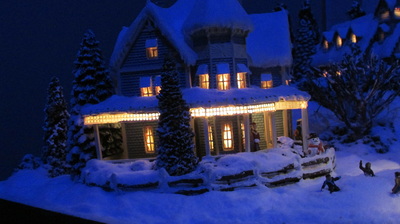
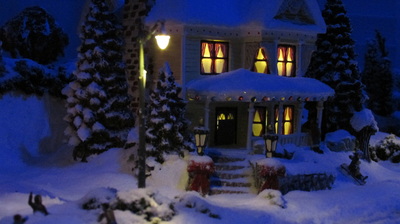
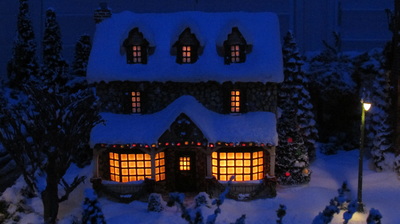
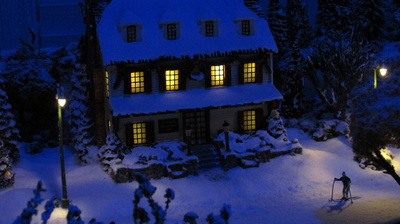
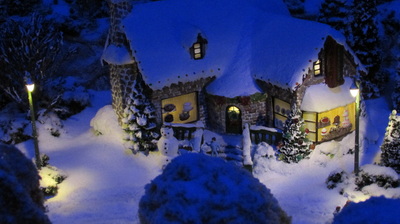
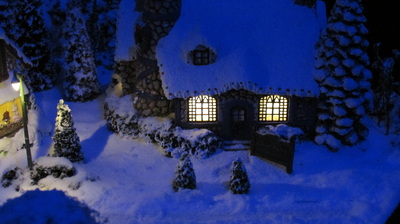
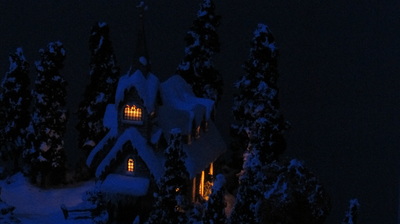
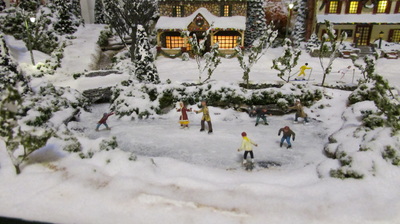
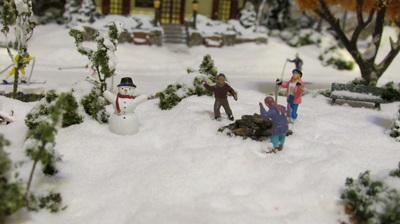
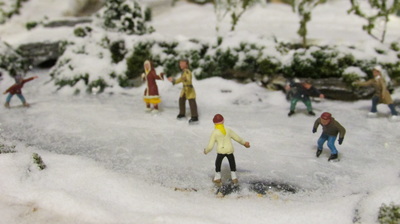
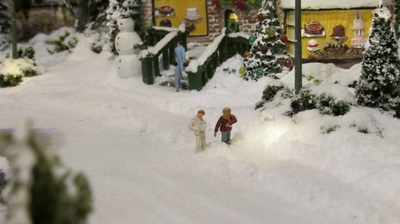
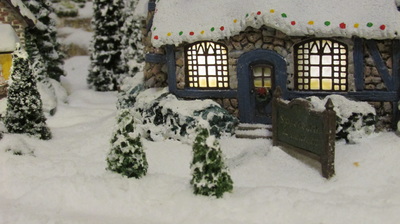
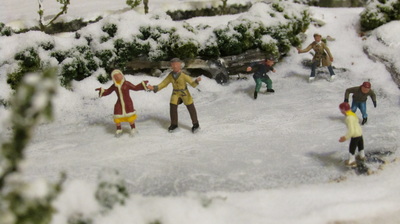
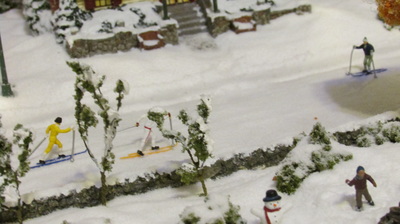
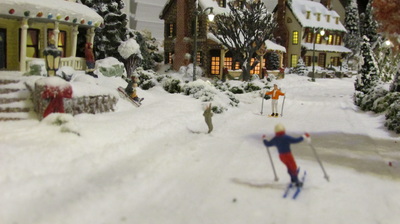
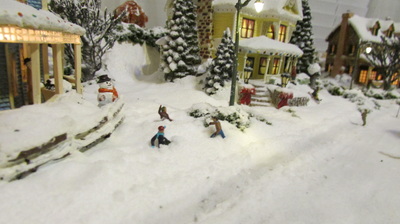
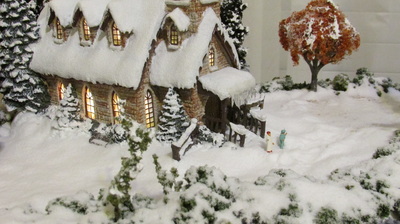
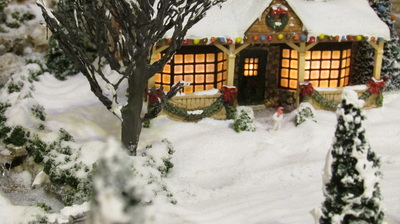
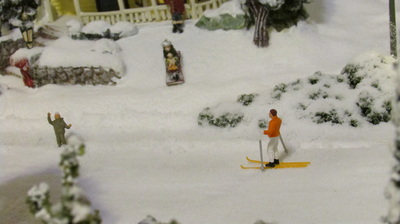
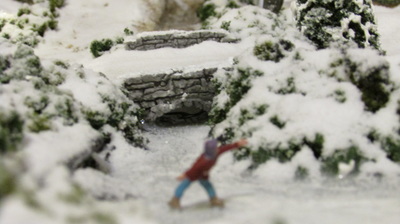
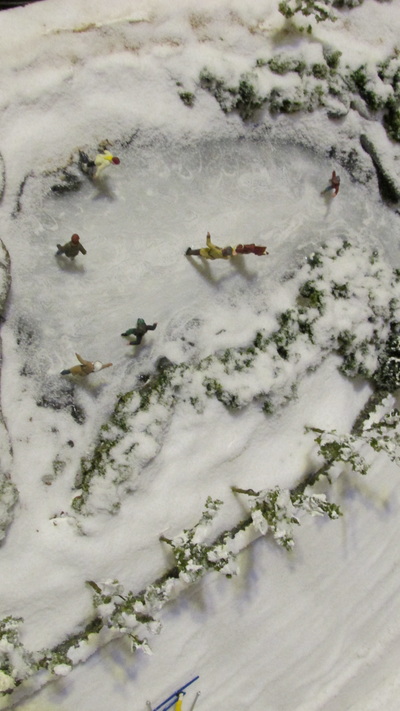
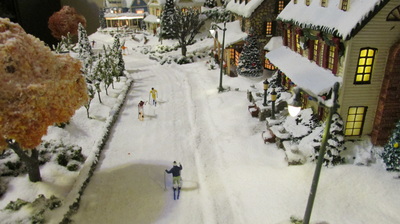
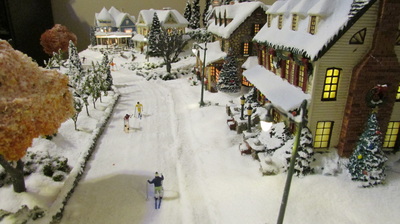
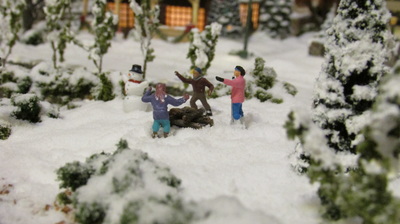
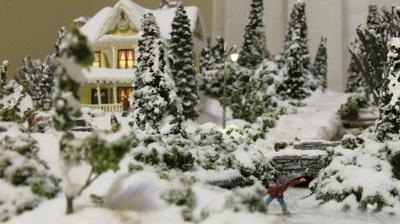
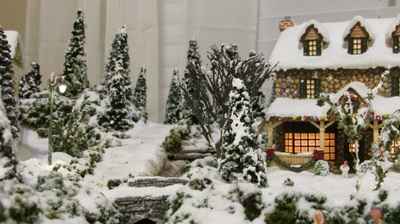
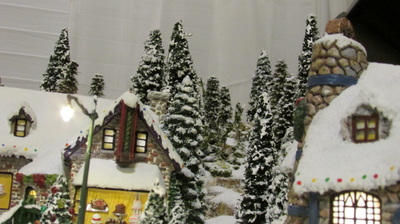
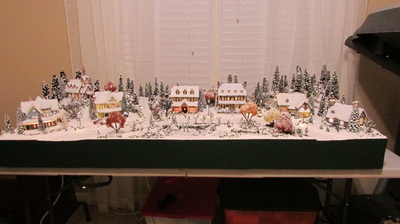
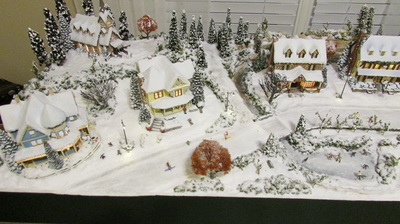
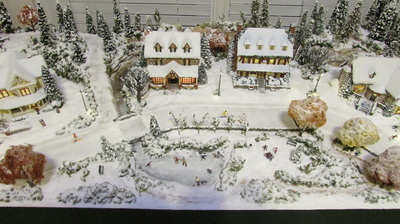
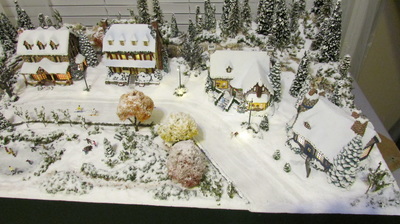
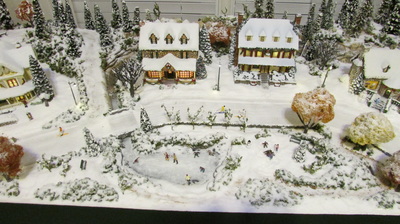
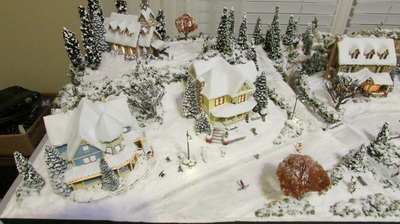
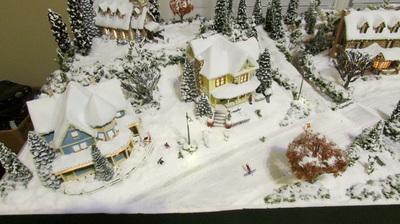
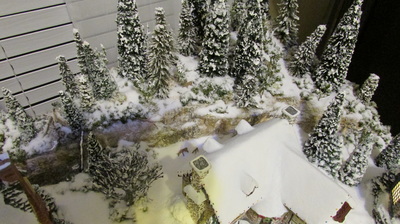
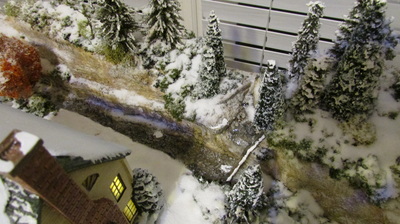
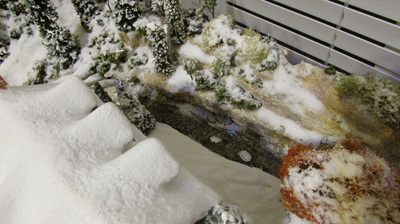
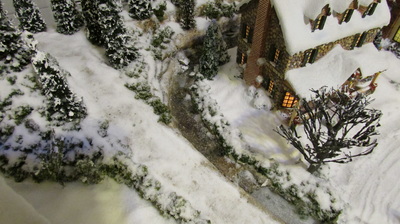
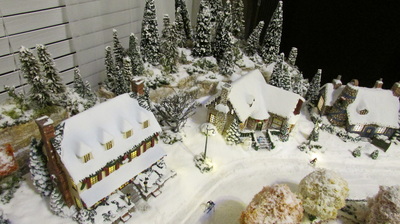
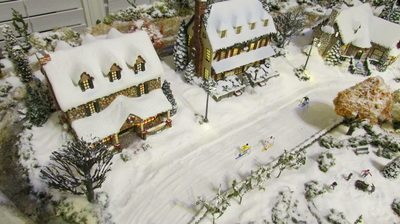
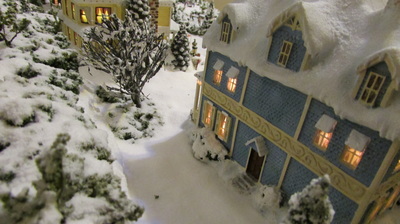
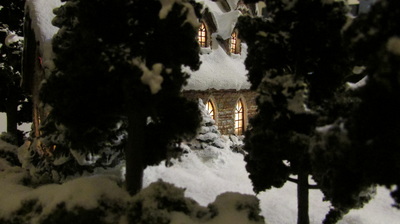
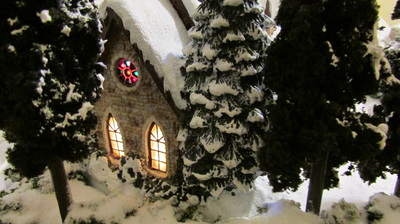
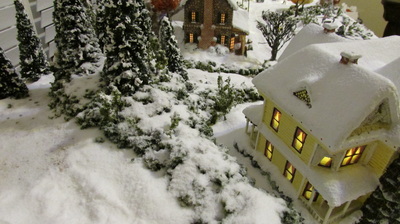
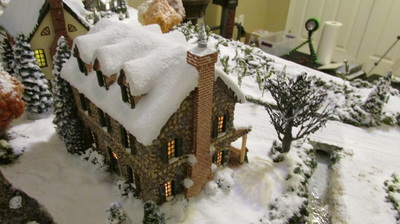
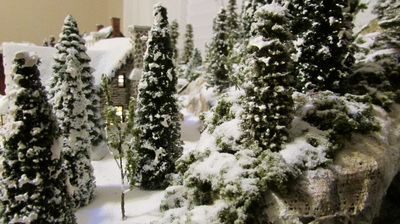
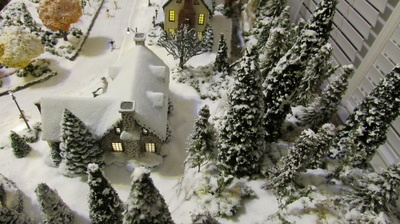
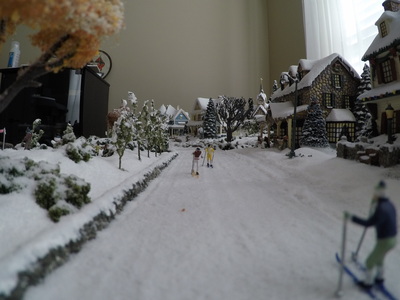
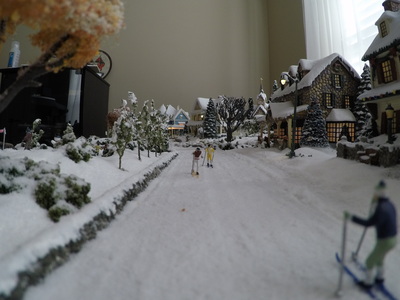
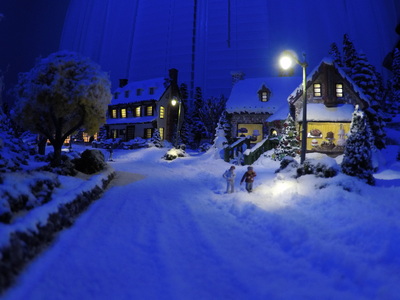
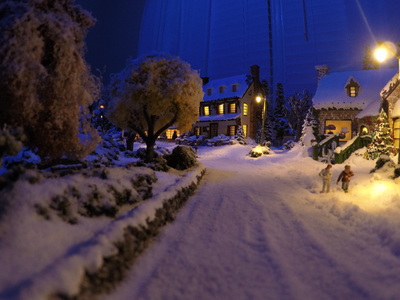
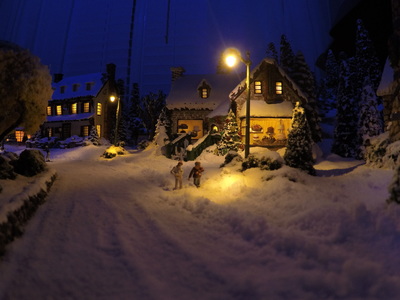
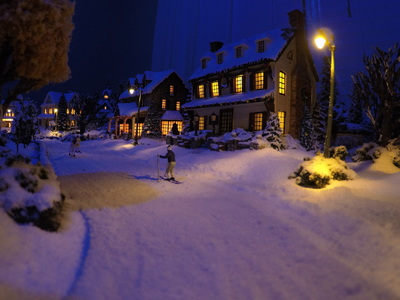
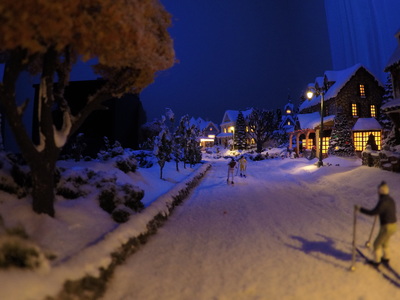
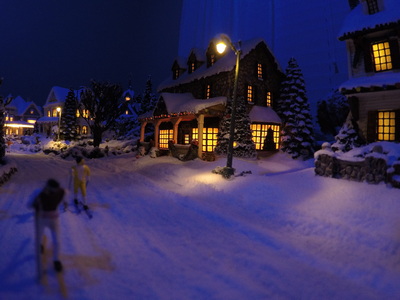
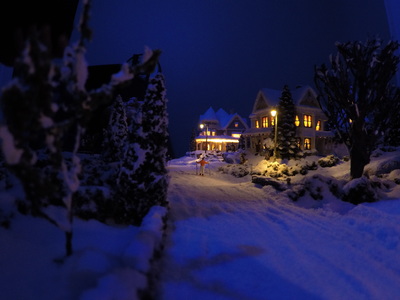
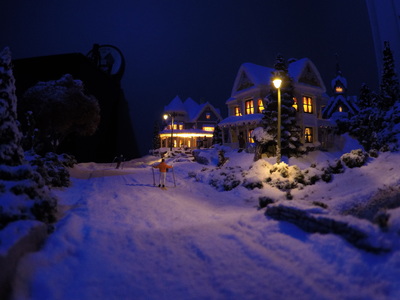
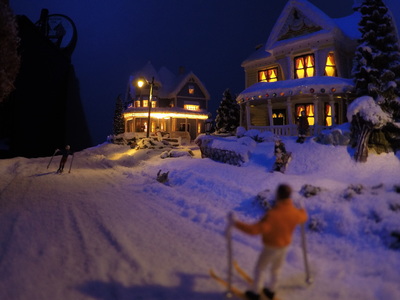
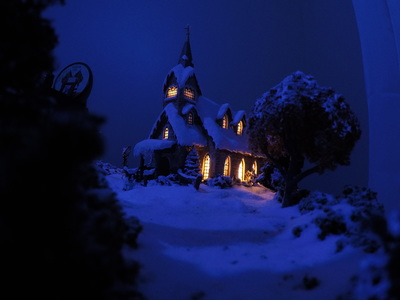
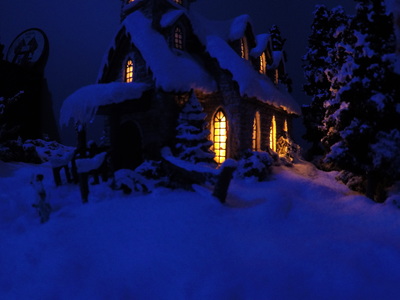
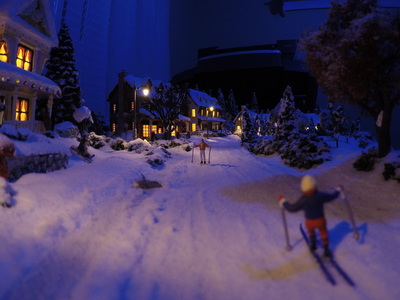
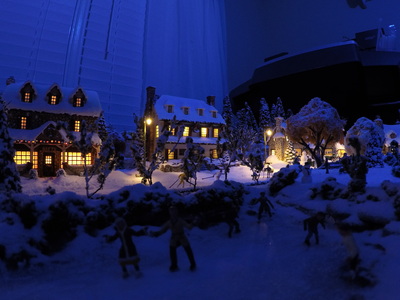
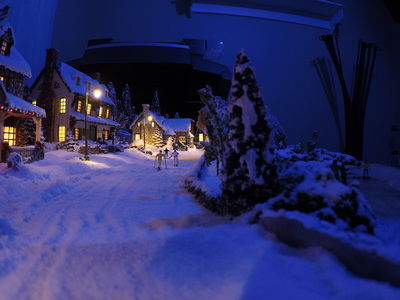
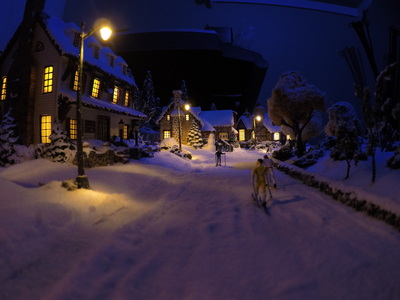
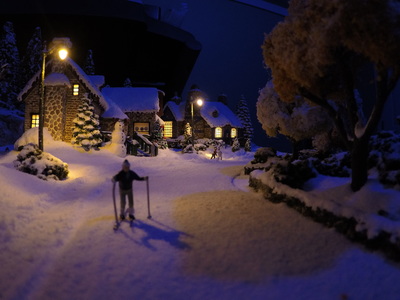
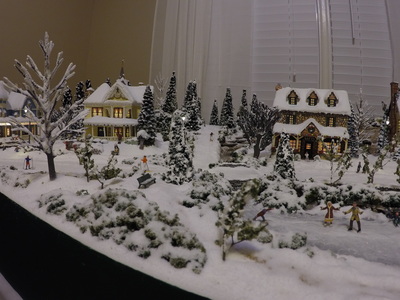
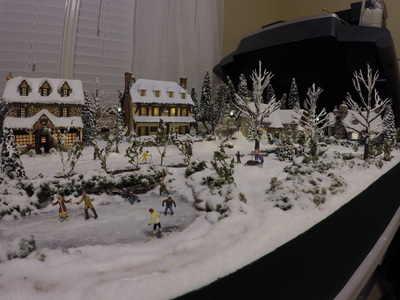
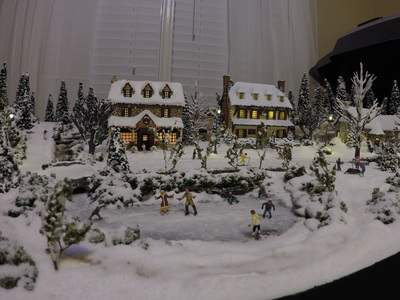
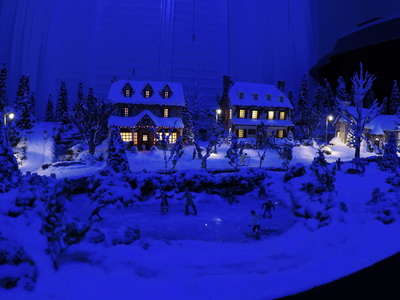
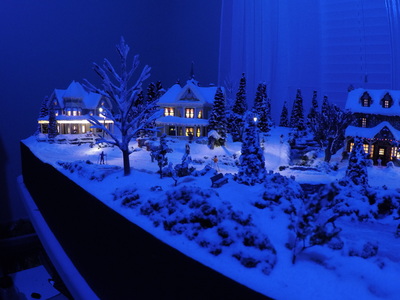
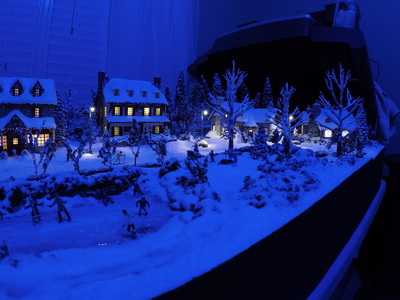
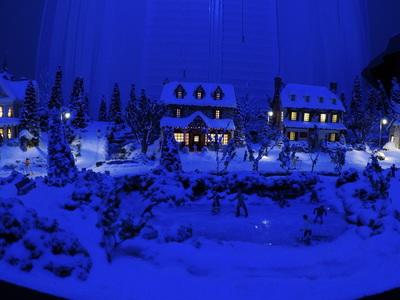
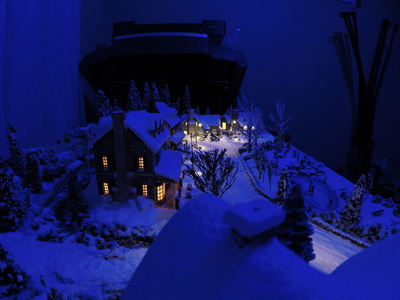
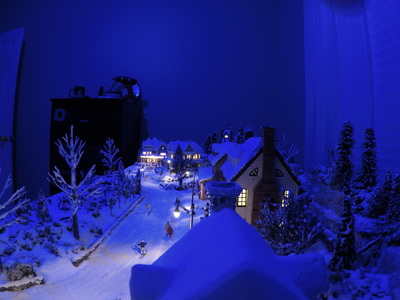
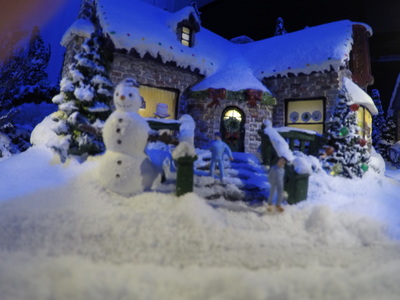
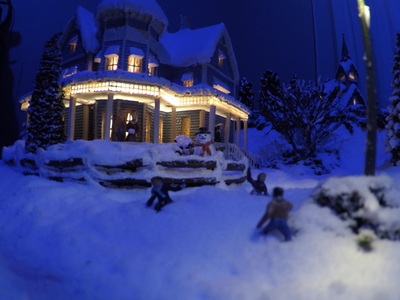
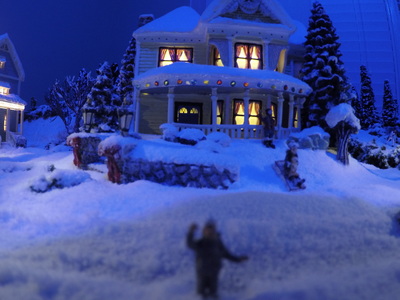
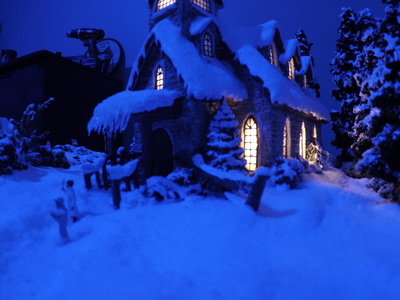
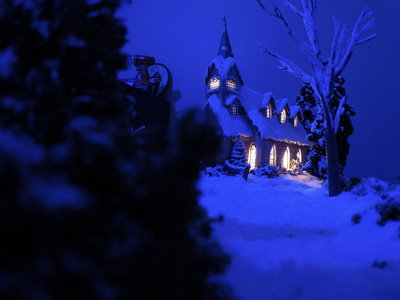
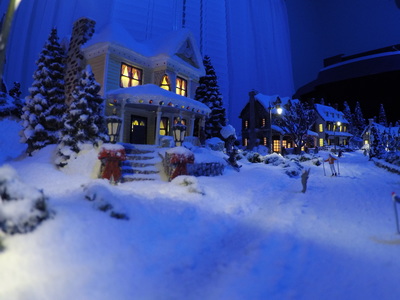
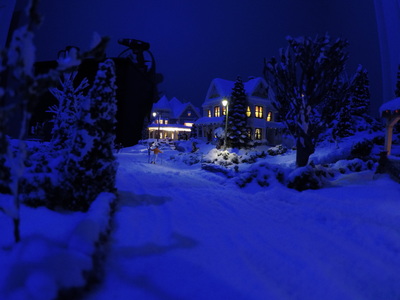
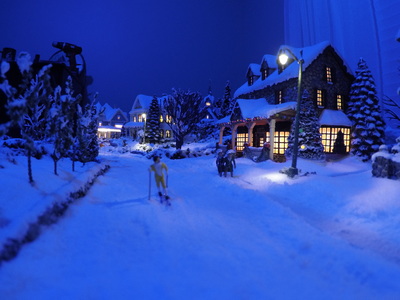
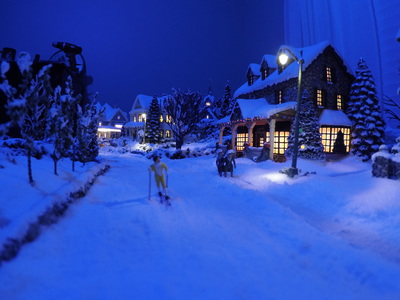
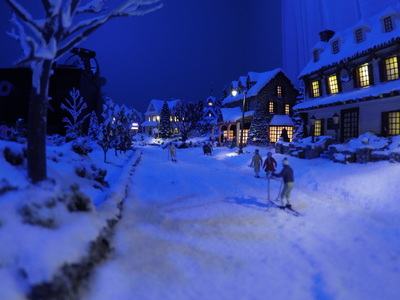
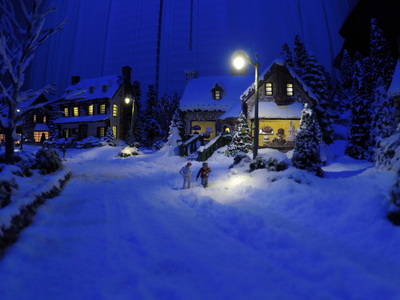
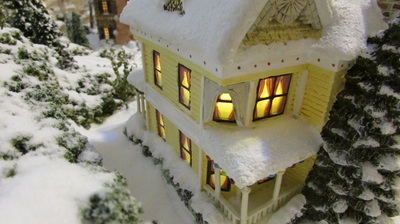
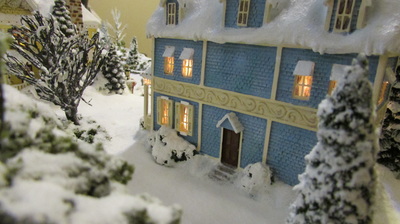
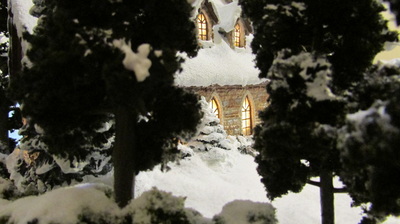
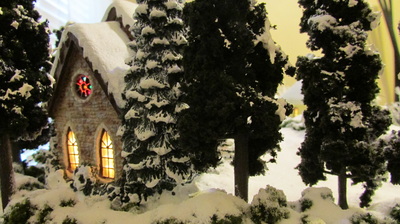
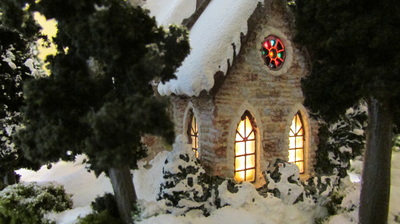
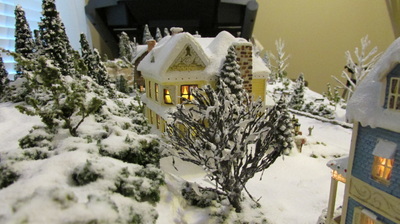
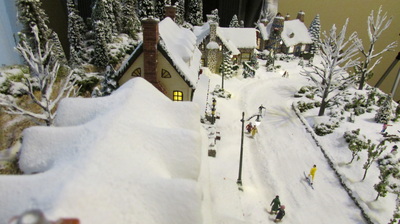
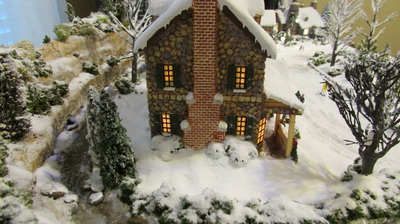
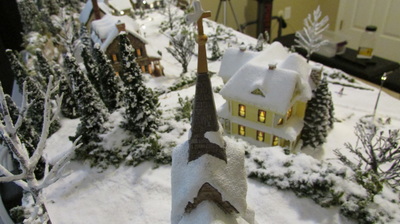
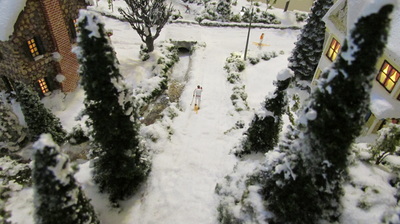
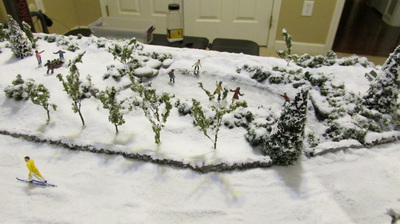
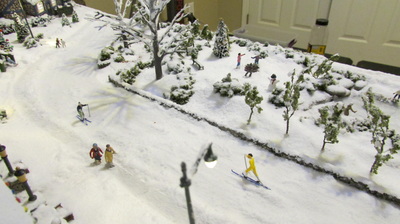
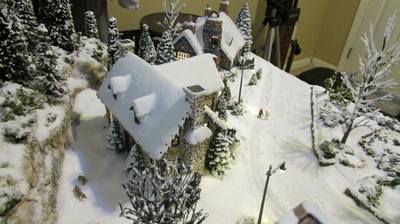
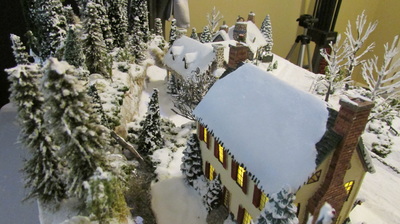
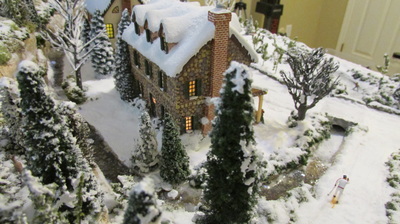
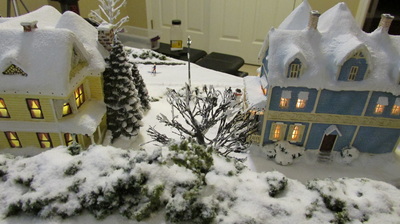
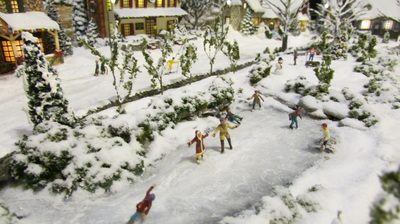
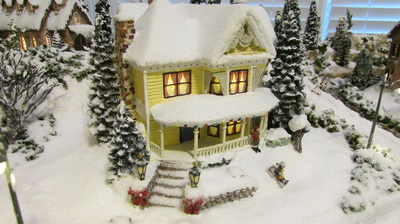
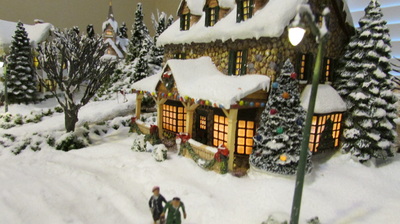
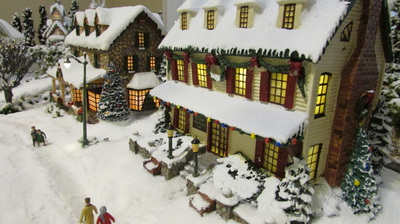
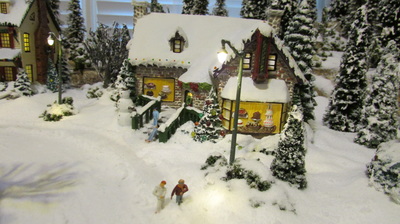
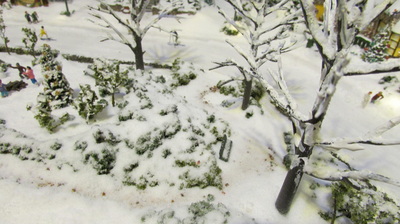
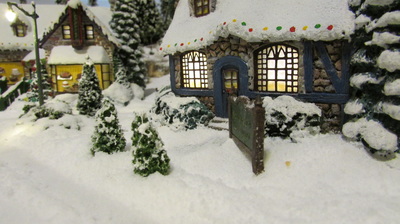
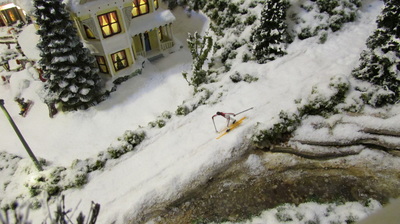
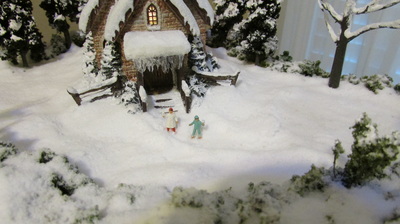
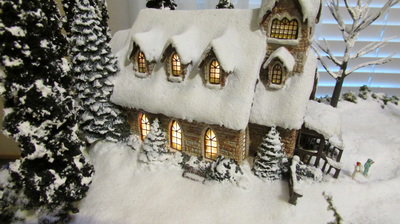
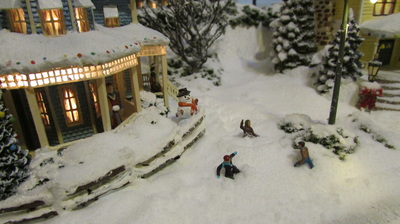
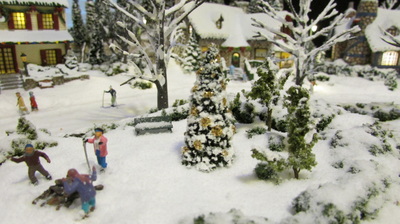
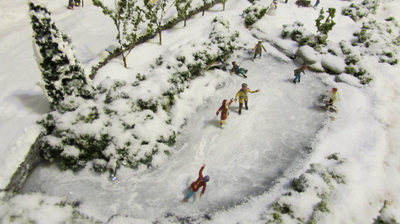
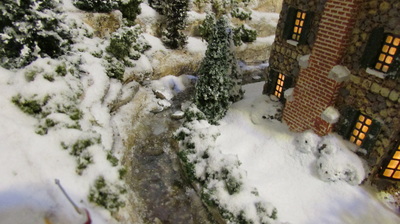
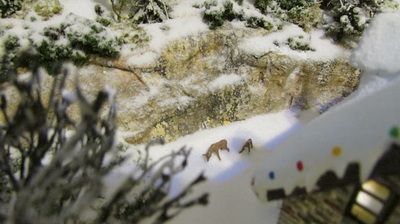
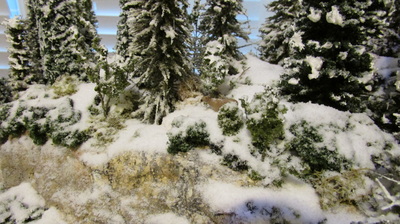
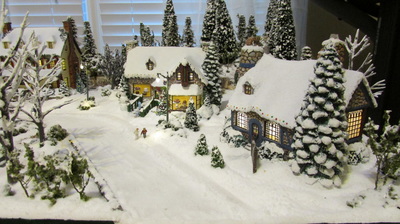
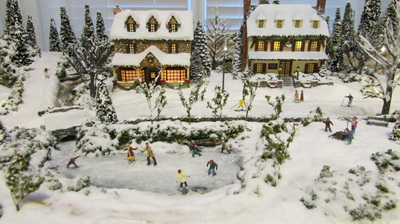
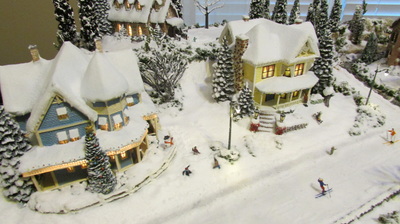
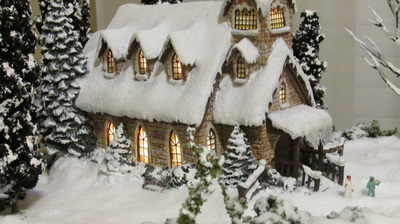
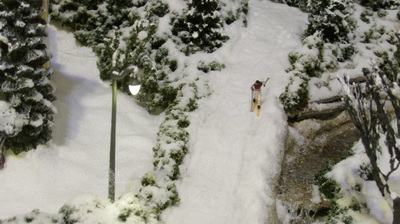
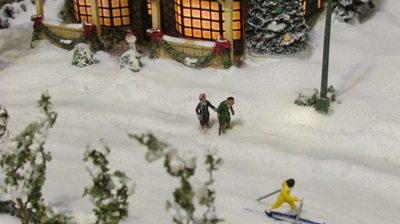
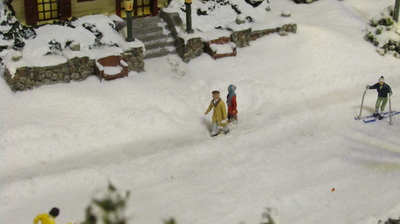
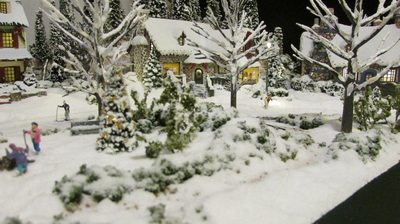
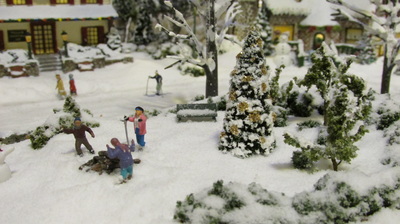
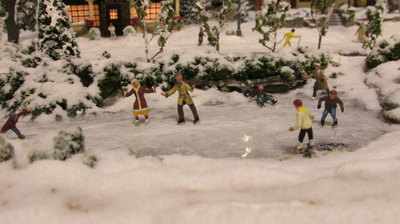
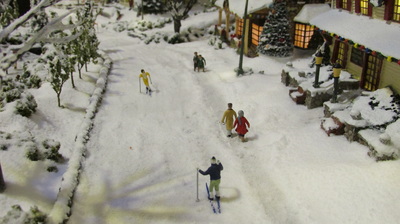
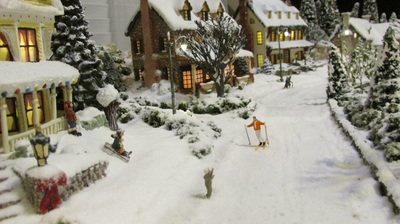
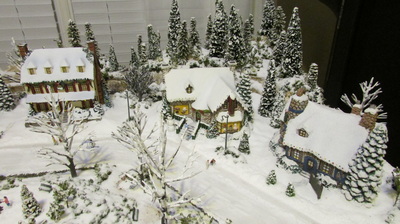
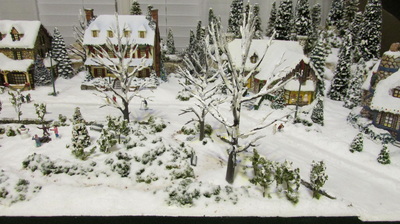
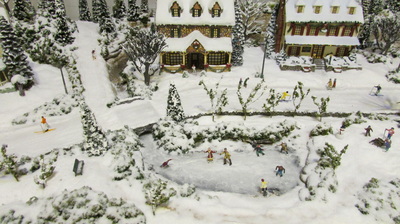
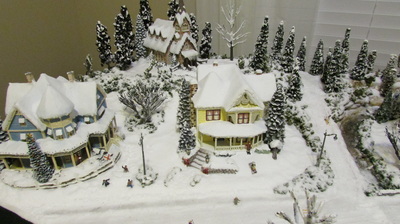
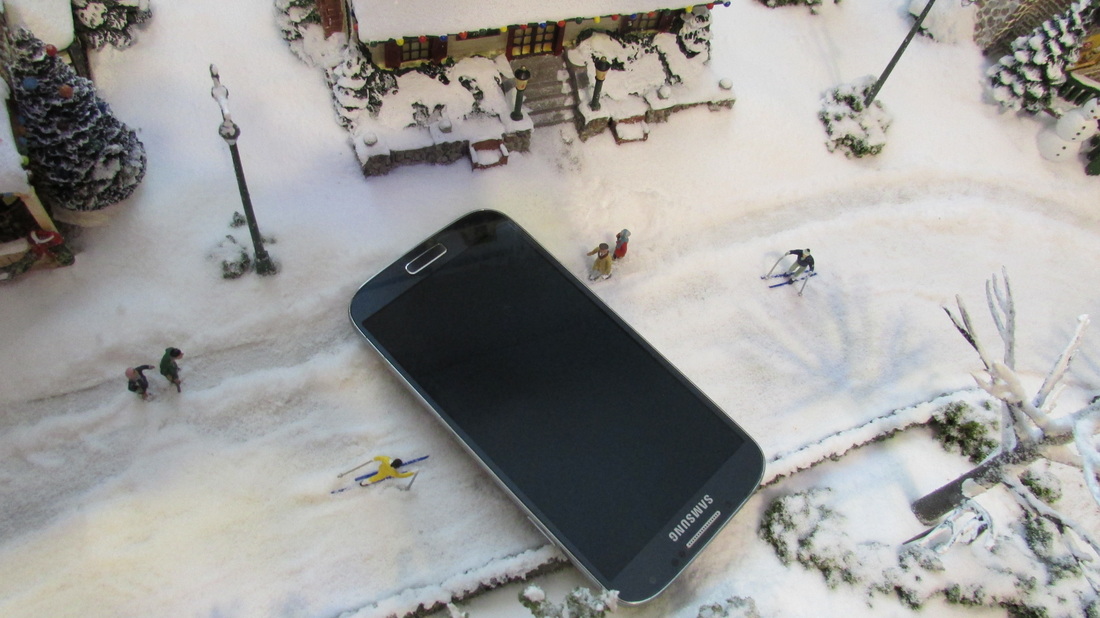
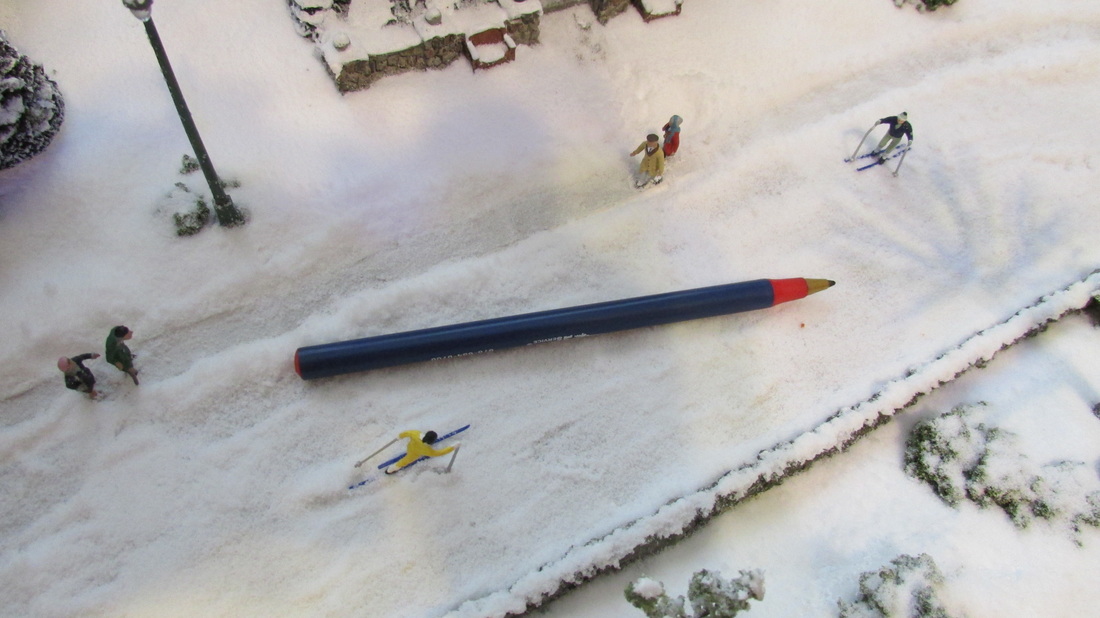
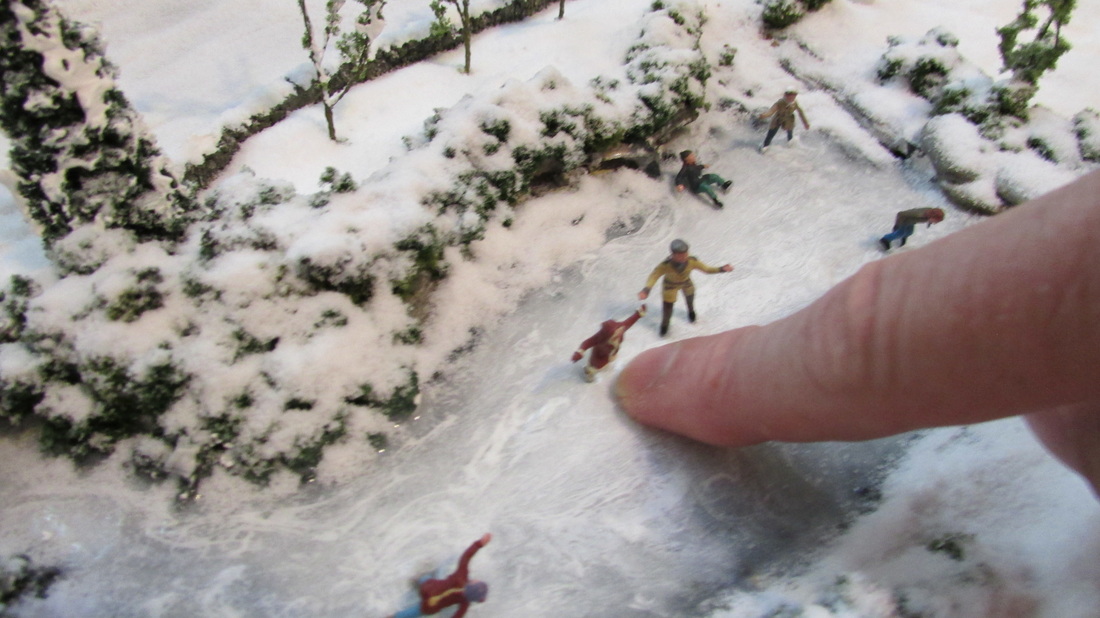
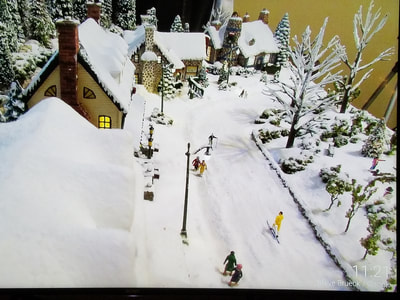
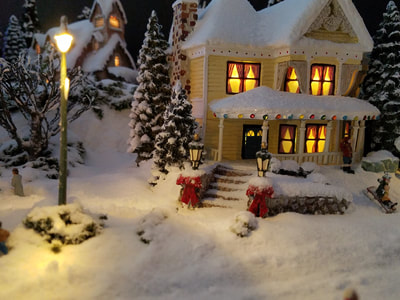
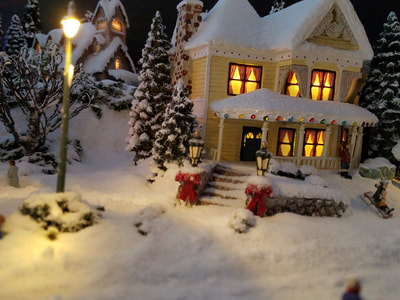
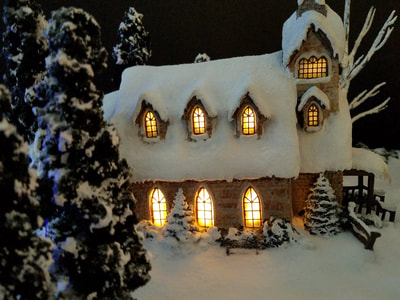
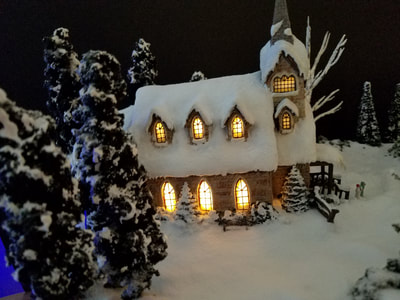
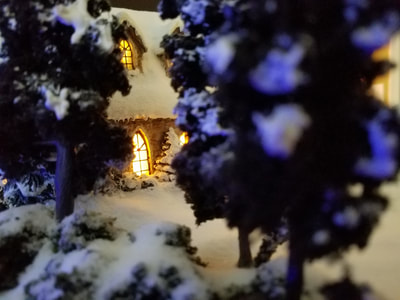
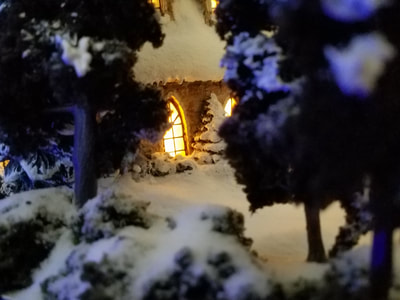
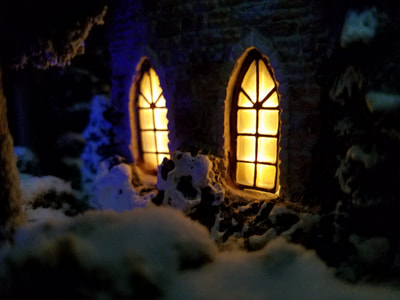
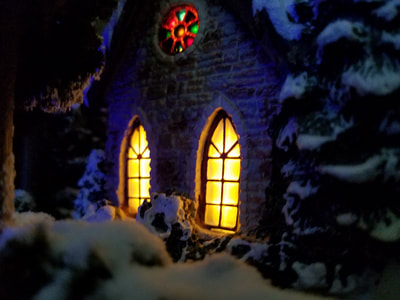
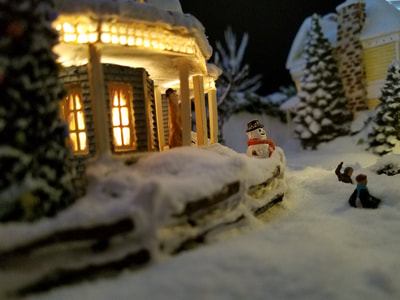
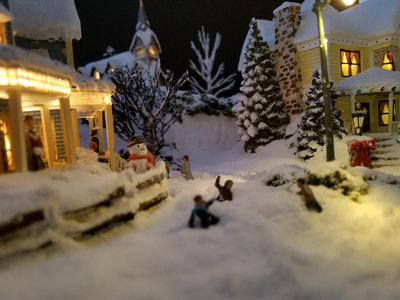
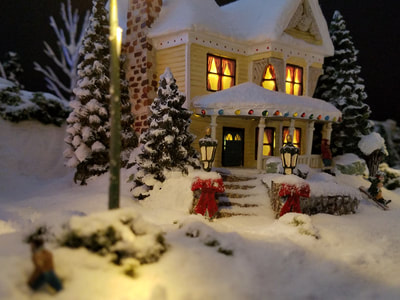
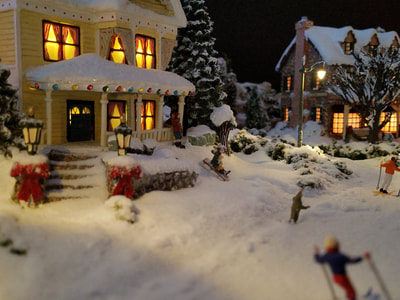
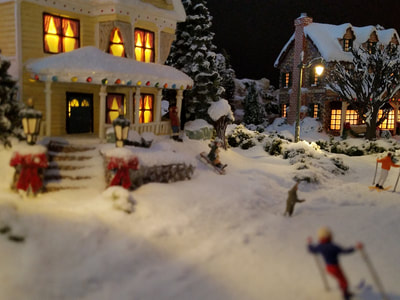
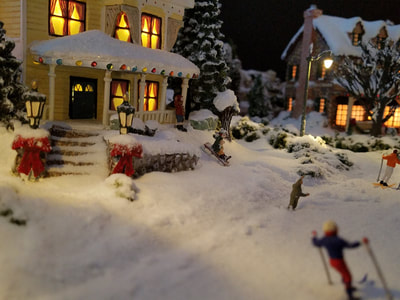
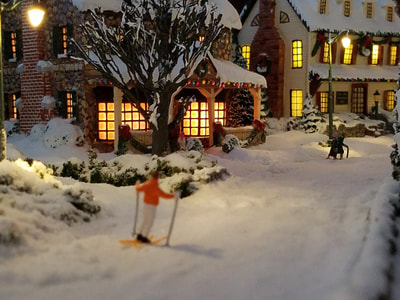
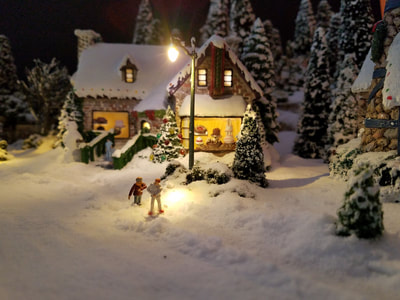
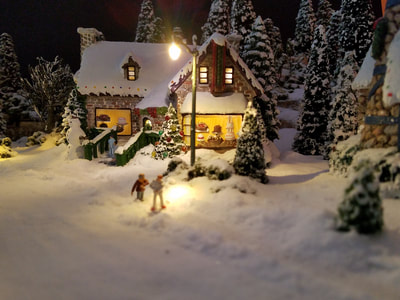
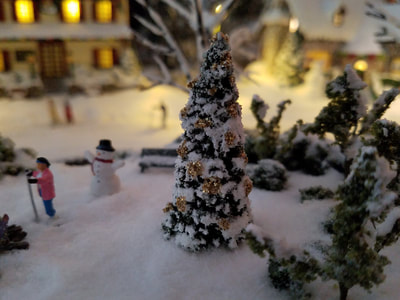
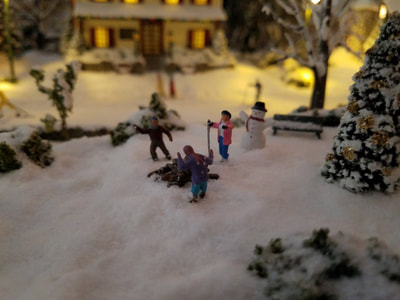
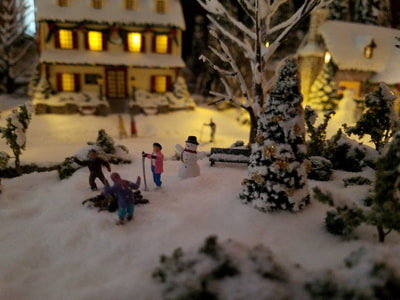
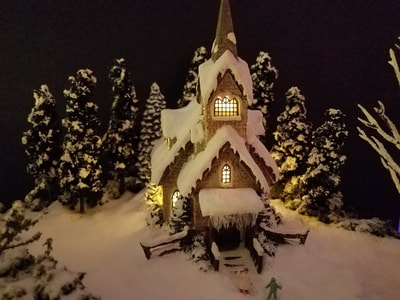
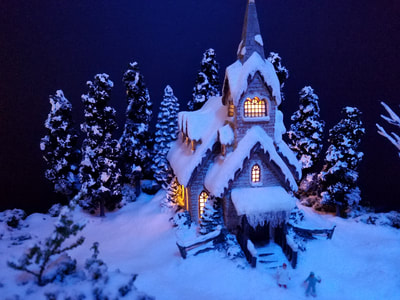
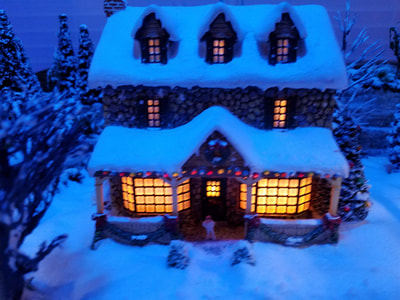
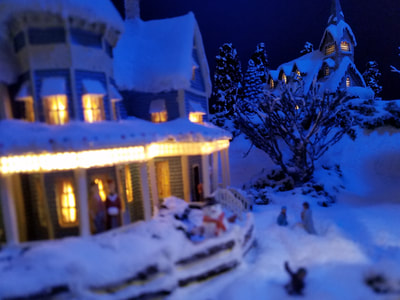
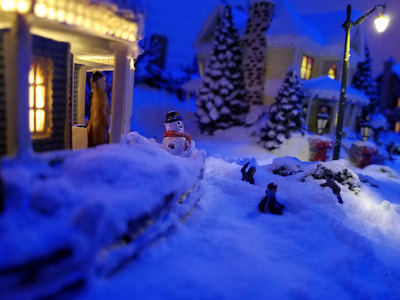
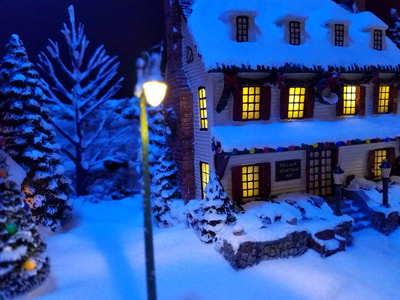
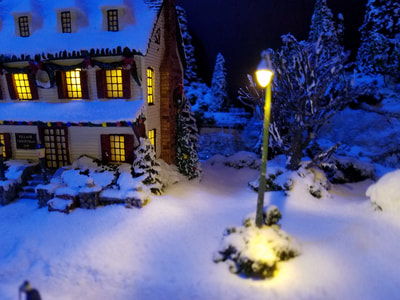
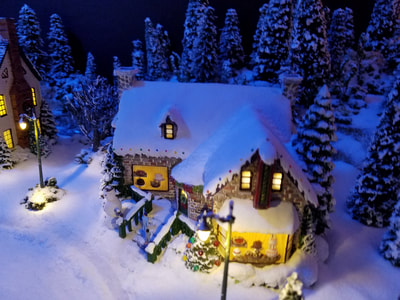
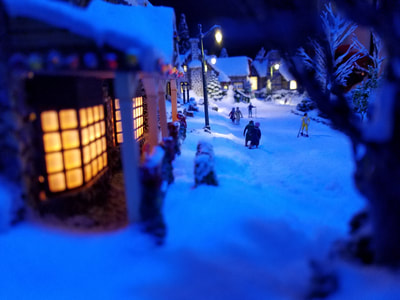
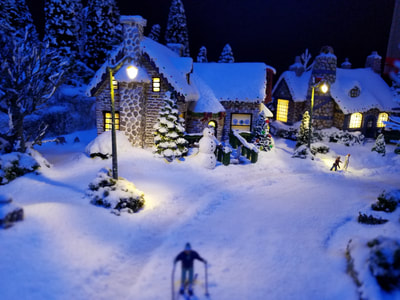
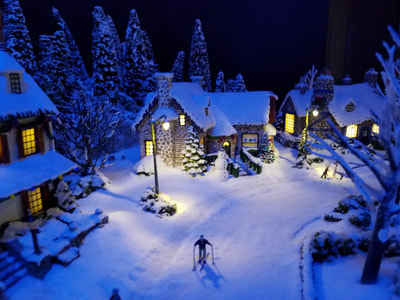
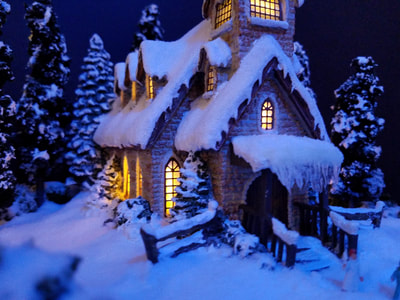
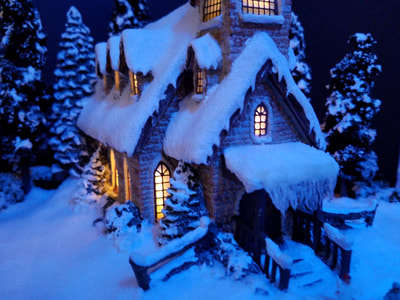
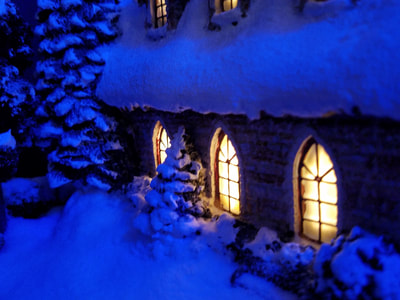
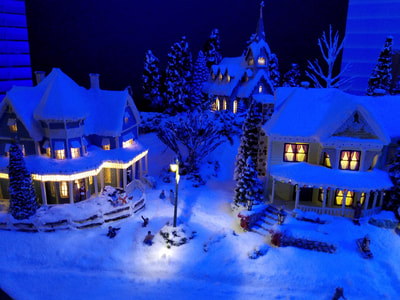
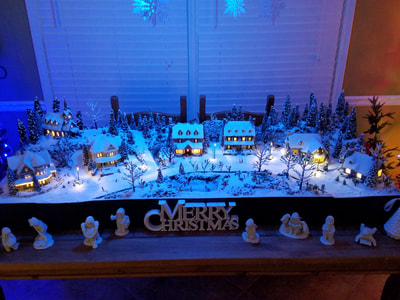
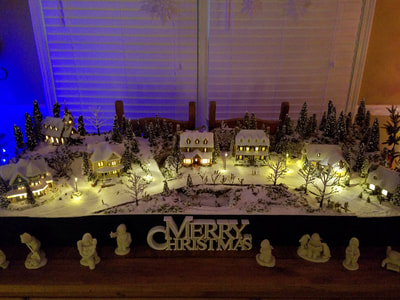
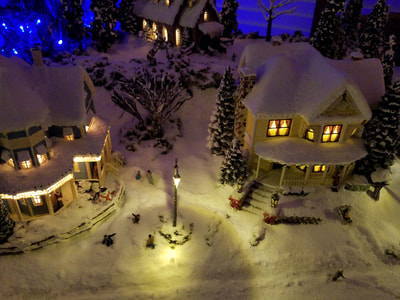
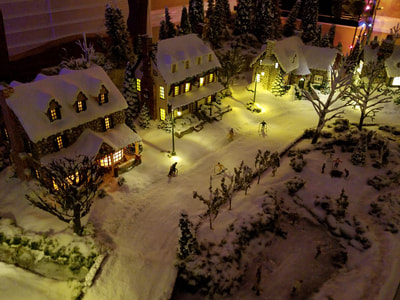
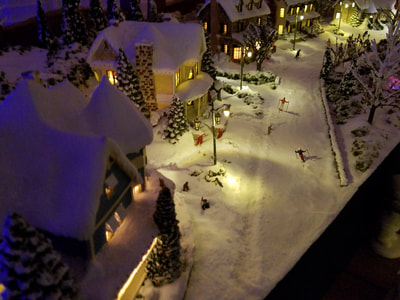
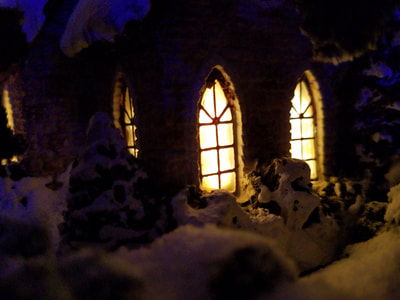
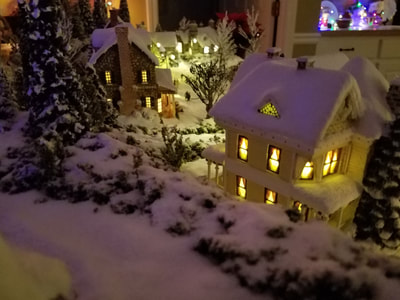
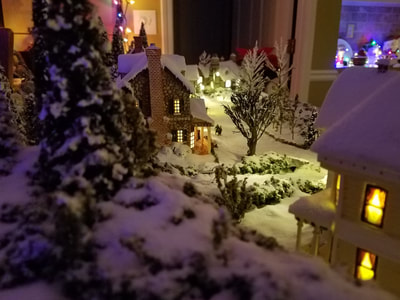
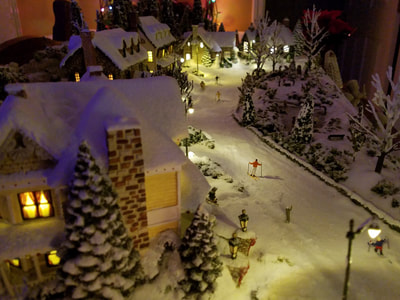
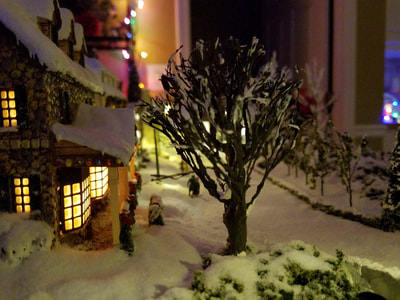
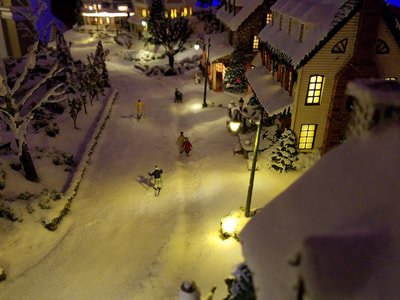
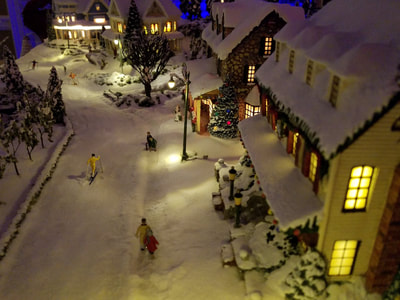
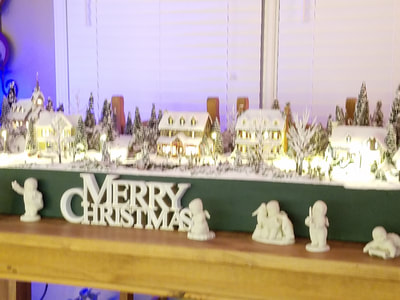
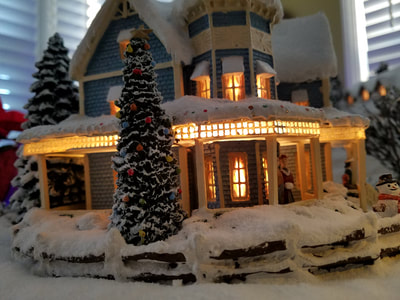
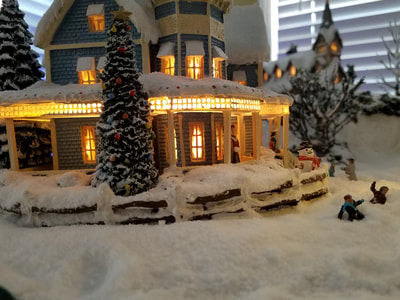
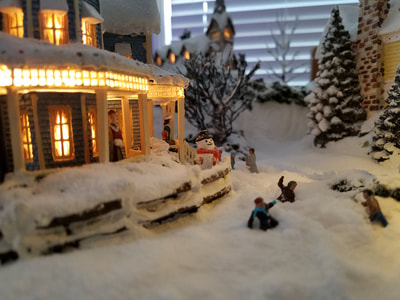
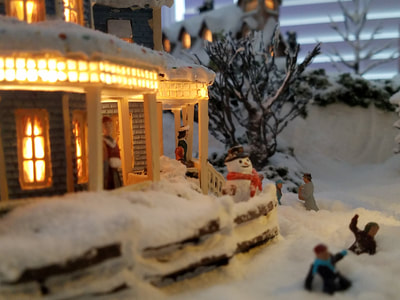
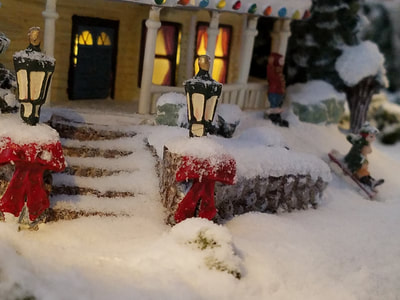
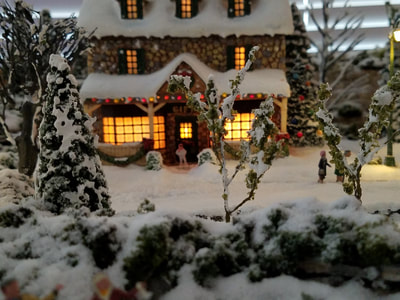
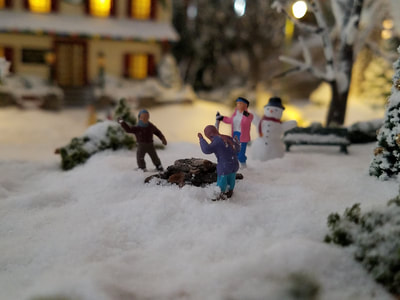
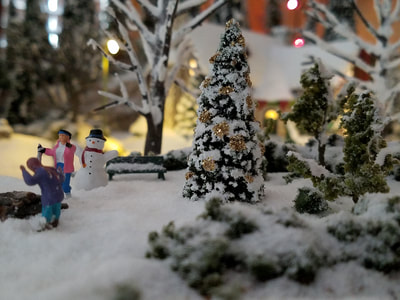
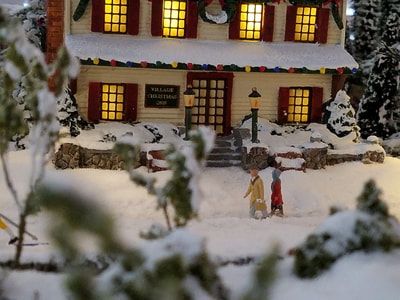
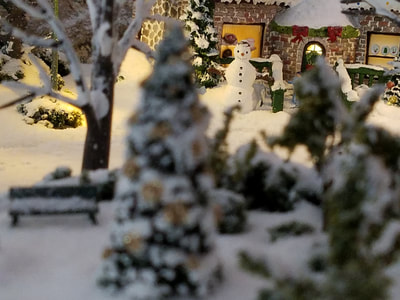
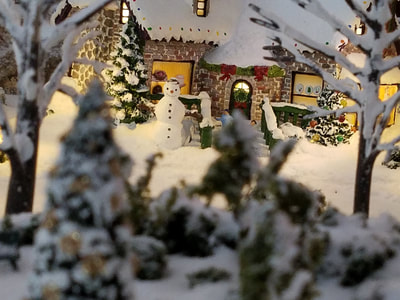
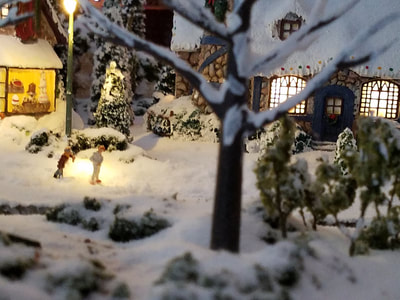
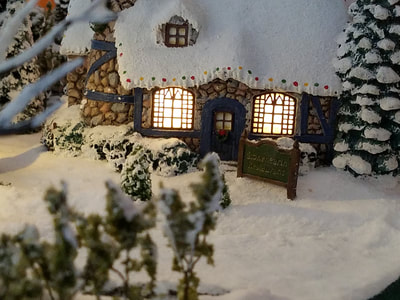
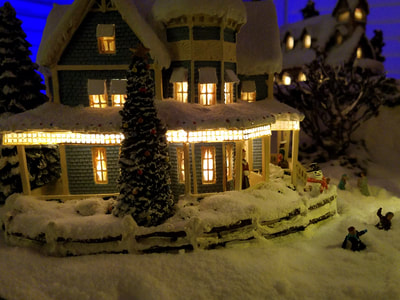
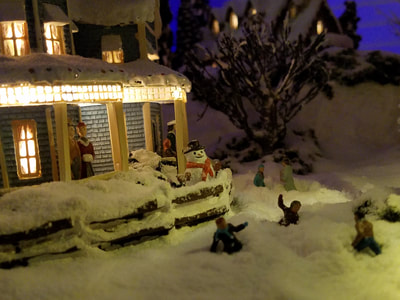
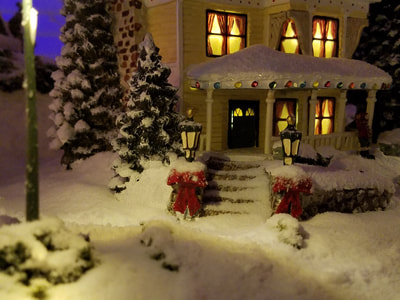
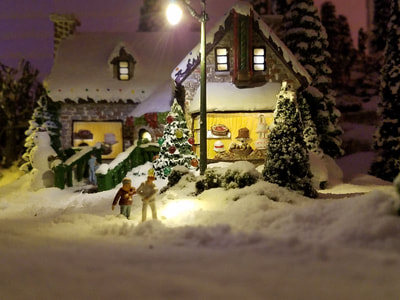
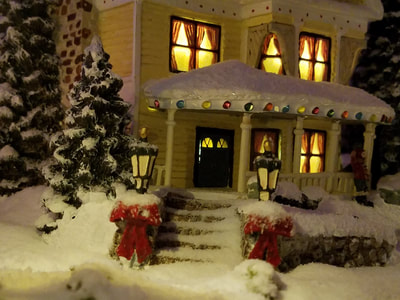
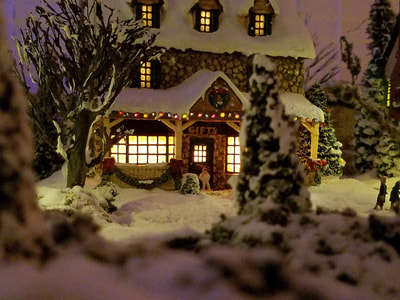
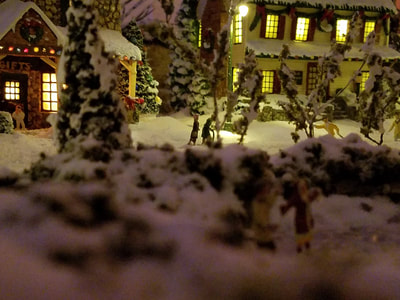
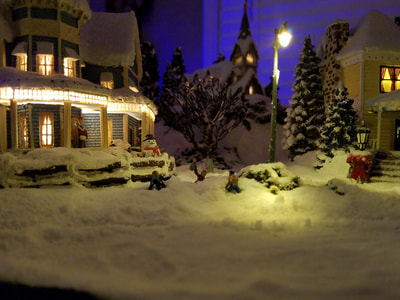
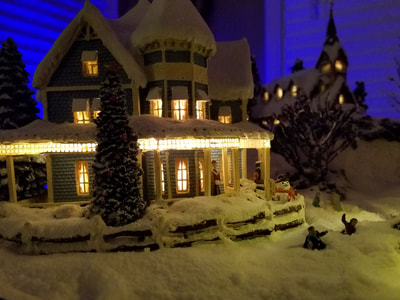
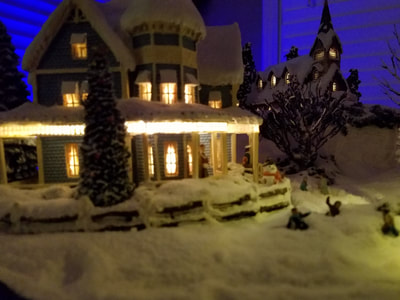
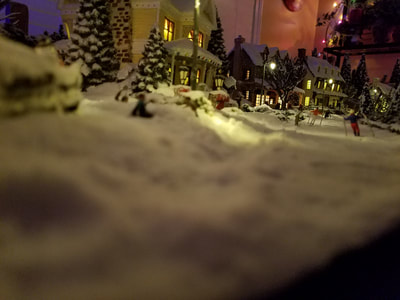
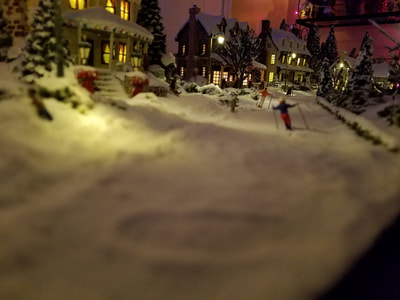
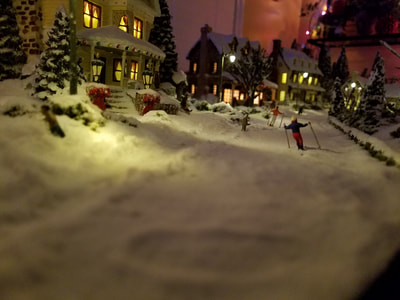
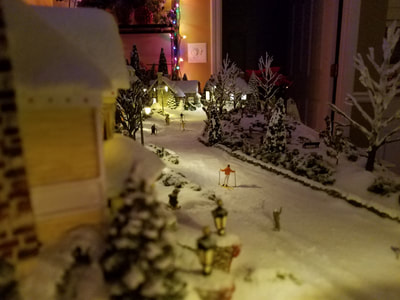
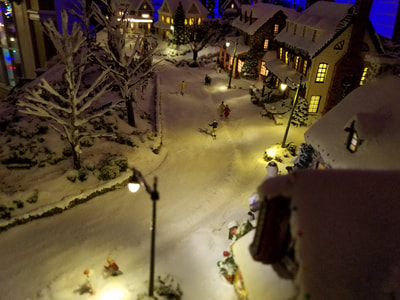
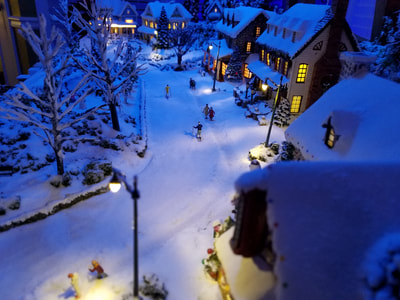
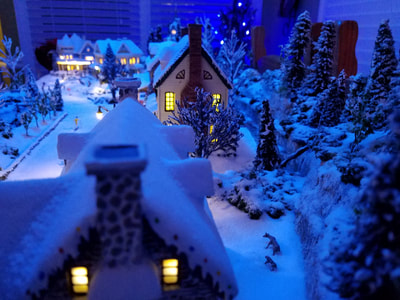
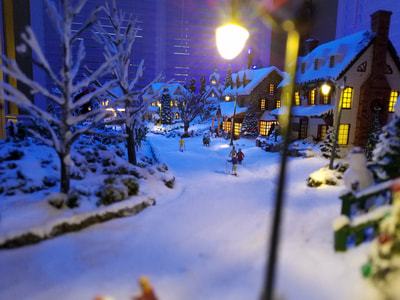
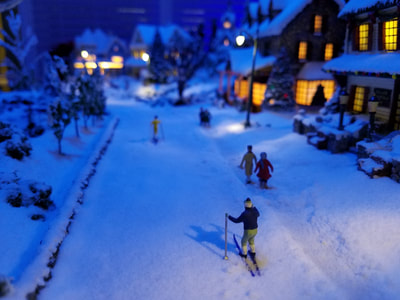
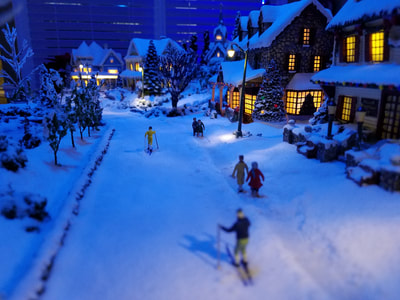
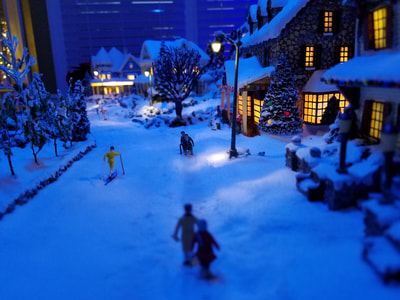
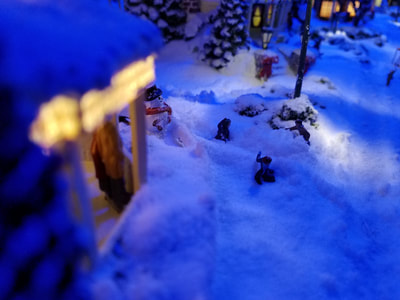
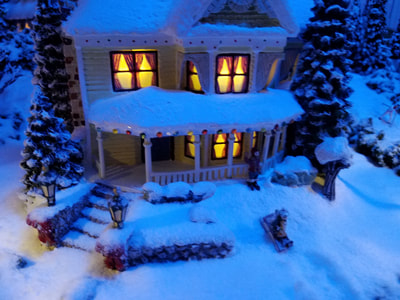
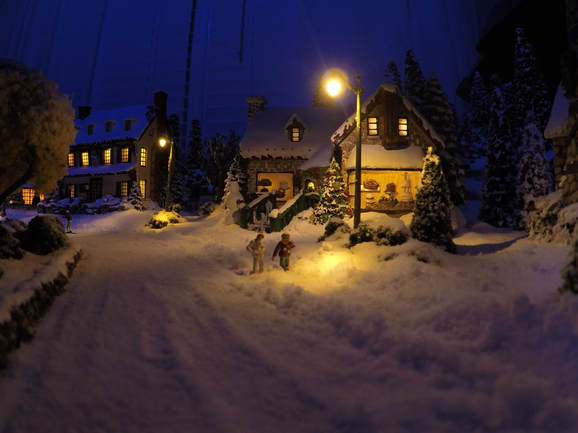 Walking down a snowy street Walking down a snowy street EDIT: Latest pictures have been added at the bottom of the post. I apparently have more hobbies than I thought I had. :-) My wife and I bought a bunch of Thomas Kinkade Hawthorne Christmas Village houses and buildings off of eBay to use as a Christmas display. We put them out last year on some fluffy cotton stuff but being picky like I am, I just wasn't satisfied with that look at all, I wanted something that looked "real". My interest in model trains goes back to when I was a kid, and I had started looking at creating a detailed and realistic train layout when I remembered the Kinkade houses. I started searching the internet for some examples of designs where people had used the house in some designed setting but I couldn't really find anything, so I started thinking about creating my own winter scene. So....here is where I'm at. First, I've never done anything like this before, so it was all new to me. Second, I spent a lot of time watching videos, reading up on materials, finding examples, and collecting images of scenes I wanted to duplicate, etc. After a lot of thought and consideration, I jumped in head first. And yes, I have messed up and still messing up. :-) The great thing is that if you don't like something, you rip it out and start over. The Kinkade houses aren't exactly HO scale, but that's the closest scale to what the the houses are, so that's what I used. I don't have a lot of before images, but even these images are "before" as it is still in the working stage. I'll try to break these images into groups to help show the progression of the build from this point forward. I wanted to quote a piece from the Thomas Kinkade website, and it says perfectly what I was trying to capture in creating this diorama: "The look of Christmas, with its trees and garlands and twinkling lights, is of course well known. But for Thomas Kinkade, the challenge in painting Christmas scenes was capturing the spirit of the holiday – the warmth, the joy, the good fellowship and family feeling. He loved the contrast of the cold gleam of moonlight on snow with the warm radiance of golden light pouring through the windows of a festively decorated cottage. That golden glow is truly the light of love." These are some of the images that I used to help me in the inspiration and design of the Christmas Village, and of course they are all Thomas Kinkade paintings. I tried to incorporate as much of his scenes as I practically could into the diorama. This first group of images were taken after some very basic landscaping had been done. The original pond had to be redone when I realized that its elevation was higher than the stream that was feeding it. :-) I blame the clown that is working on it now... :-). I may need to redo it again as I probably dug it too low this time. :-( I'll get it right eventually. I created a wooden frame for the base and glued sheets of foam over the top and the dimensions are 60"x24". The elevated areas were created using wads of paper and plaster cloth along with pieces of foam cut to shape. Almost all of my supplies comes from Woodland Scenics and they probably have the most complete set of supplies and materials anywhere. Not only that, they have tons of how-to videos that show you how to use their products. There is no way I could do this without those videos showing the way. 10/10/16 - Busy Weekend Much more accomplished this weekend. Most of the landscaping except for the park area is done, although I find myself going back and adding and enhancing what I thought I had already completed. Can't help myself. :-) I've started adding the realistic water to the layout but it has to be added in layers so it's a slow process. I should have used a different water product and I still may on certain sections. And while it may look like snow, I haven't added any of that yet, that will be the last step before completion. I have used a product called Flex Paste for some of the snow areas and more will be used to create drifts etc., but the final product is powdered snow that will go over everything. When that is done, you won't be able to see where the house fits in the Styrofoam. I'm getting ready to landscape the "park", the area in the very front of the display. I've saved it for last so I wouldn't tear it up working on the other areas. The park is where the pond is located, so I'd like to get my "water" in place before I do that final landscaping. I am re-thinking the water material I'm currently using. I started by using Woodland Scenics Realistic Water, but it requires 1/8" increments and 24 hours drying time. Instead, what I should have used is Woodland Scenics E-Z Water. E-Z Water is used for deep pours and dries in 15 minutes, but it must be done in one pour. The only problem at this point is that I can't pour E-Z Water over Realistic Water. Learn the hard way. When creating the layout, you have to build it like a regular landscaped non-winter scene. All the plants, shrubs and trees have to be added before any snow can go down. The one thing I am not adding is grass, as that will be covered by snow anyway. 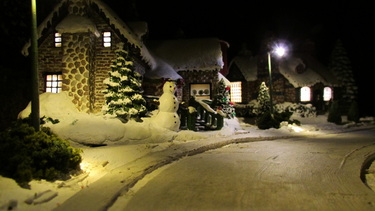 10/10/16 - Night Scenes I took some pictures with the lights off just to see how things were going to look in the dark. The houses all use a C7 Christmas light bulb for light. I've replaced some of the incandescent bulbs with LED's, but I'm not happy with the light output. I have some new ones on the way and hopefully they will work out better. The "Just Plug" street lights look awesome and cast a light that makes them look like real street lights, I'm very pleased with that addition. In the future I'd like to add more "Just Plug" lights and possibly a couple of vehicles to the scene. I'm also going to find a blue LED light to cast a faint glow (like moonlight) over the entire layout to enhance the nighttime look. For an example, see the last image in this gallery. There is no snow on the roads right now but it almost looks like there is. The roads were formed with Smooth-It, a product that provides a nice smooth road system. I need to fill in the gap between the road and sidewalk with some grass like material before I cover it all up with snow. I'll have much more to come as I continue working on it... 10/11/16 - Yes, I will redo the pond. Last night I started adding snow to the hills behind the houses. It's going to be a multi-layer process to get it just right. I want to make sure I pay attention to how the snow "falls" on things so that it really looks like fallen snow. It's almost ashamed to cover up all of the landscaping, but hey... that's winter. If I had to do it over, I would also add more deciduous trees into the mix, and I would make it thicker. I may still add a few more trees just to try to make it more lush. The pond... yes, the pond has been a pain in my arse. I've learned a few lessons about water features. First, don't use any slope in the stream or creek if you want the water to have any depth. If you have a slope, the Realistic Water will just run down to the lowest level and not pool. What I've had to do to get around this issue is add dams to sections of the stream so the water collects instead of running off. Second, make sure you thoroughly cover the water feature in plaster. The Realistic Water will seep through any holes or other porous areas of the layout, and make it difficult to build up any depth. And speaking of depth, they really only recommend a 1/2" or less of Realistic Water. You might think that's not enough to make it appear deep, but it really is. Woodland Scenics makes a product called E-Z Water that you heat and pour and it can be used to make deeper pours. Unfortunately, I can't use it on top of the Realistic Water, but I can use Realistic Water on top of the E-Z Water. So I think I'll raise the pond back up some, and then use E-Z Water for the main pour this time, then maybe add some Realistic Water over the top. E-Z Water has to be used in one pour, you can't go back and add more or it will leave a transition line in the water, so the pour needs to be planned and setup ahead of time. Icicles will be my next first time part of the project, but that will be easy and I will use a product called "Water Effects" to create those. You simply get a piece of wax paper and with a toothpick, drawout of lines of Water Effects on the wax paper. Once they dry (and they dry clear), you peel those off and tack them anywhere you want icicles. I'll have more pictures tonight as demolition begins on the pond. :-) 10/11/16 - Pond Re-Construction Underway I added more plaster to the pond and covered up the water I put down. I needed to raise the bottom of the pond by about 1/2", so I mixed up some plaster and covered everything up. I'll let that dry and then paint it a darker color before re-adding water. I do think I'll use E-Z Water on the pond so I can get it a little thicker. If I need to, I'll give it a top coat of Realistic Water mixed with a little white pigment to make it look like ice. Two days of snowfall in the mountains... :-) I'm starting to get a better accumulation of snow now. Not sure how deep I'll go, but I have a real desire to have a blizzard. :-) Of course that's probably just my own personal "what I'd like" kind of thing but hey... who's building this? :-) The water in the stream is starting to look good and get some depth to it. At some point I'll add a little white pigment in places so it looks like certain areas are frozen. The last image in this group shows the house with some snow that I added around the base just to show how the edge around the base of the houses will be covered up. It looks really good too. 10/12/16 - Work continues... Painted the pond today, so that's going to dry for 24 hours before water goes in. I also added another layer of snow to the background hills, but I'm not sure how much I want to add. With each layer, I spray Scenic Cement over what's already there, lay down the new snow, and then add another spray of Scenic Cement, so it takes some time to build it up. Most of the stream has had it's last layer of water before the final "ice" layer. It's mostly the pond that will be icy, but certain places in the stream (near the waters edge, etc) will be icy as well. I'm still adding layers to the section just before the bridge. I'm making icicles for houses and for the waterfalls if all goes well. If it doesn't, nothing lost, just try again. The white "Water Effects" dries clear in 24 hours. I took a bunch of pictures today, again, no snow on anything but the hills right now. 10/13/16 - Construction Accident Started added Realistic Water today. I thought I would use E-Z Water until I heard some bad stories about it eating up foam, and changed my mind. So it's going to take more than a few layers to get it where I want it. The roads around the pond will not be in the position you see now, I'm just playing around with placement. Started adding snow to the all areas of the layout where there are shrubs and plants, and that required me to take the two left houses off to keep them from getting sprayed by Scenic Cement. The "construction crew" got a little careless when taking some of these pictures, and the camera strap caught one of the street lights... so now there is some utility repair work going on. Luckily, I had a spare street light, so that will get installed tomorrow after the pond dries. I'm also playing with icicles and the waterfalls. I'm redoing the icicles to be smaller but they are easy to make, so if I mess up, no big deal. There seems to be a creature in my forest... ;-) 10/16/16 - Working on The Park These images in this particular gallery don't necessarily appear in the proper order of assembly but you'll get the idea... Spent time today working on the Park feature. It's right in the front of the layout so I wanted it to look as good as I know how to make it, which at this point, probably isn't all that good. :-) I kept putting it off simply because I wasn't sure how I wanted it to look. I'm not sure why I have that fear... maybe it's just because this is all new to me and I don't want to screw it up at this point, I don't know. So I went ahead and forced myself to jump right in and it seemed to have gone pretty well. I added a stone wall around the perimeter of the park and I still need to go back and black wash some of the sections where I joined the pieces of wall together with plaster. I use a stone grey paint to paint them, and once that dries I go back and use some diluted black paint over the top. The black "wash" runs into the cracks between the rocks and gives them definition, and makes them look more like rocks. I've ordered more stone wall for the other side of the park so I can't get it all completed until that comes in. I will be adding a small Christmas tree to the center of the park as well as a bonfire with people standing around. Details make the difference. Once I get the landscaping done, I'll then go back over everything with snow and cover it all up. It's almost ashamed to cover up my landscaping but hey... it is suppose to be winter time! Filling the pond with water is coming along but it's a slow process. I actually tilted the whole diorama today to get more water in places where I don't have it right now. I'll keep tilting in different directions until it fills up like I want it, and then I'll then go back over it with a some white tint to make it look frozen. I do have HO scale figures that will be skating on the frozen pond. :-) I hope to have my street lights plugged back up today as well. I had three lights connected to one junction connector and when I unplugged the one street light to replace it, the wires for the other two street lights came out as well. These wires are SO tiny you can hardly see them, so it takes me a while to get them back in the holes. 10/16/16 - Getting close to being done... Wow... can't believe how much I've gotten done today, I'm getting pretty close to being finished! Today I managed to get pretty much all the snow down on everything except the road and park. All of the structures got "snowed in" so you can no longer see the base of the building, it's all blended in by snow. The park got a light dusting of snow but I need to wait until the pond is done before I finish that part. I can start adding certain figures to the layout, I just need to decide where I want them to go. I haven't decided if I'm going to have a vehicle or not, I'm back and forth about that right now. So, what's left?
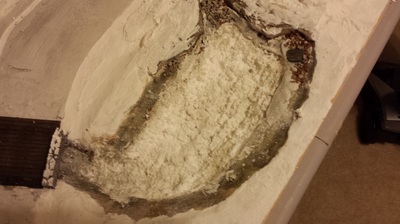
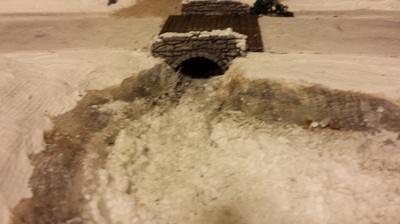
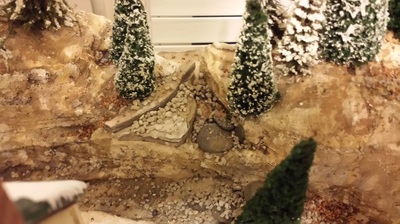
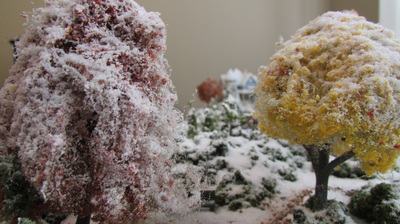
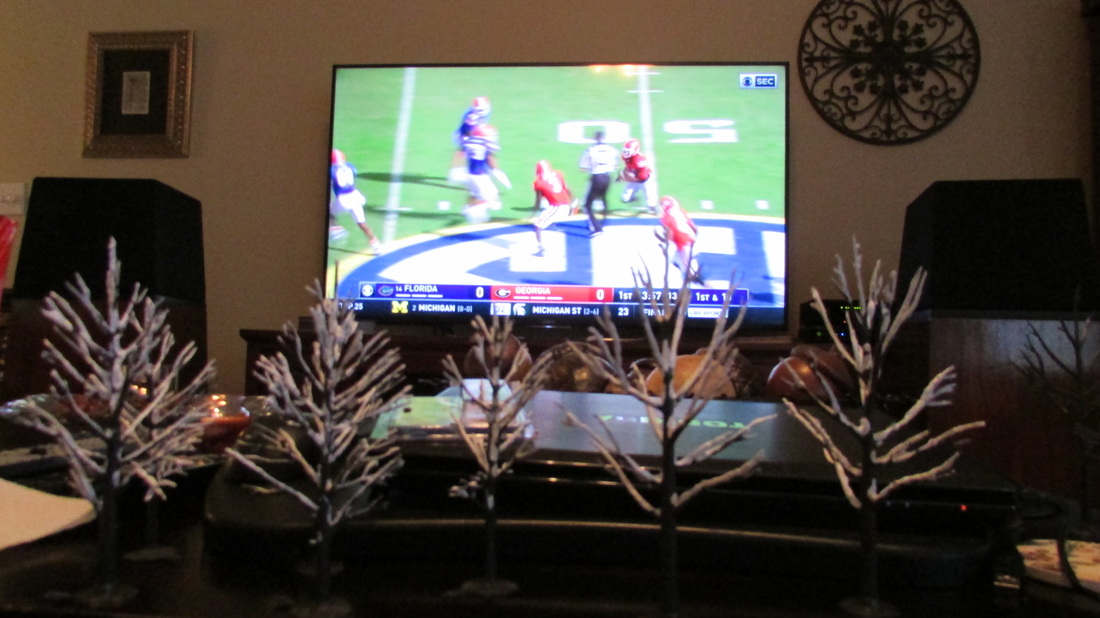
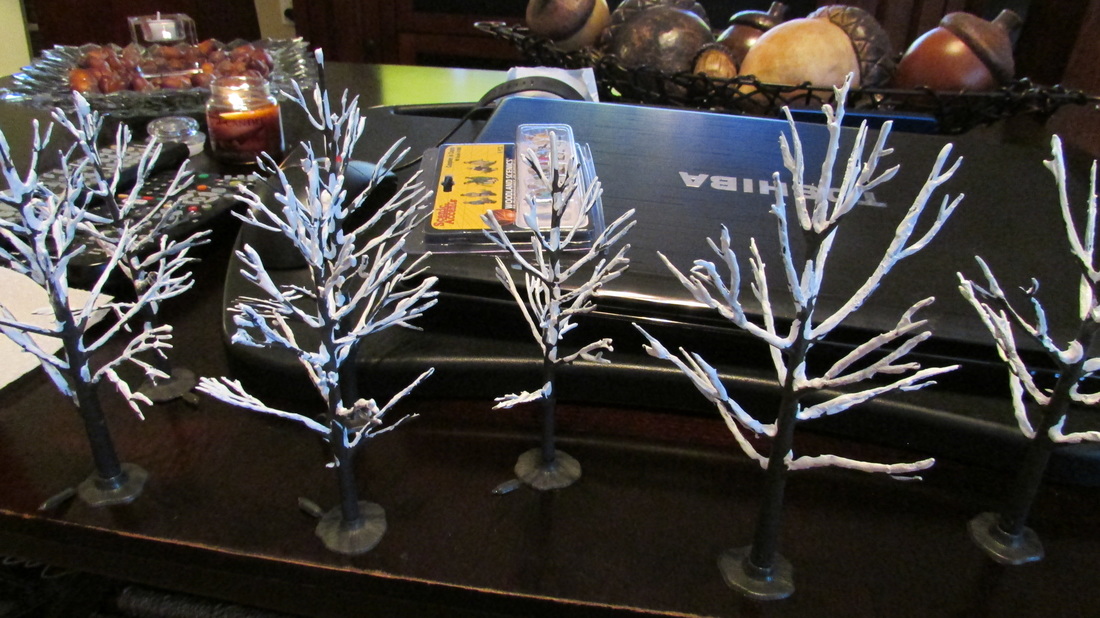
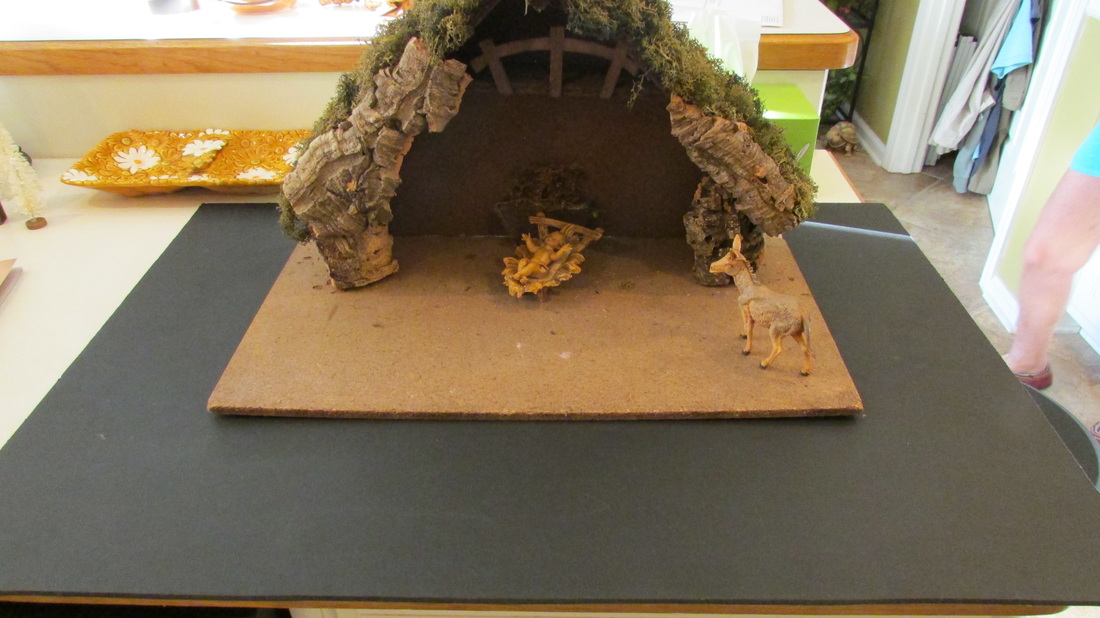
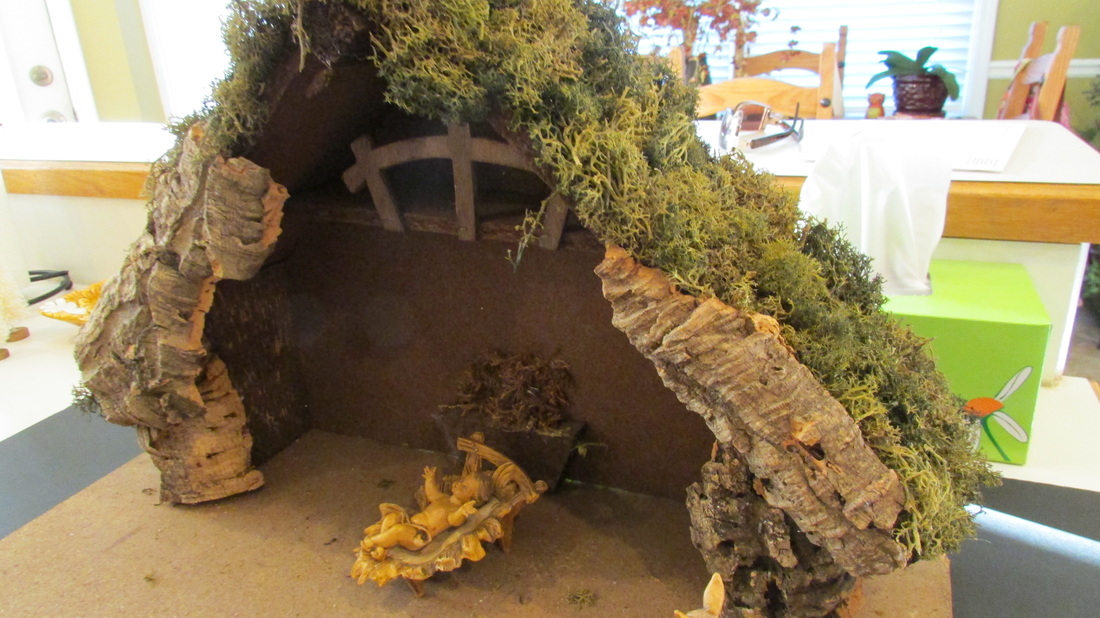
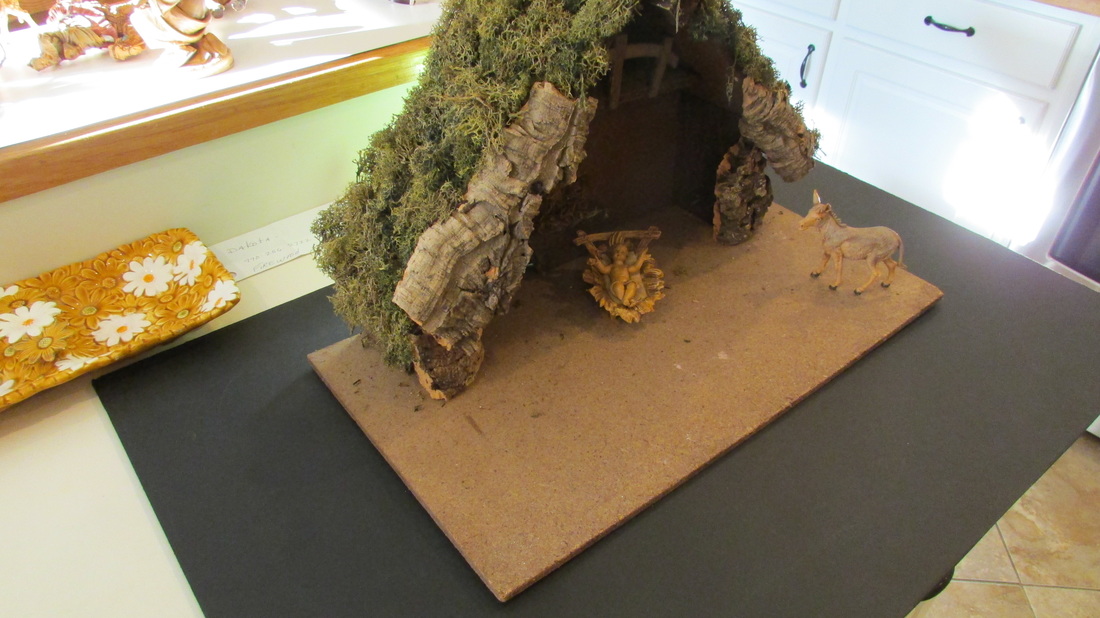
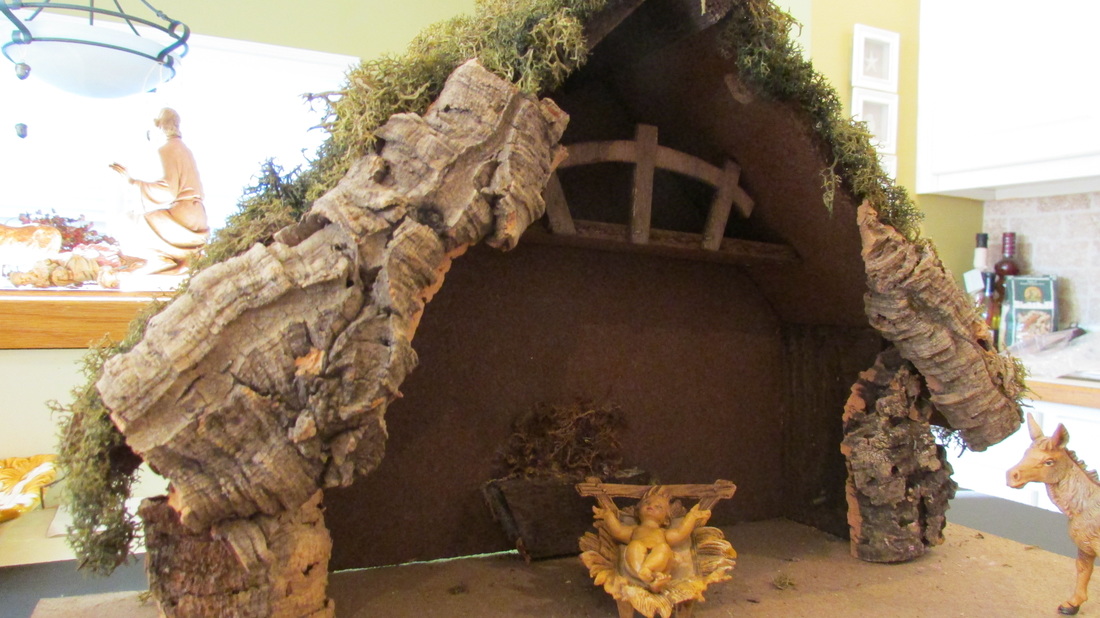
10/17/16 - Almost done I figure I'm about 90% done at this point. The park area needs more snow and the area around the pond needs more landscaping. I'm still adding the fake water to the pond and that may take another 5 or 6 days. By that time, the extra stone wall pieces and 4 trees, one that will be a Christmas tree, should be here. I also have to add a little stack of wood that will be a bonfire. None of the little people are glued in place yet, and some not in the places they will probably go. I also have 7 skater figures that I need to put out after the pond is done. I snowed in the road today and pushed a Matchbox car over the road surface to make it look like cars had driven on the road. I've found some blue LED light bulbs that I will be using over the diorama at night to make it look like moon glow. The last picture on this gallery will give you an idea about what that might look like. at least what I hope it will look like. :-) I still need to enclose the entire edge of the diorama with something... and still debating that one. I may use 1/4" sheet foam and then paint it black, my wife mentioned wrapping it in something like dark green felt. It is my very last worry in the build though. 10/18/16 - Adding final touches... I started putting foam sheeting around the outsides of the box holding the diorama, and I bought some dark green paint to cover it all up. More water was added to the pond, and I went out and bought a blue LED light to give the snow a moonlit glow... I think it works pretty well and matches the example in the previous group of pictures perfectly 10/21/16 - The Home Stretch Just a few items left to finish up before it's done. The two main items to finish are the pond and park area, and the outside edge of the entire diorama. I have covered the front and part of the sides with 1/4" thick pieces of sheet foam as well as adding handles on the sides to help in carrying it around. The foam was glued tot he sides and hopefully today (Saturday) I will get it painted. I'm going with a dark forest green color, I think the dark color will help in taking your eyes to the layout. I want the sides to fade away so that they aren't really noticed. I added the "ice" to the pond yesterday. I think I'll go back over it one more time today with just a little bit more white pigment. It looks icy right now, but not thick enough to skate on, it needs to look "thicker". After I add that layer and it dries, I'll lightly dust it with snow and it should give me the look I'm after. Before I do the snow dusting I'll go ahead and add the skaters. I have 7 little people with ice skates, and I think I'll have 4-5 on the pond with a couple standing at the edge watching. I added a little pile of wood for a campfire and have a few people standing around it. I have a plan to make the fire look like a fire, but it probably won't happen on this first go around. Woodland Scenics makes some "Just Plug" nano LED's that flash. My plan is to drill a hole underneath the pile of wood, and secure the LED's about 1/2" below the surface. I would then cover the hole with a flat piece of foam with a small hole that's maybe 1/8" and put the wood back on top. If the plan works, the flashing LED's would appear to be coming from the wood and the random flashing would look like fire. We'll see. :-) Once the water part is done, I'll go back and add more snow all around the edges of the pond as well as the rest of the park, right now there isn't much there and it looks a little out of place with the rest of the diorama. I also took some random pictures today. Since I'm been moving the diorama around, some of my little people that haven't been glued down have fallen over. :-) They'll just have to lay there until the end. Also, I would not use these fall deciduous trees on a winter layout again, and at some point I will replace them with trees that I've made. These were pre made using a poly fiber product that is like a carpet. When I added the snow and Scenic Cement, it made the poly fiber sag once it was wet. To me, they just don't look like real trees. Next time I'll buy the armatures (the woody part of the tree) and glue my own "leaves" on the branches. I've already got a stack of these armatures so it's just a matter of getting some fall foliage to glue on them. It's kind of funny, but when I got started I decided NOT to make trees and just go the easy route and buy the pre-made trees. And don't get me wrong, there are different levels of pre-made trees and some are very nice, but also very expensive. I think you are better off buying pre-made evergreen trees due to the density of the plant material. There are also varying levels of quality for these trees as well, and I have about 3-4 different qualities on this layout. If you ever decide to try to build a diorama, you'll find yourself doing more and more from scratch instead of using the pre-made materials, trying to make it look as realistic as possible. 10/22/16 - Close now Today I painted the foam surround, or the sides of the base of the diorama. Now your eyes focus on the diorama because you're not distracted by the ugliness of the unfinished surfaced. I added more white tint to the pond and I think I'm done with that feature. Once the water dries (tomorrow) I'll finish the landscaping and snow around the pond and add the skaters. In the end it will get a light dusting of snow, but that will wait until after the skaters are added. 10/23/16 - Well... is it done? Well, added the last coat of paint to the front of the base, glued down all the little people, added the skaters to the pond, finished the snow around the pond.... there really isn't much left to do. :-) I will go back and add more snow to the fall colored deciduous trees and I'm still waiting on the rock wall to arrive so I can finish the left side of the park. The night pictures don't really do it justice, I need a better camera to capture that. I may even try my GoPro in low light mode to see how those images look. If you click on an image, they will display larger and you can go through them one at a time. Some GoPro images  10/27/16 - More Changes I've decided to pull up the deciduous trees. I originally wanted to go for a late fall/early winter type of look, but that just isn't going to work with this winter layout. I have ordered new tree armatures so I can make 5 (5-7" tall) new deciduous trees with no leaves. It will be more fitting to the winter look of the diorama. I should have those early next week and it will take me an evening to get the trees formed and to add "snow" to them. It's a pretty simple process to pull the old ones up and glue the new ones back in place, and it really doesn't mess up anything. Once I get them back in I'll re-snow around them and you'll never know anything happened. I did get the remainder of the stone wall in for the park, and I got that painted and installed. I also went back and re-snowed the entire layout, but mostly focusing on those areas that didn't have much snow to start with, and I really think that it looks much better now. I also have a few more people on the way that are three older couples in coats (click on image), and I'll place them on the sidewalks once they arrive. I'm still seriously considering adding a "Just Plug" car to the scene. The Just Plug vehicles have working lights and would be a great addition to the diorama. All of their current vehicles are generally from the 1940's to 1950's era and I'd really like a vehicle a little older, so we'll see. I'll have some additional images that will reflect all of the recent changes once I change the trees out. The bases10/29/16 - Making trees... The tree armatures arrived today, so while I was sitting around watching a football game, I decided to make and paint the trees. The Woodland Scenics armatures came in a package of 12 and are 5-7" tall and they come flat in the package. I used Woodland Scenics Flex Paste to add snow to the trees after I twisted and bent the branches into shape. I'll lightly spray them with Scenic Cement and dust them with the fake snow just to add more texture to the Flex Paste. The bases don't get used as the armatures have pins on the bottom that I can just press into the plaster, but they are a great way to hold the trees while they dry. If you were actually making these deciduous trees, the stands would be great for holding the trees after adding the leafy material. These trees are going to be a better fit for the rest of the layout versus the fall colored deciduous trees. The six little old people arrived with the trees, so those will get glued down tomorrow along with the trees. More pictures then. 10/30/16 - Done? Other than gluing down 2-3 little people and re-dusting with snow... I declare this thing done. :-) Leafless deciduous trees were added last night along with a 4 little people, so there really isn't much left to do! I'm sure I'll nitpick little things along the way, but everything that I wanted to do has been done. I would like to do something different with the bonfire (I need flames) and still considering adding a vehicle. I'd love to find a horse pulling a sleigh but I've come up empty handed so far. I still need to glue down two more people. It's been a fun project. I had no clue what I was getting into when I started and I've learned a lot along the way. I've had people ask me how much did it cost to build this. Alot! :-) I still have materials left over and I initially had to buy some tools, but I've spent more than $600 from Woodland Scenics alone. Granted, most all of the products and accessories I used came from Woodland Scenics, so it was the majority of the build. But if you include the frame materials and the things that I've purchased elsewhere (I bought some Woodland Scenics products at Hobby Lobby), and not including the houses, I probably have $800 in materials. We purchased the houses off of eBay and those were approximately $50-65 each, and there are 7 of those on the diorama. I added lots of detail to the layout, so you could do it cheaper, it all depends on how you want it to look. At this point, I wouldn't be afraid to tackle a larger, more complex project (trains?) in the future. I think I will be taking our Nativity scene and building a diorama around it... :-) Can I have it done before the holidays? :-) If you'd like to find out... stay tuned! The pictures in the first gallery below were taken with a GoPro Hero4 camera. It was set to 7 mp medium perspective and set to night mode. I used the GoPro app on a tablet to control the camera and take the pictures. I just set the camera down and look at the tablet screen to see what the camera is looking at and readjust my view if necessary. The shutter (if you call it that) stays open quite a while on the night pictures, so it's nice being able to do all of the camera control from the app. The next group of pictures were taken with a Canon Powershot SX500 IS camera. I wanted to get some shots from the back and sides of the buildings for a different perspective. Just wanted to give you an idea of the size of things.... click on any image for a larger view. 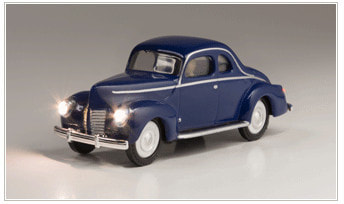 01/23/18 Here are the latest updated images. More changes coming that include lamp post in the park area (LED like the street lights), probably 3 vehicles (like the vehicle in this image) that have working headlights and taillights, more trees for the background, and I may re-work the frozen pond. Already looking ahead... ;-) This is a very old Nativity scene that my parents had when I was a kid. Some of the bark has fallen off and it needs a lot of TLC. Sooooo... here I go for the second time, let's see what I can do with this.
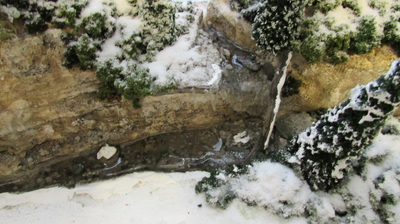
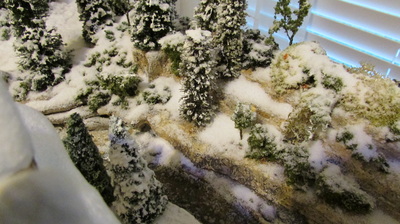
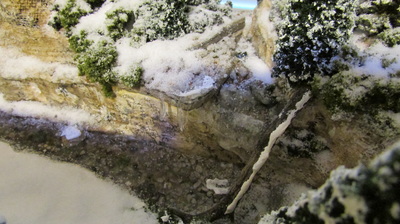
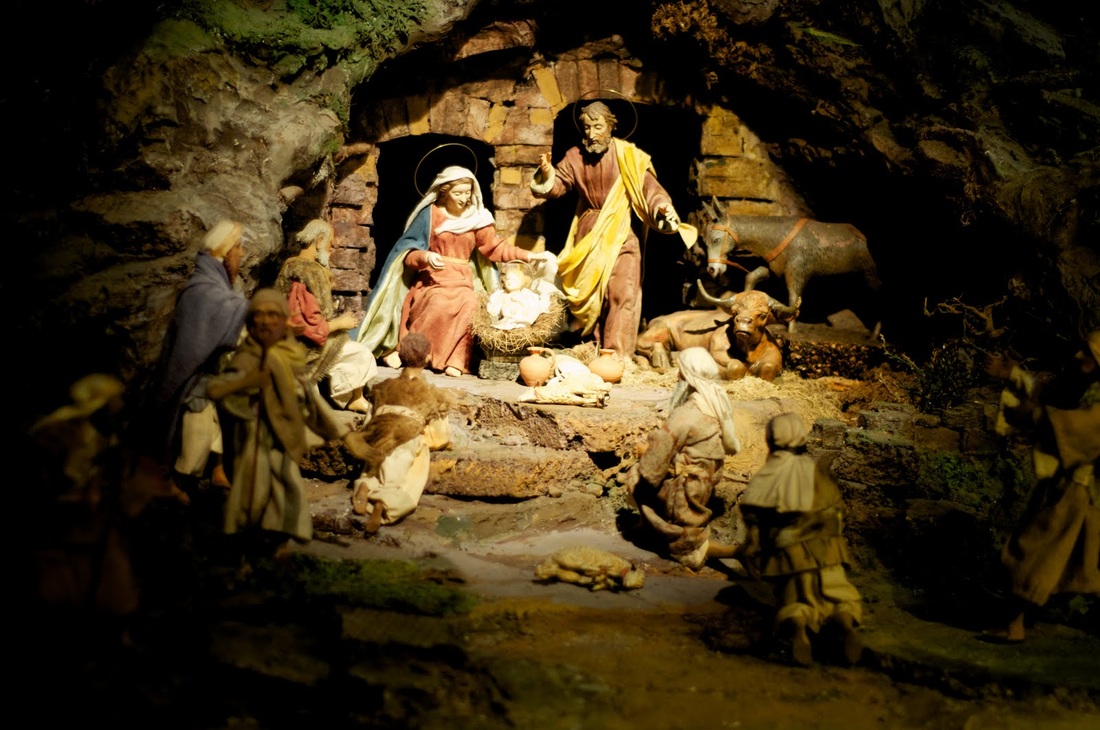
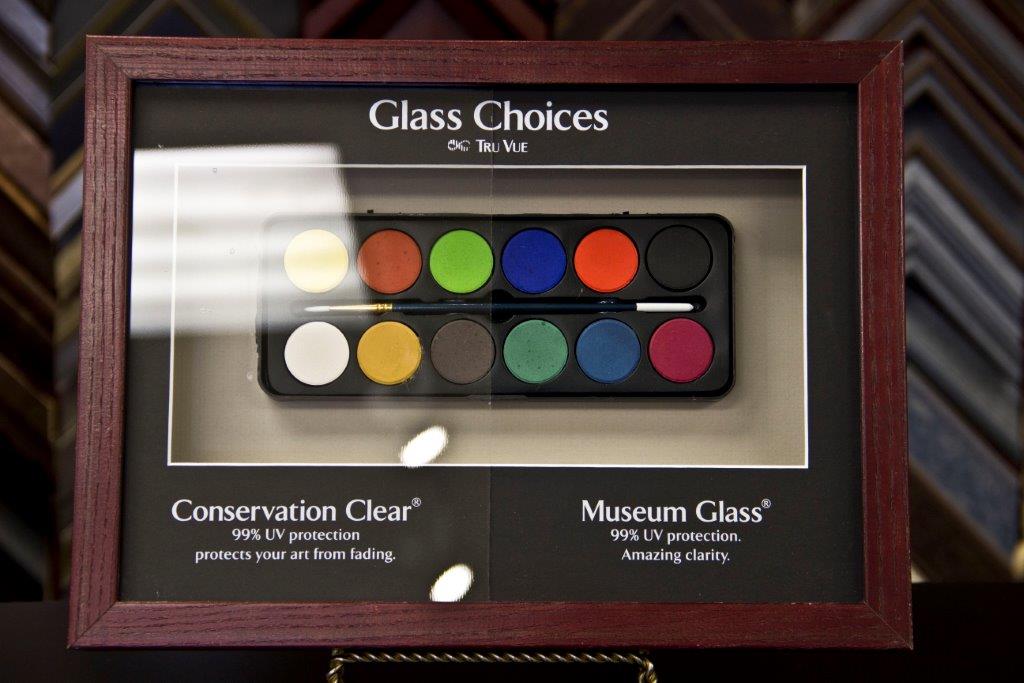
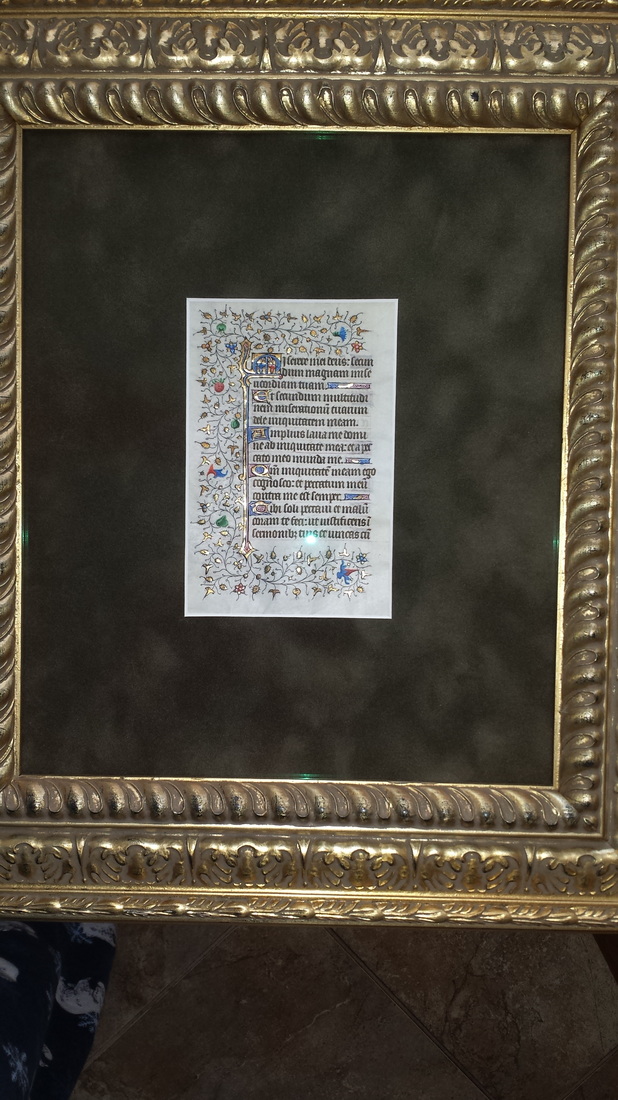
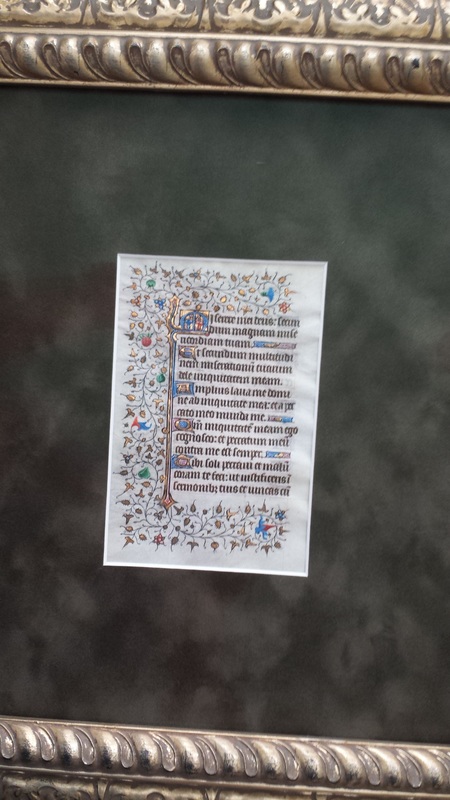
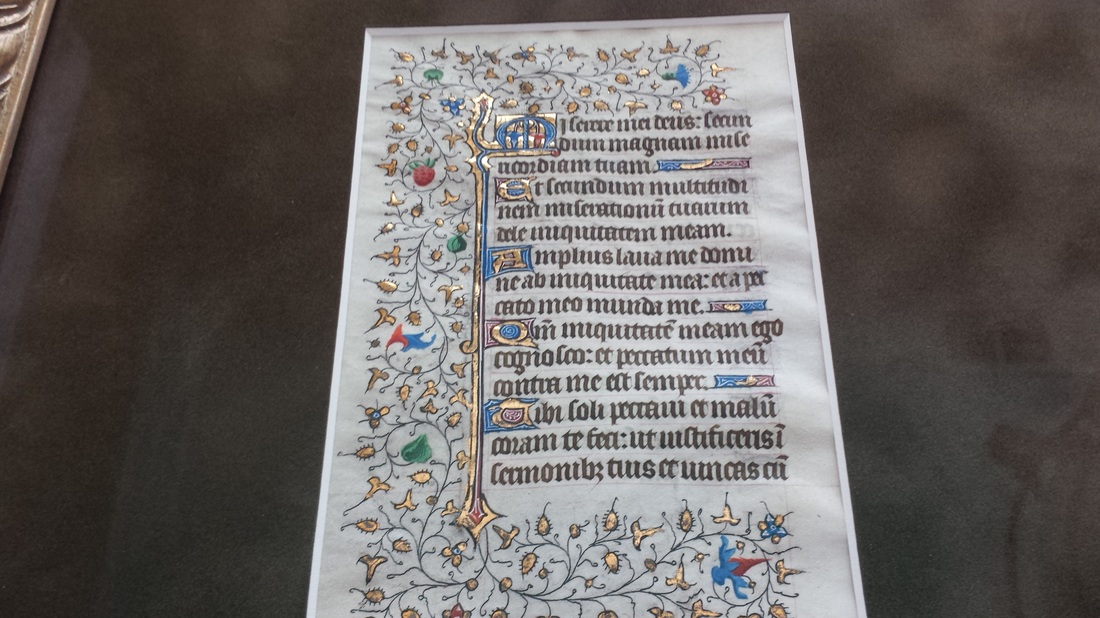
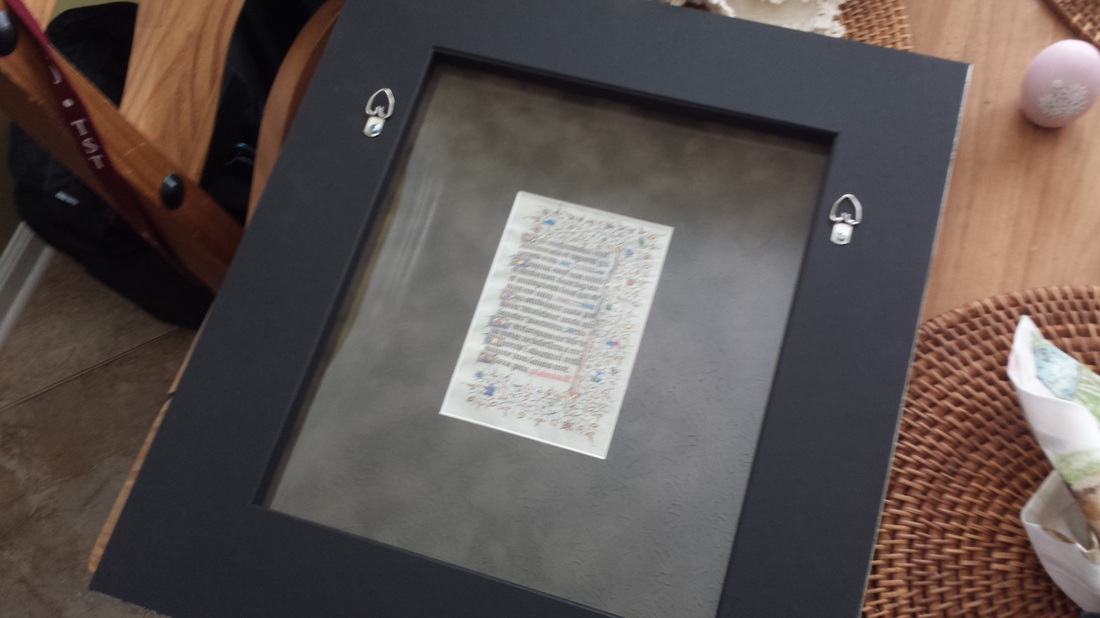
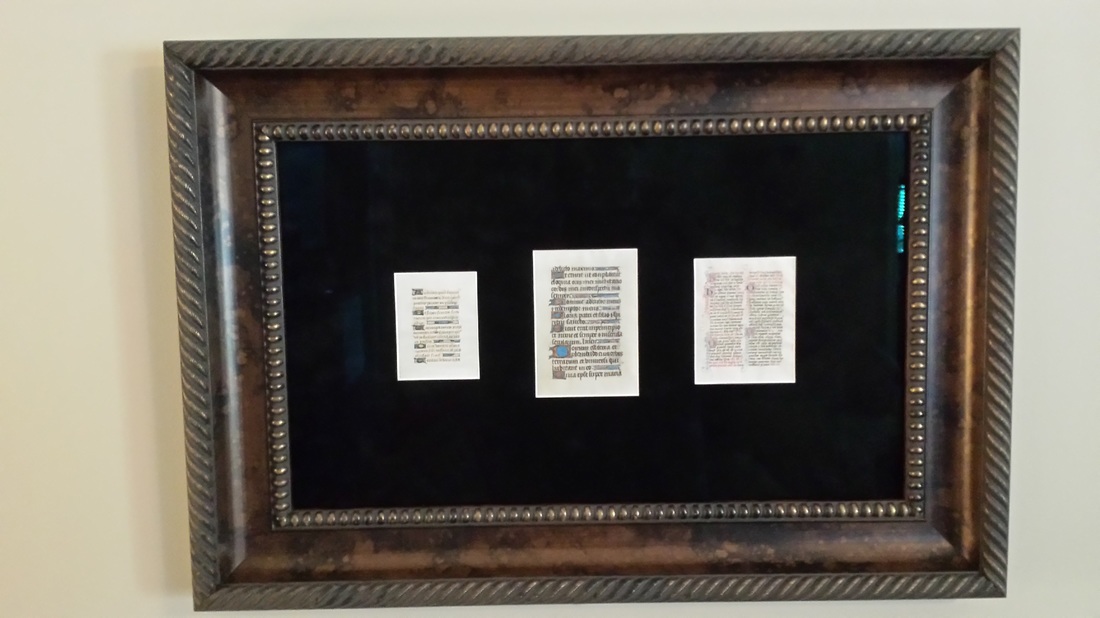
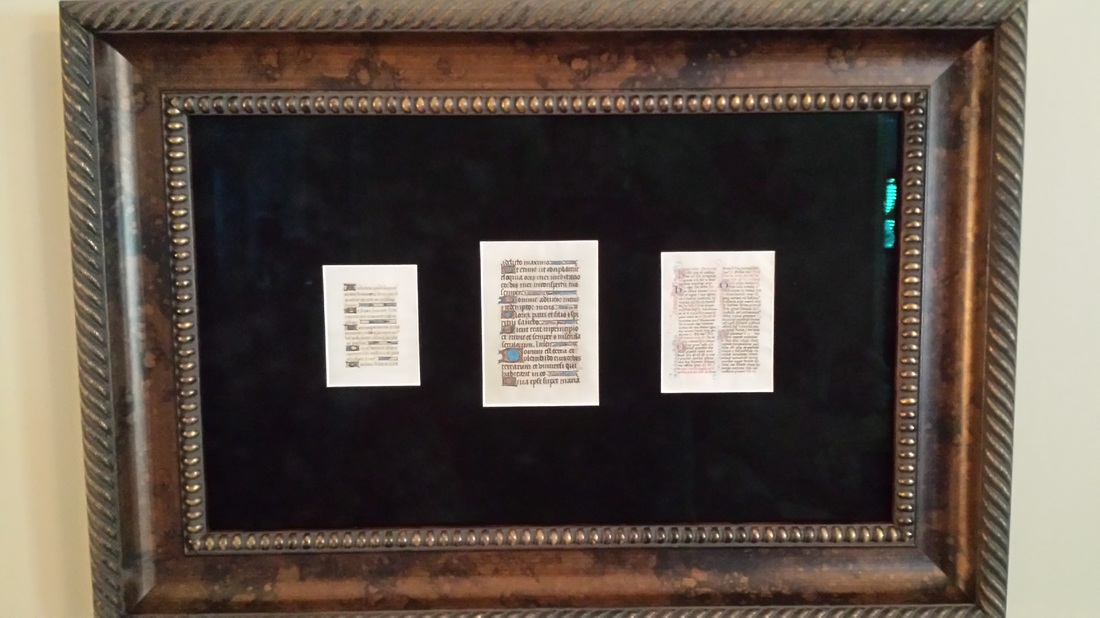
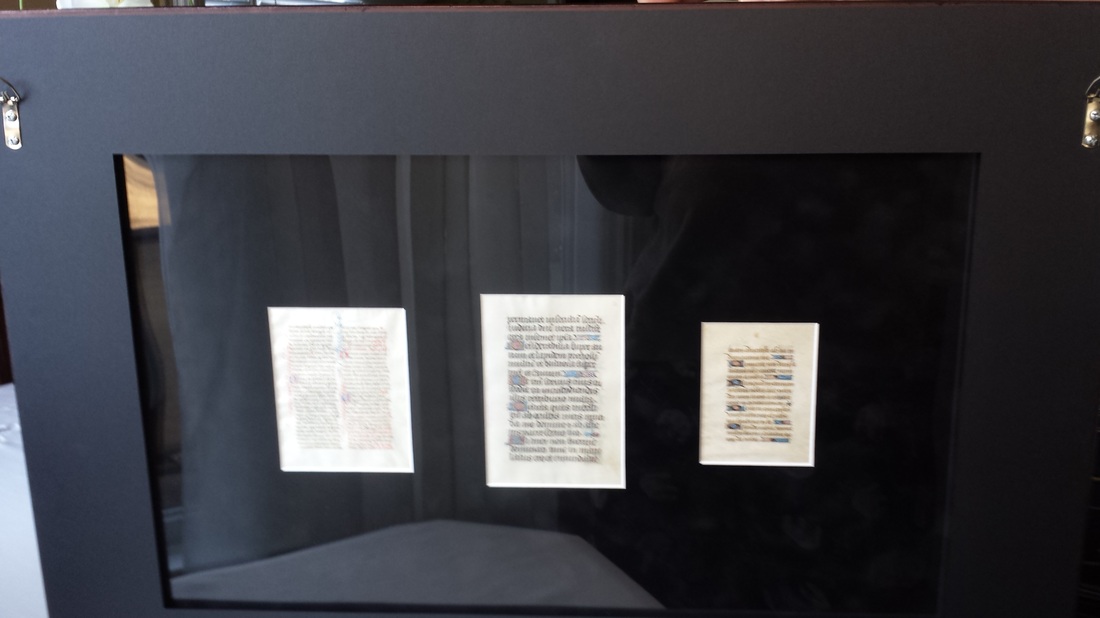
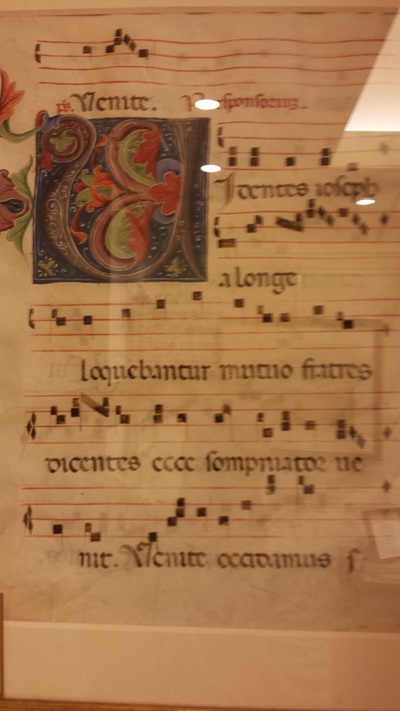
The entire scene will go on the black piece of foam. I'll use a thin piece of plywood as the base with the foam on top of that. I need to securely attach the structure to the wood base as it's come loose. Once that is reattached, the wooden base will be glued to the foam. There will be major changes to the interior of the structure and I will add some layers to elevate the center part so it's not all flat. I'm still debating the background part, and that gap you see in the rear is for that. I' thinking that I may want the structure to be built into a rocky cliff of some type. What I'll do is go search for ideas and images, and use those to copy the bits and pieces of detail that will go into it. I've included one image that I've already found that I will be using as a guide. I'd really like to do the stone wall at the rear of the structure, and I will add the layers for the elevated area in the middle. Click on any image for a larger view. Here's the latest pictures of the custom framing we had done to four of our manuscripts. We took our documents to a custom framer in Lawrenceville called Discount Picture Framing where they did an outstanding job of making our documents look spectacular. The website for the framer is http://bargainframer.com/ and they are opening up a new store somewhere in downtown Atlanta. Both frames are custom sized and double sided. The front glass is museum quality glass and is the finest framing glass you can buy. When looking at the documents, the glass becomes almost invisible. Museum Glass® anti-reflection picture framing glass with Conservation Grade UV Protection is the best glazing option available for art, photographs and other important personal keepsakes. Along with its nearly invisible finish, it effectively blocks up to 99% of harmful indoor and outdoor UV light rays so framed pieces remain clearer and brighter for longer.
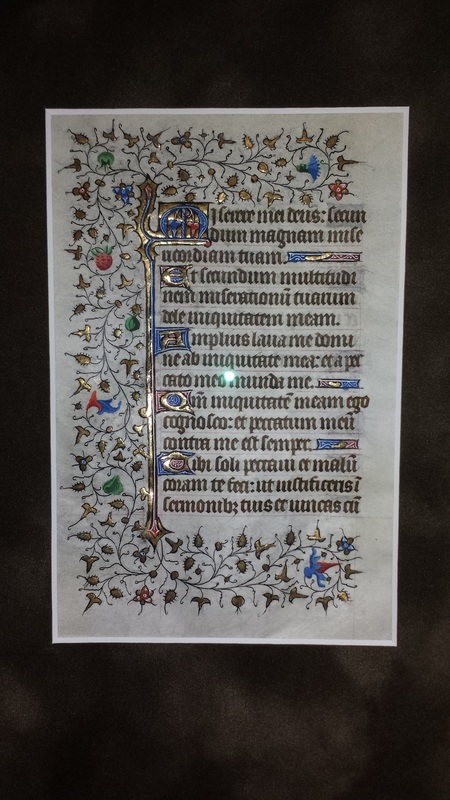
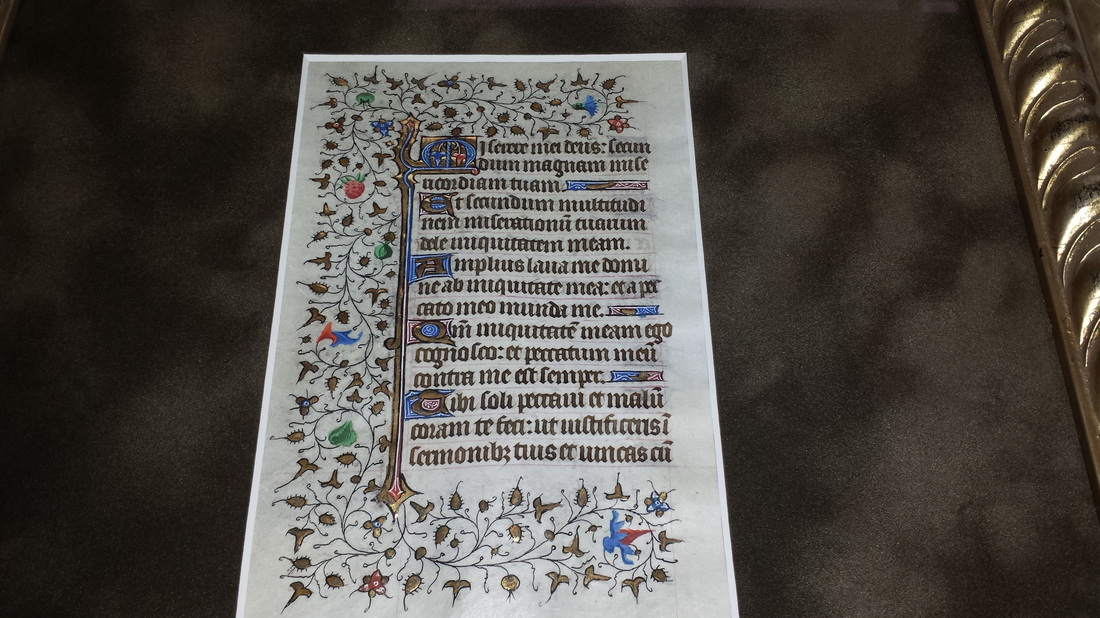
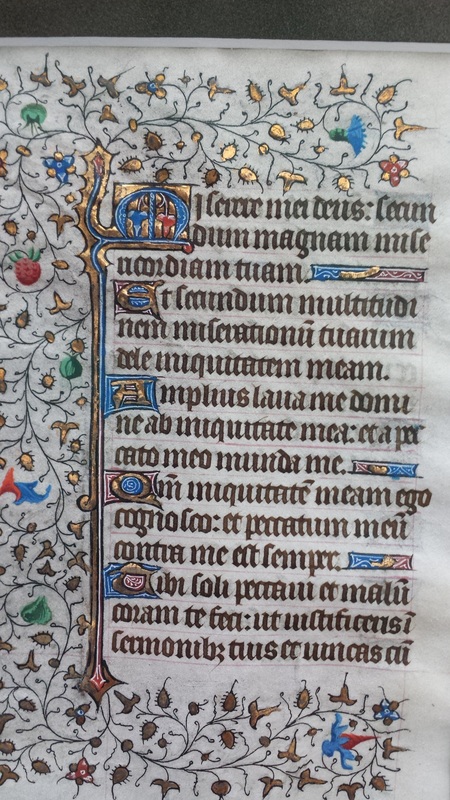
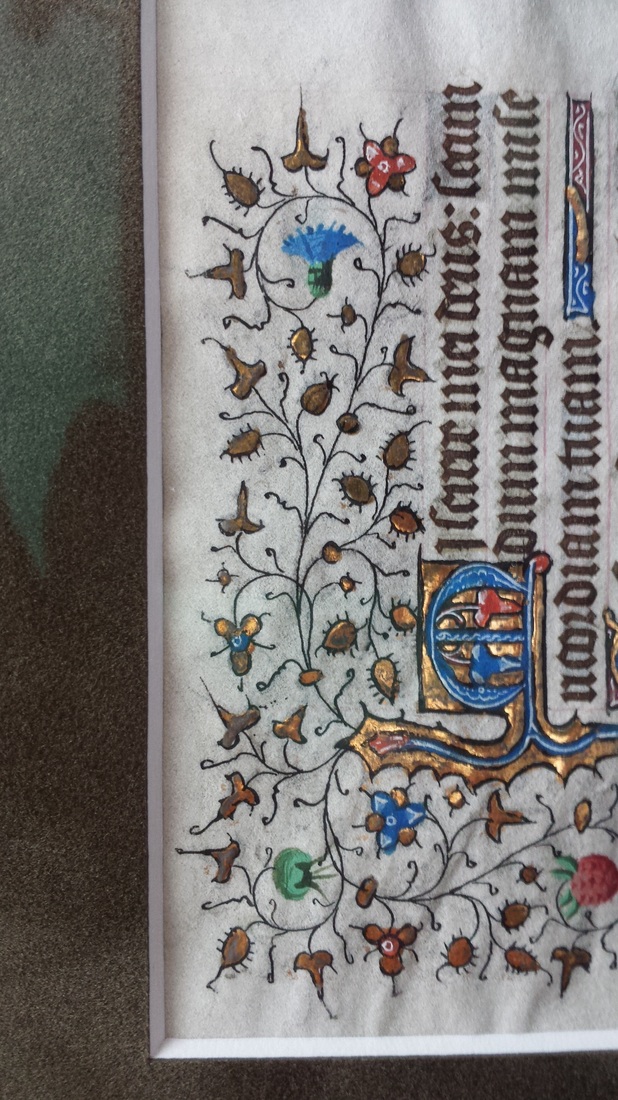
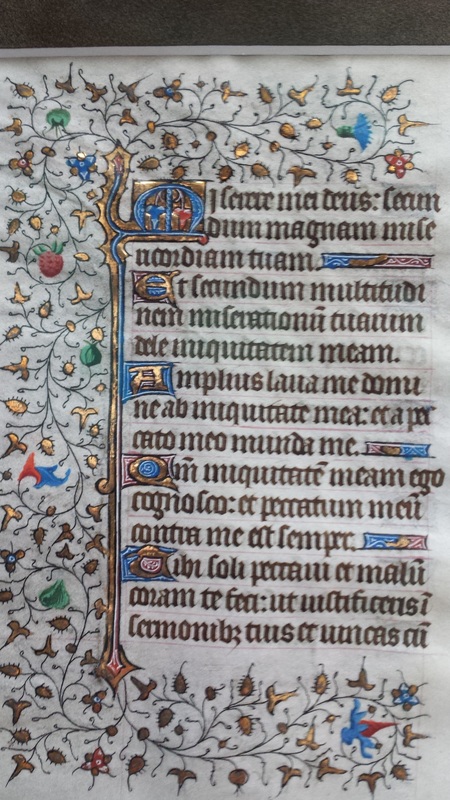
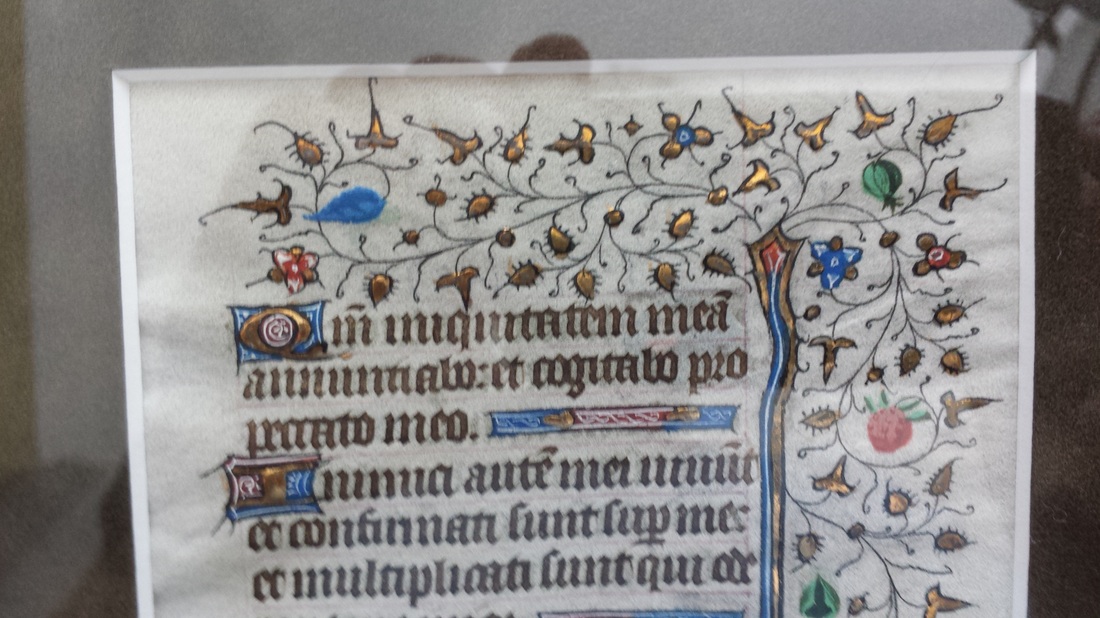
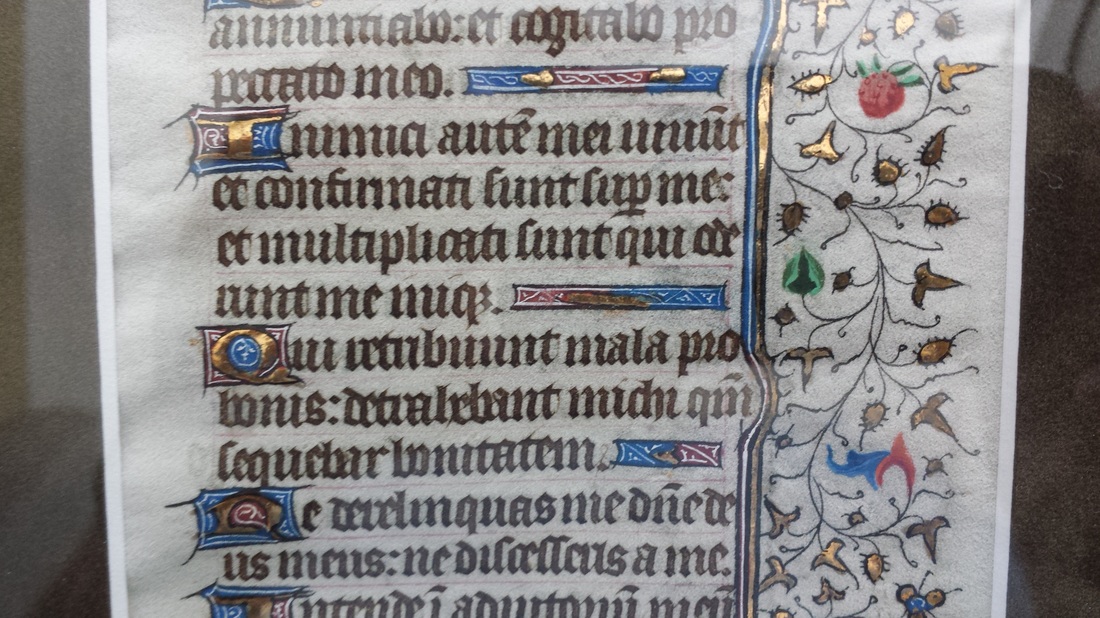
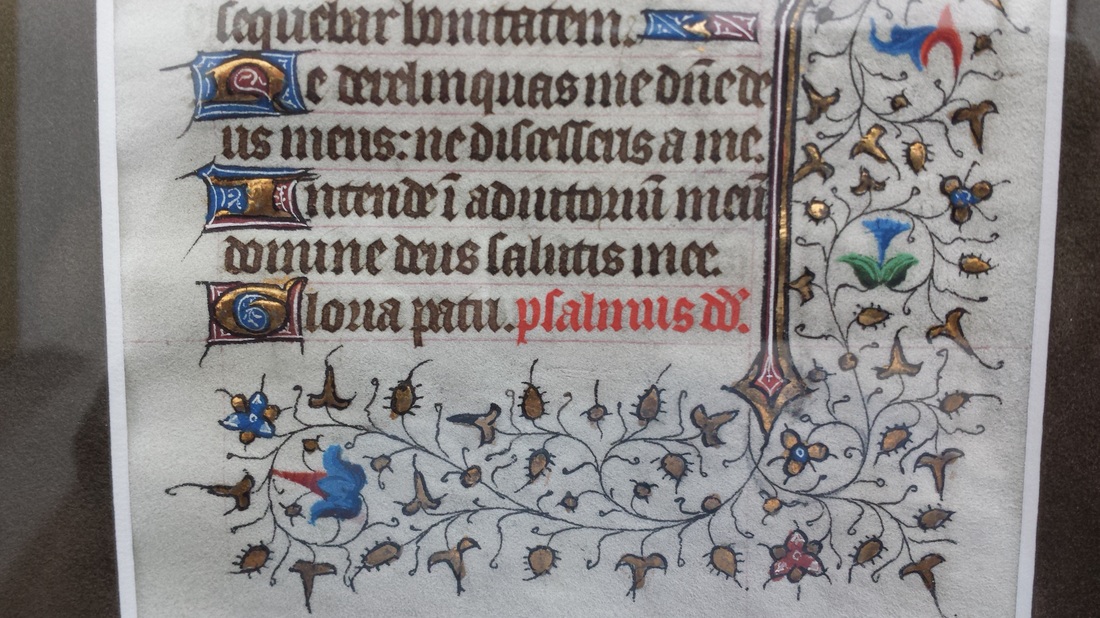
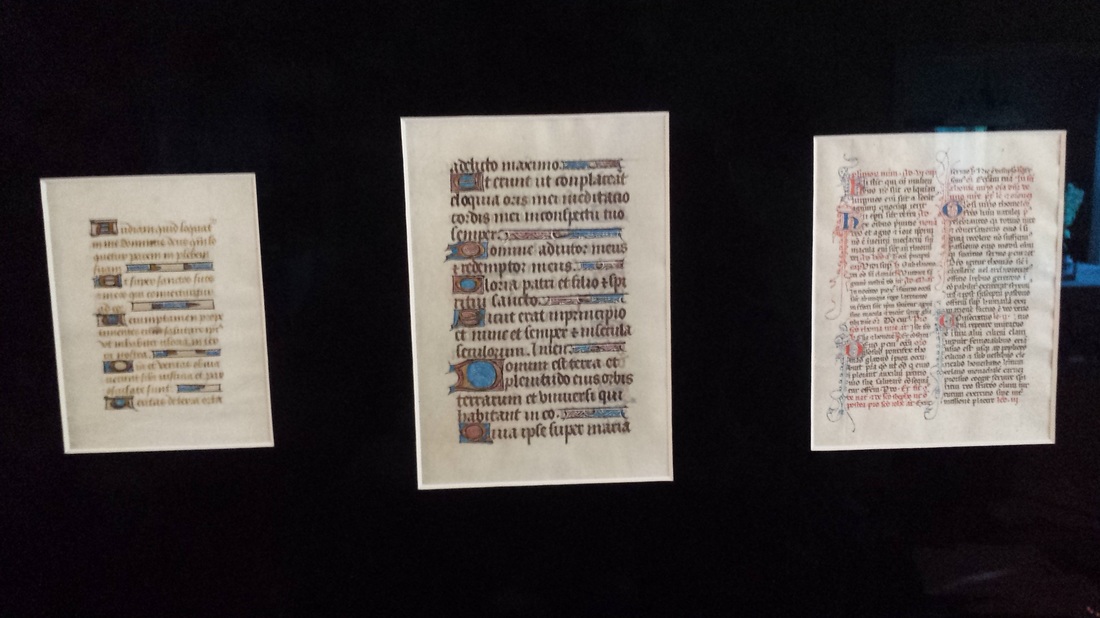
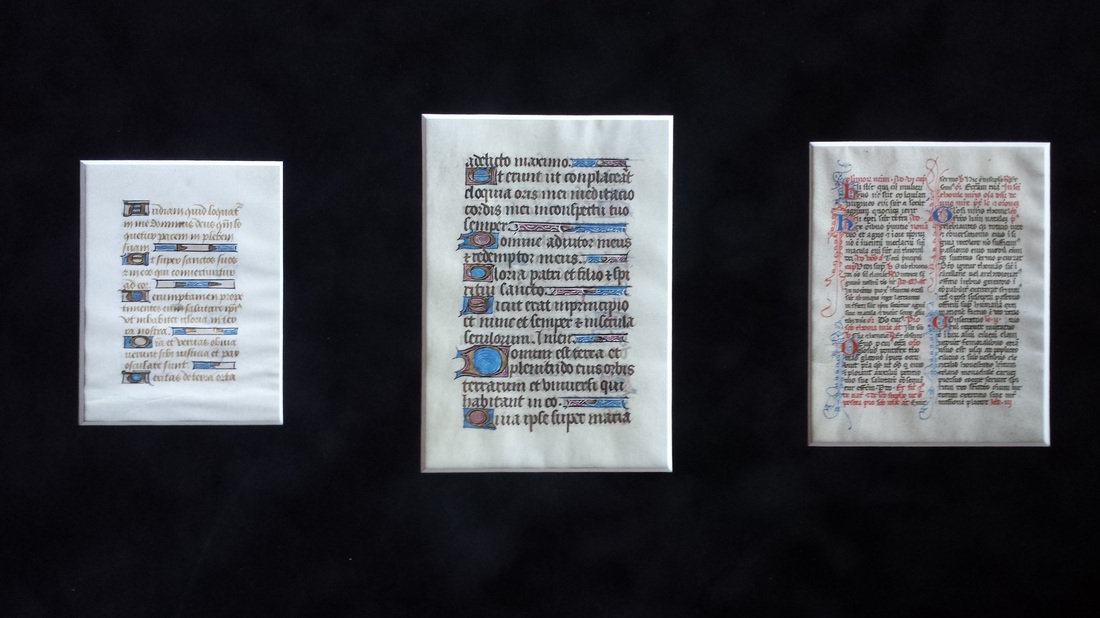
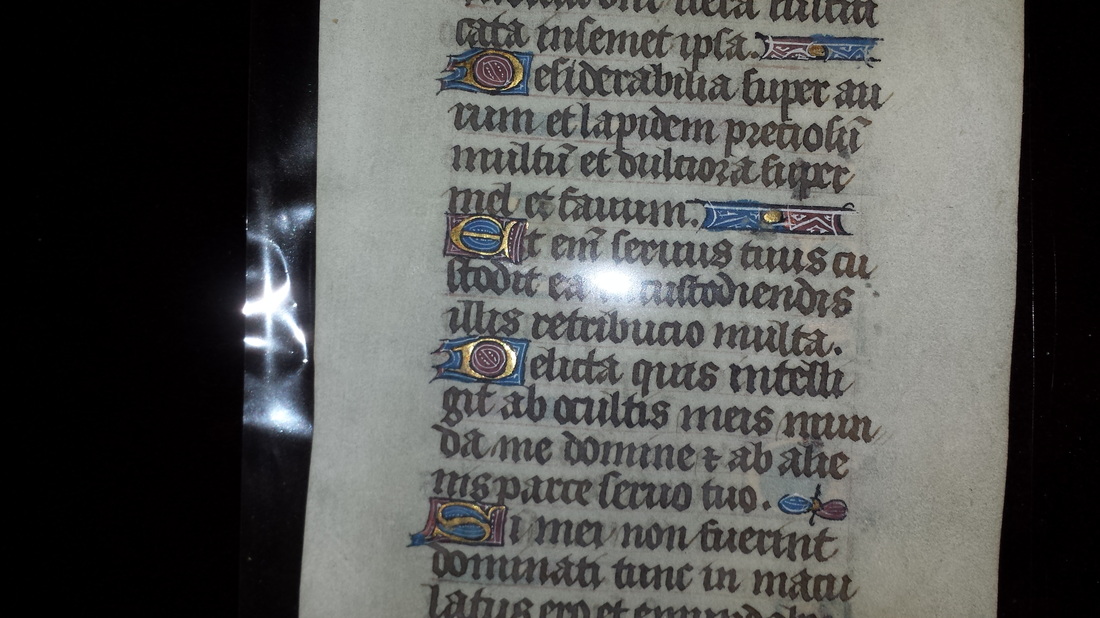
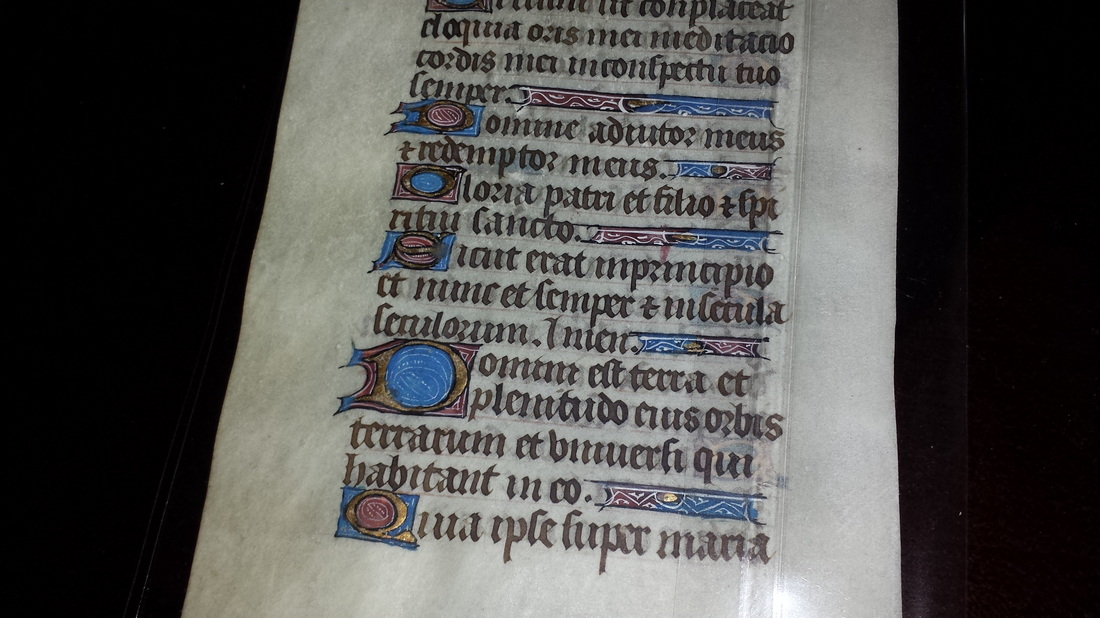
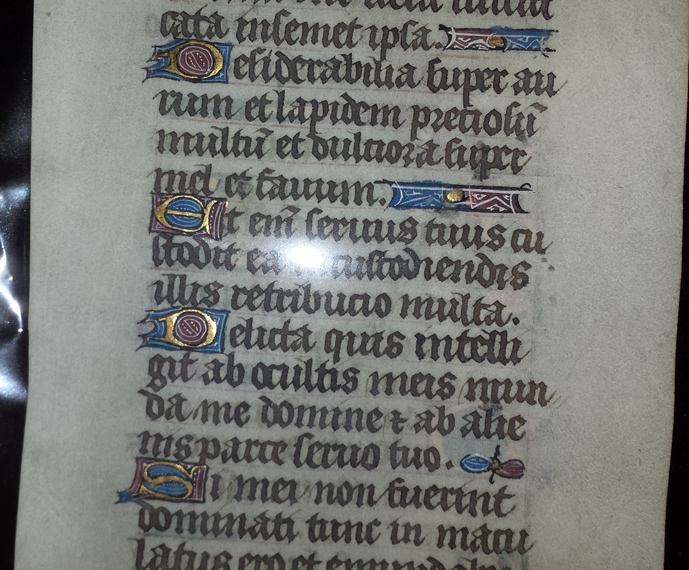
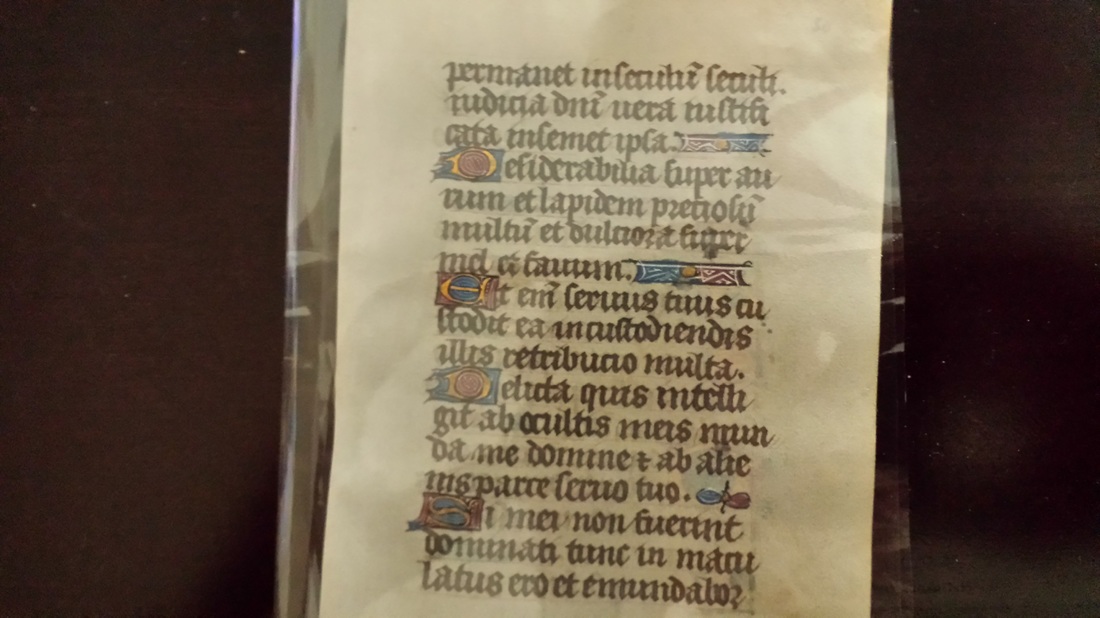
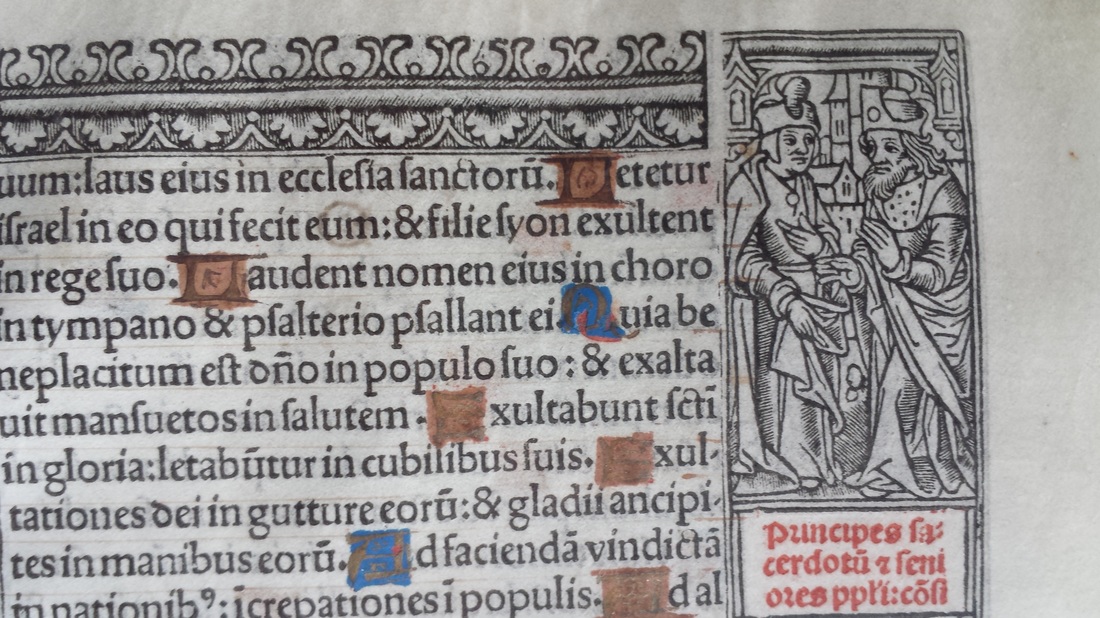
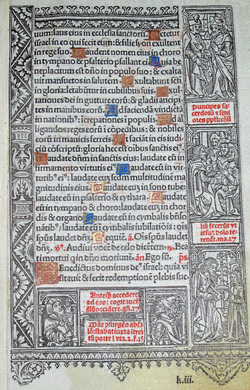
Our newest addition is from 1420-1440 AD and is larger than the previous leafs we've purchased (197x138mm (7.76"x5.4"). The leaf contains 15 lines of red-ruled Latin text (front and back) in dark brown ink on animal vellum. One two-line illuminated initial in blue with delicate white penwork, and an interior floral design in red and blue on a burnished gold ground and extending into the margon in a delicate rinceaux design. There are ten one-line illuminated initials and six illuminated line-extenders in burnished gold on red and blue ground with delicated white penwork. The text is surrounded on three sides with an elegant rinceaux panel border in a delicate floral motif (including a strawberry - the symbol of perfect righteousness) with ivy leaves in red, blue, green, orange, and burnished gold. An illuminated bar extends beyond the length of the text in red, blue, and burnished gold. This leaf was written and illuminated in France at a pivotal point in the Hundred Year’s War... England defeated France decisively in Agincourt in 1415 and took Paris in 1420. Not until Joan of Arc’s heroism (1428-29) could France regain hope of restoring its capital. The book from which this came was likely in daily use at that time. The one-line illuminated "Q" begins Psalms 37 (King James 38) 19-23: For I will declare my iniquity: and I will think for my sin... Attend unto my help, O Lord, the God of my salvation. The two-line illuminated "M" begins Psalm 50 (KJ51) 1-6: Have mercy on me, O God, according to thy great mercy. And according to the multitude of my tender mercies blot out my iniquity, and cleanse me from my sin... Frame #2This was the first frame we had completed and we put three smaller documents in the same frame. Info on the documents is listed further below. This frame was done just like the other frame with museum quality glass on the front and UV blocking acrylic on the back. 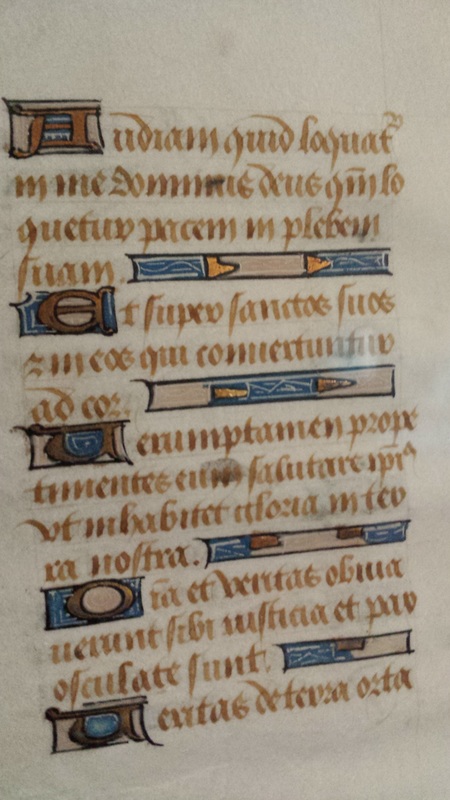 1250 AD - Our oldest manuscript. Book of Hours on vellum, possibly from France. Fresh natural colors, white filling, decorations in burnished gold. Beautiful and singular Gothic handwriting, all richly illuminated and miniated in silver, blue with Gothic-Batarde vellum, rich with initials, filler lines & letters. Colored Minuskeln and Lombarden in gold,red and blue classities colored climbing work and hands ornaments Double columns, each with 15 lines 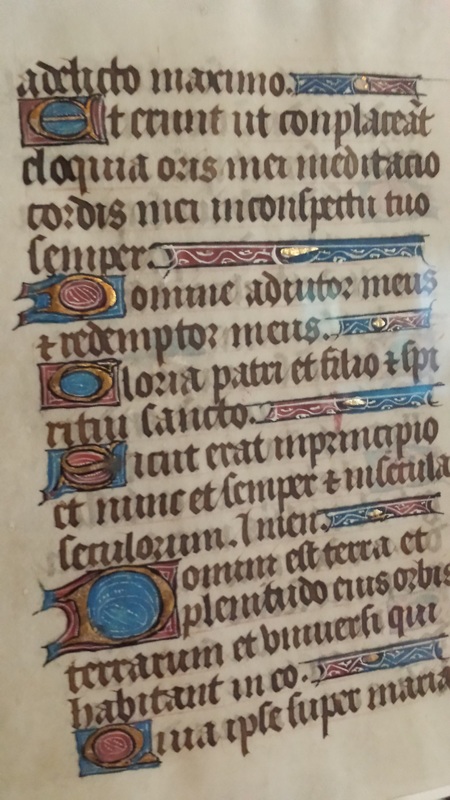 1450 AD - A delicate leaf from a Book of Hours, 15th century, in Latin, on vellum from the North of France, (possibly Amiens?) 153x100 mm (6"x4"). There are seventeen lines of monastic Gothic script in brown inks with numerous highly embossed capitals on grounds on red and blue with white tendrils. Line fillers have blue and red grounds with white tendrils and a highly embossed gold middle. Two sided. Condition of this leaf is Fine [F] "Gloria Patri, et Filio: et Spiritui sancto. Sicut erat in principio, et nunc, et semper: et in saecula saeculorum, Amen." "Glory be to the Father, and to the Son: and to the Holy Ghost. Even as it was in the beginning, and now, and ever: and world without end. Amen." 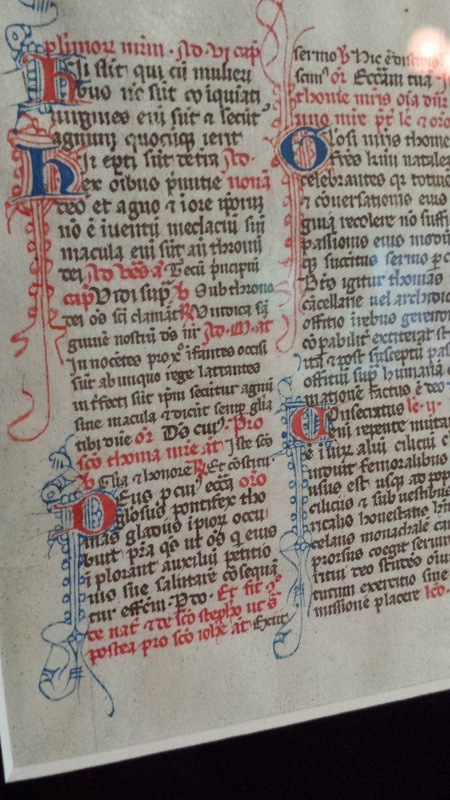 1280 AD - This is an original vellum from an original Medieval Illuminated Manuscript. It is a richly decorated, breviarium or Book of Hours used in Rome, 13th century, most likely written in a scriptorium of France around 1280. This is a text manuscript with two culumns of 31 lines in each column. It consist of red-ruled page written in pale dark brown and blue & red ink in latin text manuscript liturgical in sleek gothic-batarde, classic style of the 13th century. Just thought I'd share some of the items that my wife and I have collected. I never thought that we would be collecting old manuscripts and books, but here we are! Here are a few of the items we now have, and as time permits, I'll add more. A Little HistorySome of the old manuscripts that we've collected were created as far back as approximately 1250 AD. It was common practice to "write" or hand scribe on sheets of animal skin called "vellum". Until we started collecting these documents, I had no clue what vellum was. Here's an excerpt of the description: "Medieval scribes usually wrote their Books of Hours on parchment or vellum, the supple, almost silky, skin of a calf or lamb, which had been carefully cleaned, thinned, scraped, and polished to a pearly and opaque, nearly white, color. A single Book of Hours uses eight to ten of these hides. The vellum used for the finest Books of Hours is nearly as thin as paper, and it was much more costly. Paper was a high-value commodity in 14th-century Europe, but vellum probably cost three to five times the price of paper." One side of a vellum is always darker than the other, as the "inside" side of the skin was harder to clean of flesh than the outer or "skin" side. What is a Book of Hours?A few of the old pages, or "leaf's", come from what was called a "Book of Hours". I'll quote some text here from the Harry Ransom Center at the University of Texas Austin, but you can find the entire three part series on the Book of Hours by clicking here. Pestilence, famine, war, and death: The Four Horsemen of the Apocalypse were close companions to life in the 14th century. The Church was compromised by political corruption and worldliness, and the pope resided not in Rome, but at Avignon, where he remained a virtual pawn to the king of France. During this calamitous phase of European history, a devotional text called the Book of Hours emerged as a medieval bestseller. Glossary
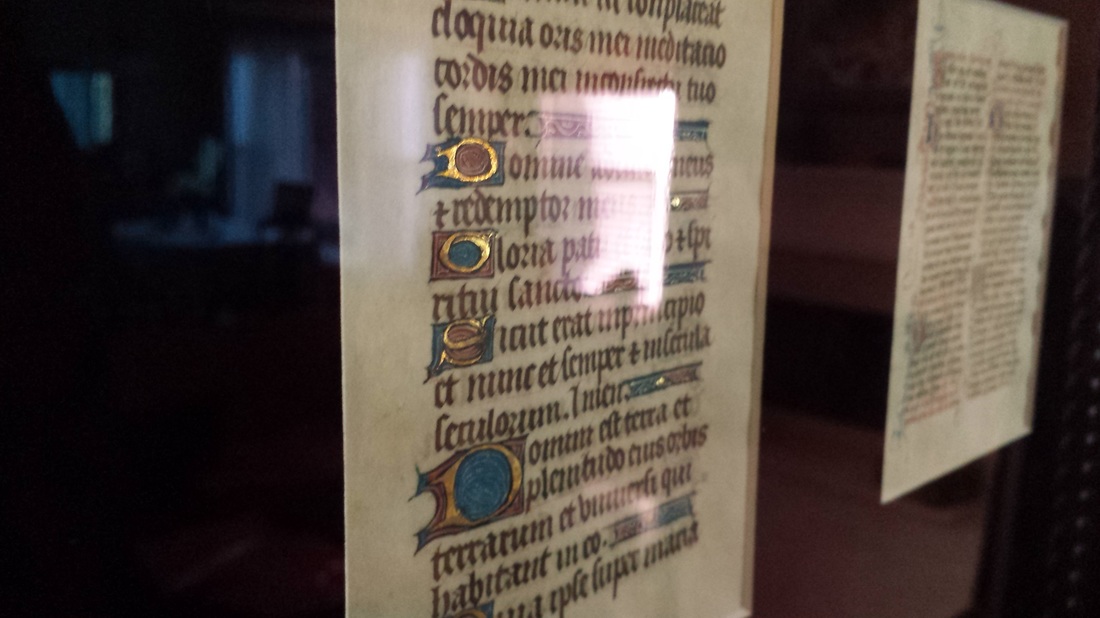
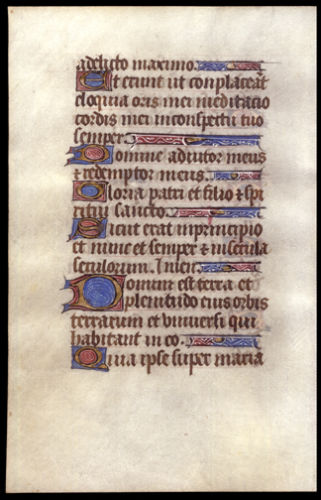
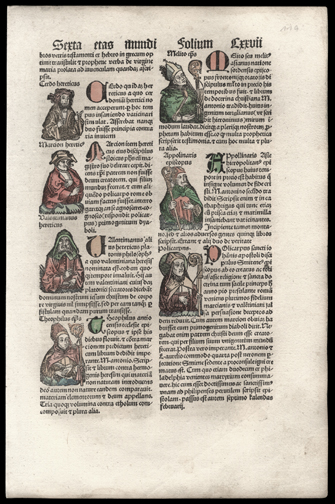
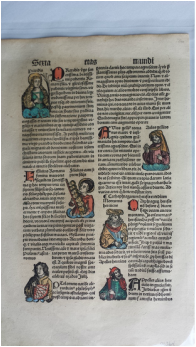
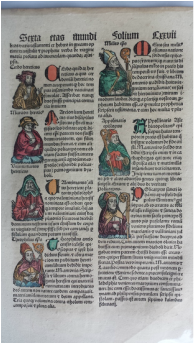
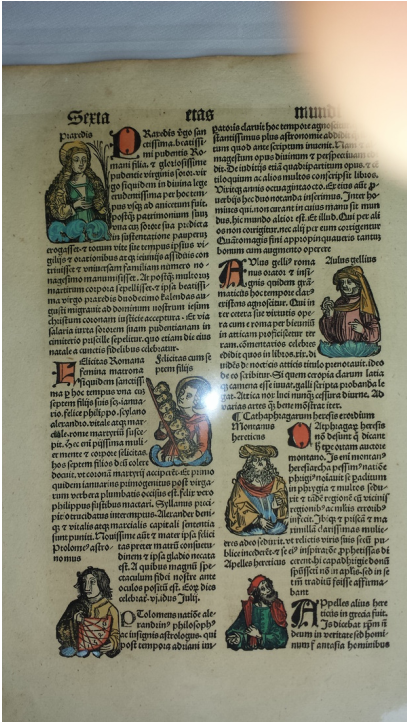
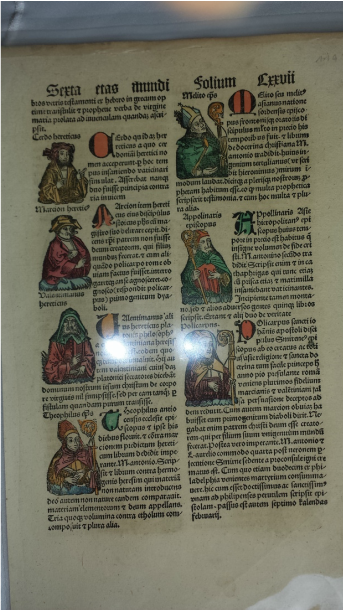
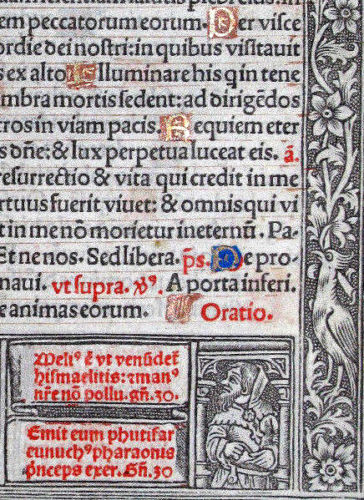
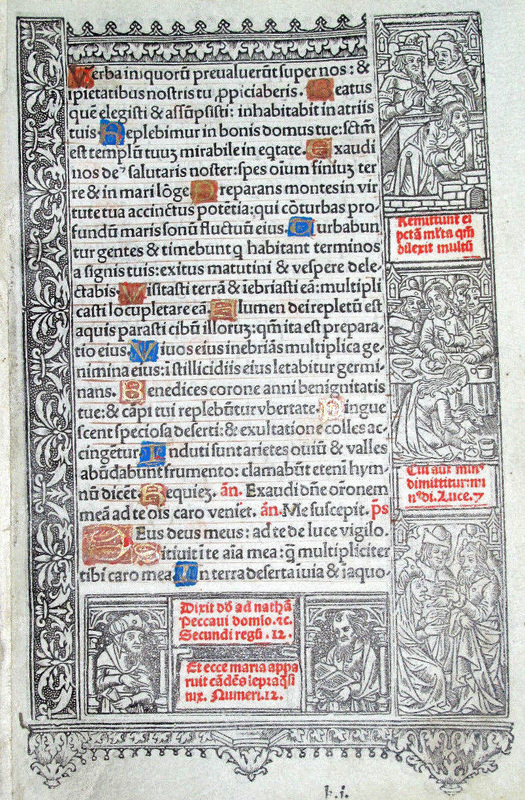
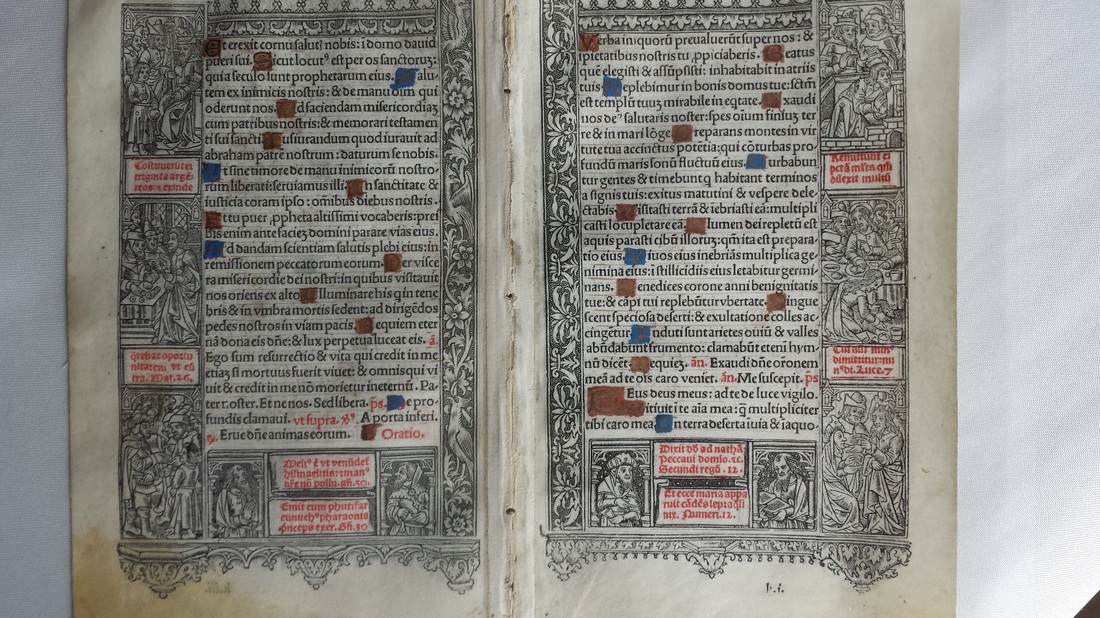
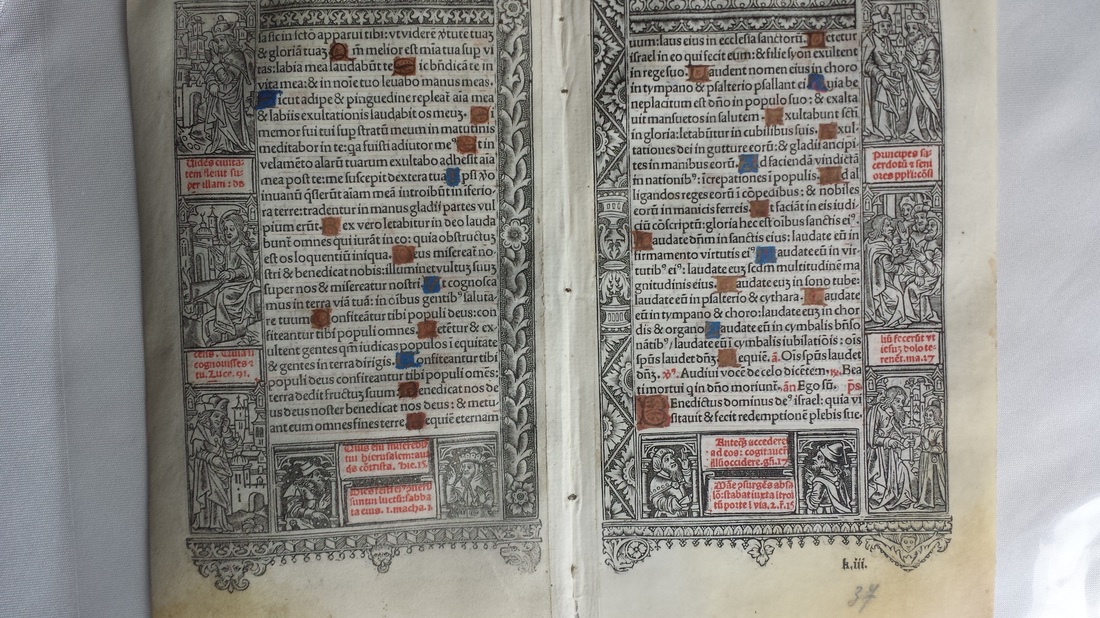
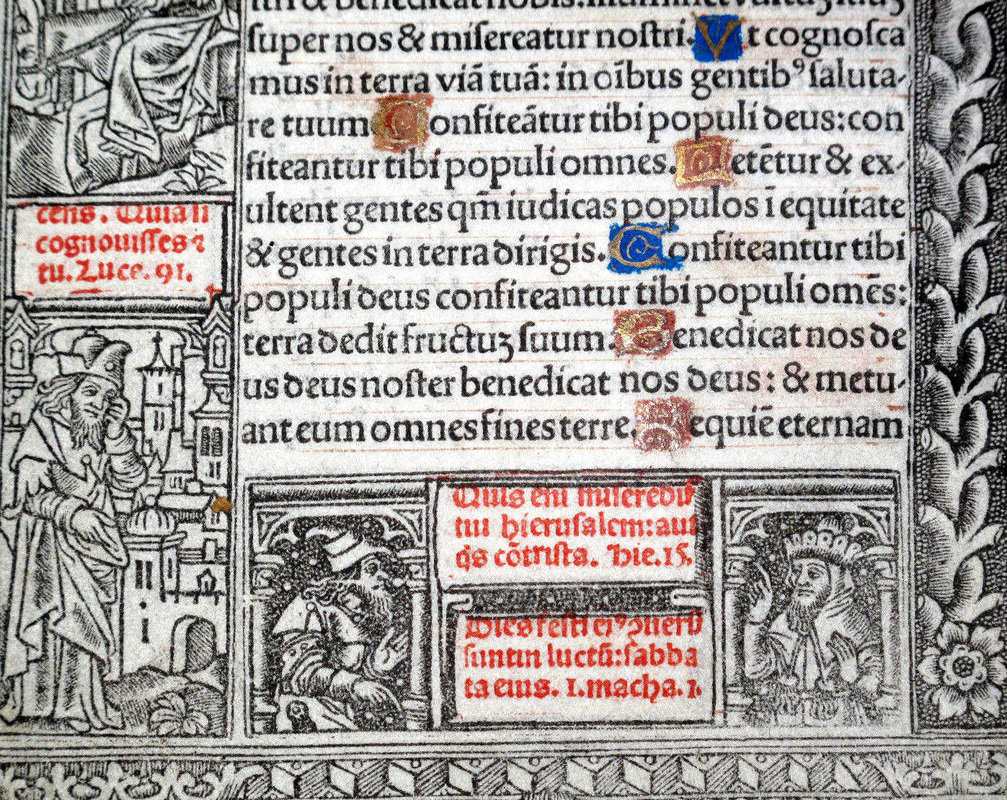
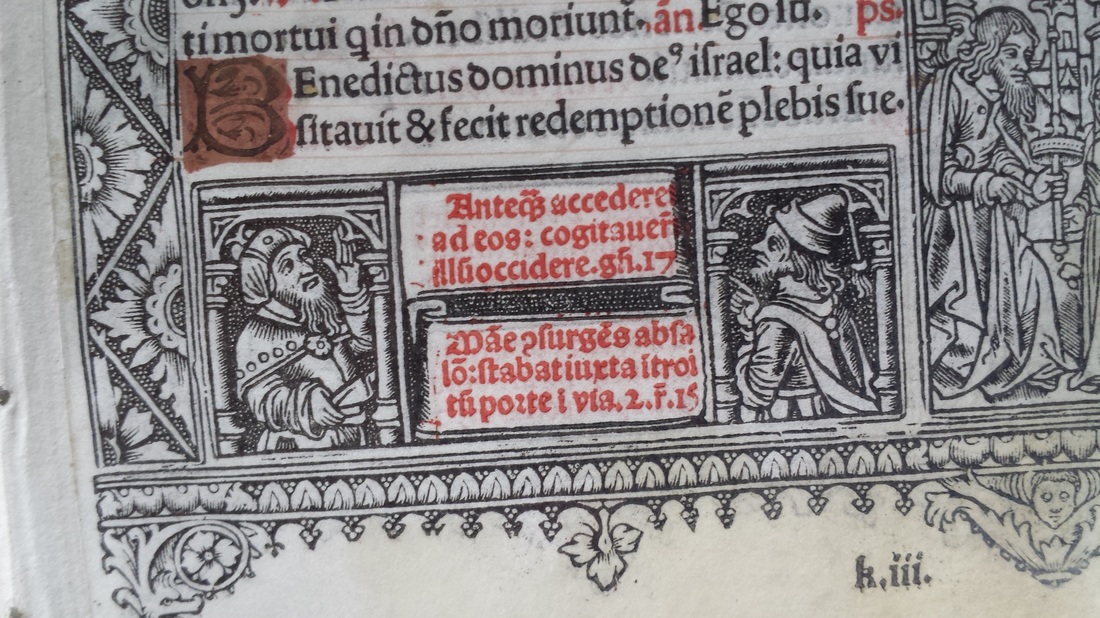
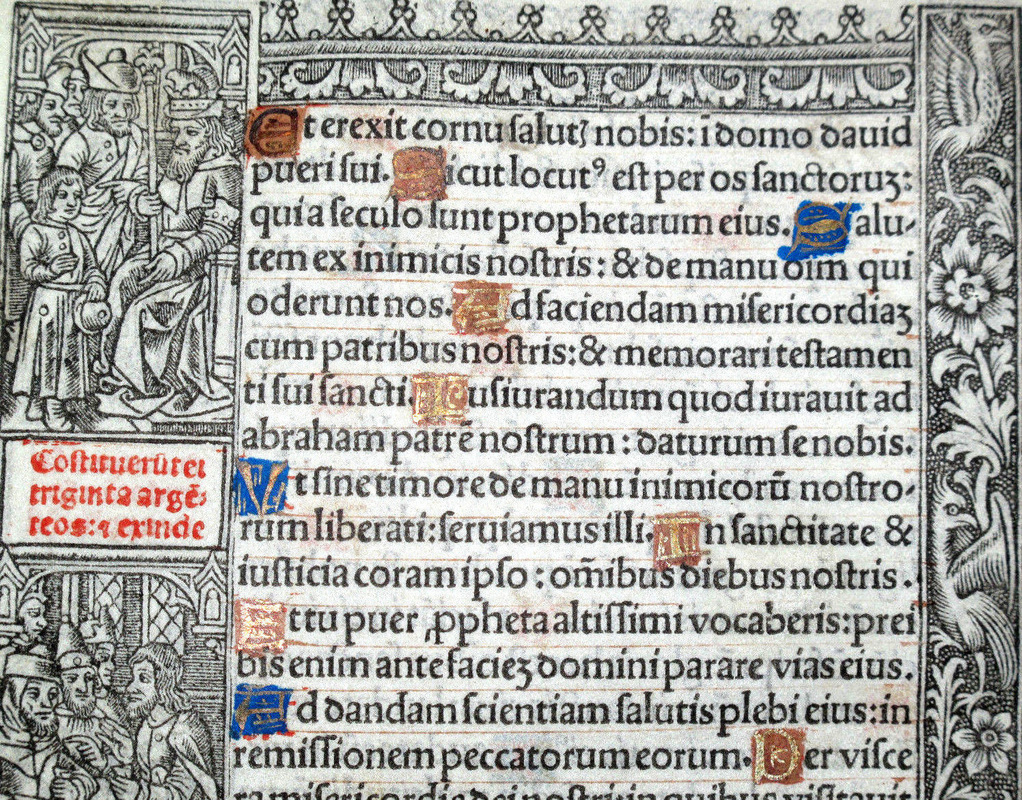
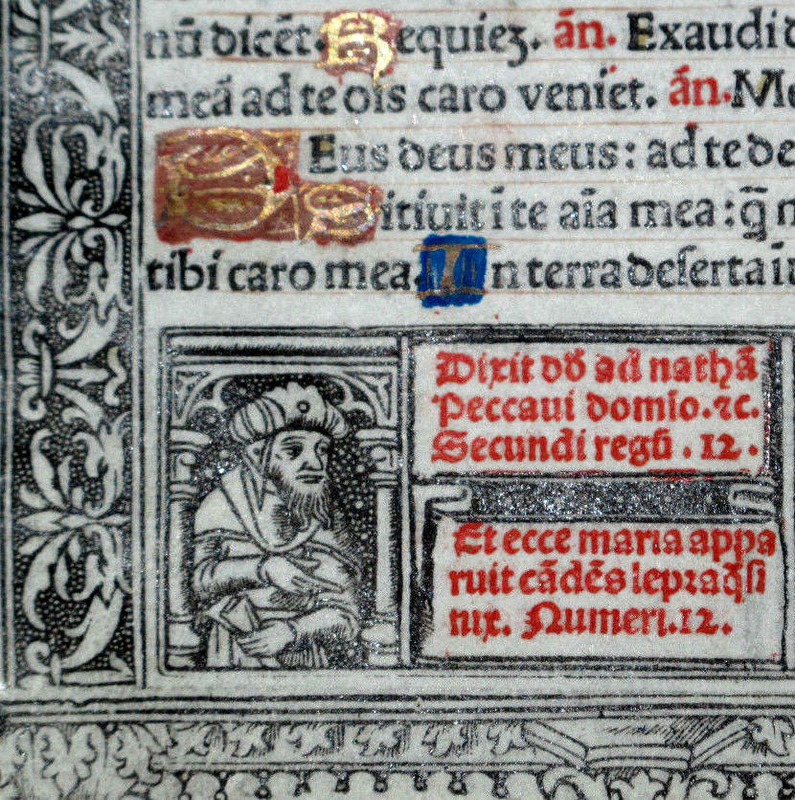
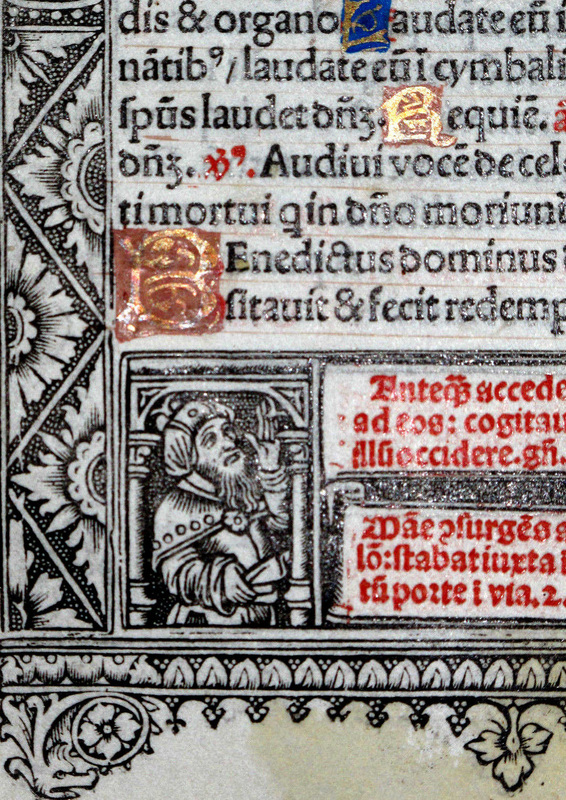
Documents1450 - Late Medieval/Early Renaissance Devotional - Gold Illuminated Book of Hours Manuscript on VellumThis is currently the 2nd oldest document we possess, and as of 2015, it is 565 years old. This is a leaf from a Book of Hours, circa 15th century, in Latin, on vellum, from the North of France (possibly Amiens?), and is approximately 153x100 mm (6"x4") in size. There are seventeen lines of monastic Gothic script in brown inks with numerous highly embossed capitals on grounds on red and blue with white tendrils. Line fillers have blue and red grounds with white tendrils and a highly embossed gold middle. It is a two sided leaf. It's hard to see the embossed gold in the pictures without the flash. Everything you see in the document was created by hand. The condition of this leaf is Fine [F] The leaf reads: "Gloria Patri, et Filio: et Spiritui sancto. Sicut erat in principio, et nunc, et semper: et in saecula saeculorum, Amen." "Glory be to the Father, and to the Son: and to the Holy Ghost. Even as it was in the beginning, and now, and ever: and world without end. Amen." 1497 - The Nuremberg Chronicles Colored Woodcuts of 2nd Century Gnostics, Virgin & PtolemyThis is a leaf of incunabula from the Liber Chronicarum (Book of Chronicles) better known as The Nuremberg Chronicles. Next to Gutenberg's Bible, it is one of the best-documented early printed books and one of the first to successfully integrate illustrations and text. Written in 1491 by Hartmann Schedel, it is an illustrated Biblical paraphrase and world history. Johann Schonsperger printed this edition on February 1, 1497 in Augsburg. The small folio leaf measures 300 x 195 mm. (11.8"x7.7") in totality and contains various lines of Gothic type (4, 5, 9) printed multi-column format in Latin, copiously illustrated by Michael Wolgemut and Wilhelm Pleydenwurff. All woodcuts contain contemporary hand coloring. Woodcuts depict second century Gnostics Cerdo, Marcion, & Valentinus as well as four of the Ante-Nicene Fathers Theophilus, Melito, Hippolytus, & Polycarp. The verso contains the same lines format & type. Woodcuts depict six second century personalities from the Virgin, Martyr Saint Praxedes to the great cartographer Ptolemy (Hain 14509; Goff S-308, Proctor 1786, Oates 946, BMC II 370) . From Wikipedia... The Nuremberg Chronicle is an illustrated biblical paraphrase and world history that follows the story of human history related in the Bible; it includes the histories of a number of important Western cities. Written in Latin by Hartmann Schedel, with a version in German, translation by Georg Alt, it appeared in 1493. It is one of the best-documented early printed books—an incunabulum —and one of the first to successfully integrate illustrations and text. 1503 - Late Medieval/Early Renaissance Incunable Illuminated Book of Hours on VellumThis is a 500+ year old gorgeously illuminated gold burnished printed bifolium (2 connected leaves) manuscript leaf from a Book of Hours, namely the Hours of the Virgin, in Latin, printed on vellum with dozens of beautiful illuminated gold burnished letters with gorgeous blue and red block backgrounds, as well as various scenes, figures and designs printed in the borders, as shown. Based on characteristics, very likely printed by Theo. Kerver in Paris, France, circa 1503. Fine vellum leaves in excellent condition with minor traces of aging and a few small parts w/ marginal soiling; still, very well preserved. Pics taken with and without flash to show details; page is not yellowed. As shown, each separate leaf measures 5" x 3.25". Presented in single column, the bifolium remains in double page format with 26 line Latin text, again with metal cut illustrations. 8 inches by 3.5" each leaf (seven inches across both). AntiphonesI'm combining three documents into this section, all very large pages from a class of documents called Antiphons. The quote below is from the US Conference of Catholic Bishops. The Roman Church has been singing the "O" Antiphons since at least the eighth century. They are the antiphons that accompany the Magnificat canticle of Evening Prayer from December 17-23. They are a magnificent theology that uses ancient biblical imagery drawn from the messianic hopes of the Old Testament to proclaim the coming Christ as the fulfillment not only of Old Testament hopes, but present ones as well. Their repeated use of the imperative "Come!" embodies the longing of all for the Divine Messiah. "The O Antiphons are Magnificat antiphons used at Vespers of the last seven days of Advent in Western Christian traditions. They are also used as the alleluia verses on the same days in the Catholic Mass. They are referred to as the "O Antiphons" because the title of each one begins with the interjection "O". Each antiphon is a name of Christ, one of his attributes mentioned in Scripture. They are:
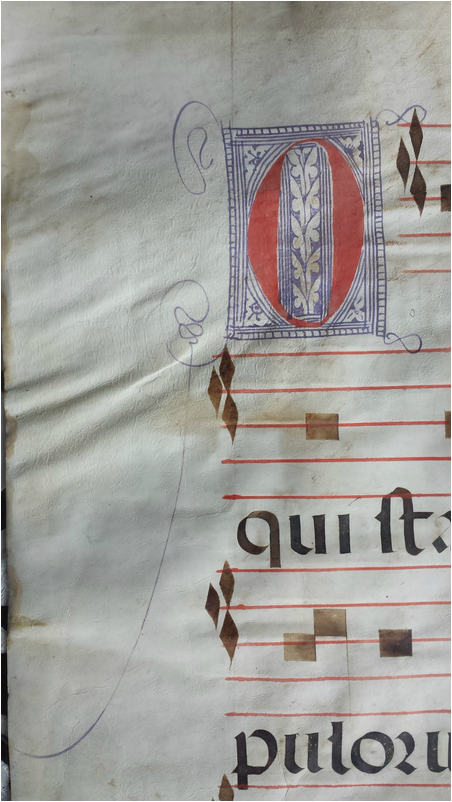
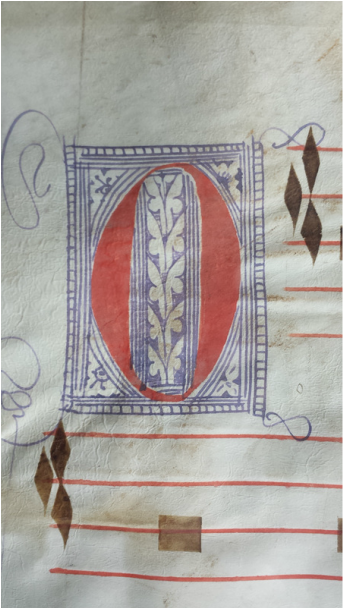
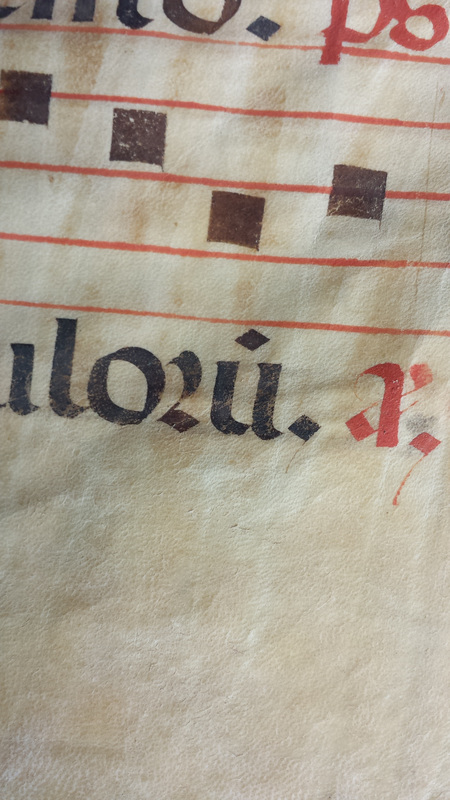
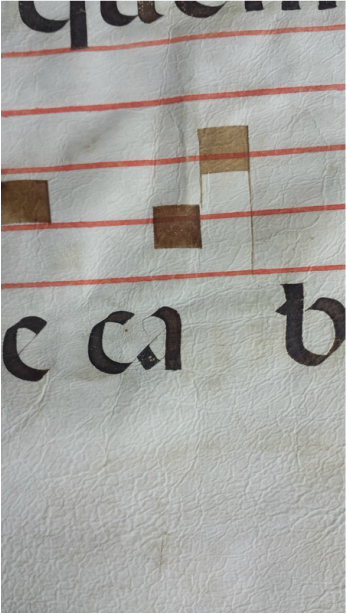
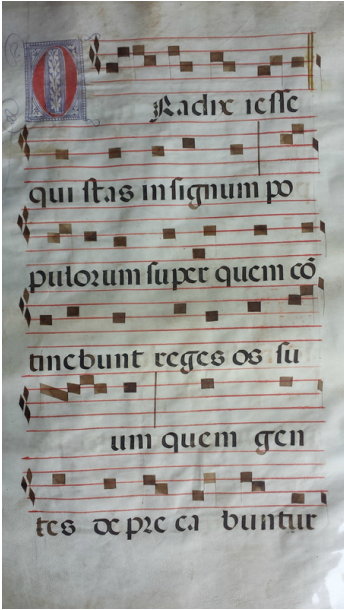
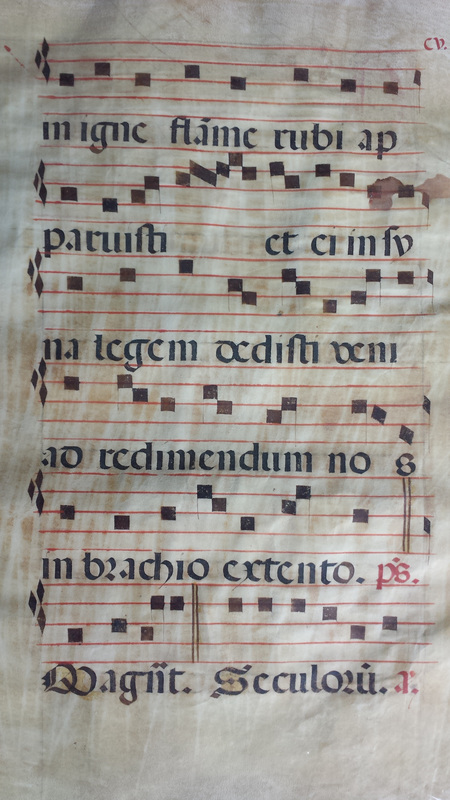
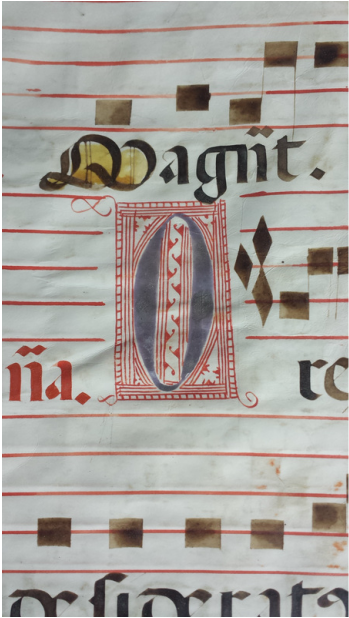
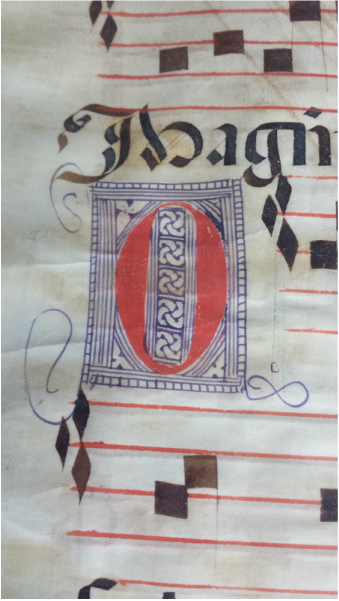
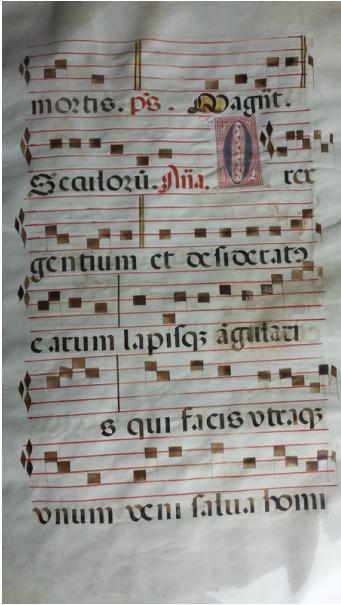
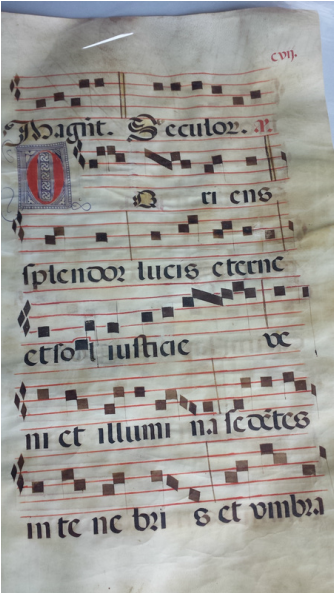
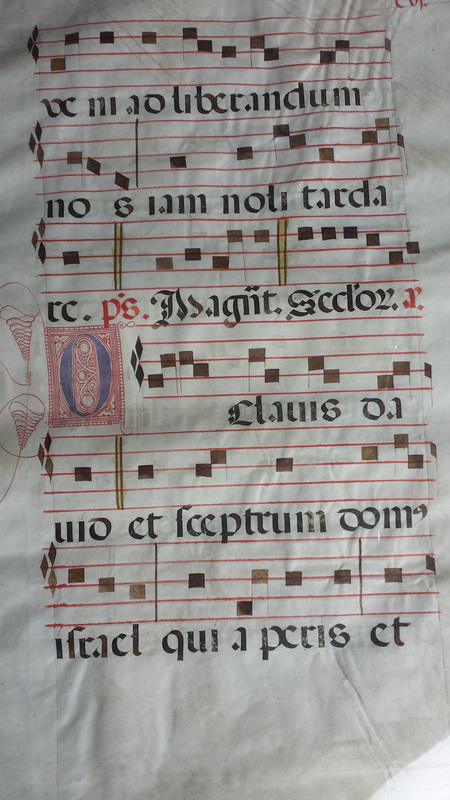
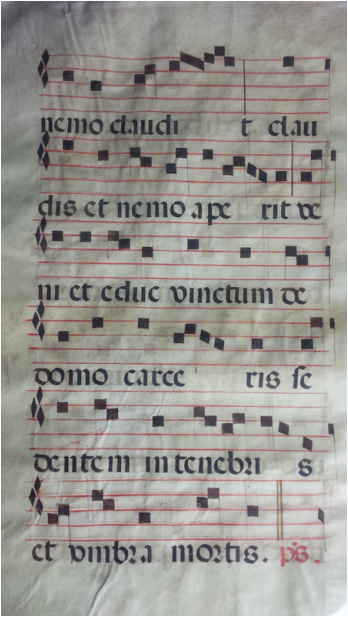
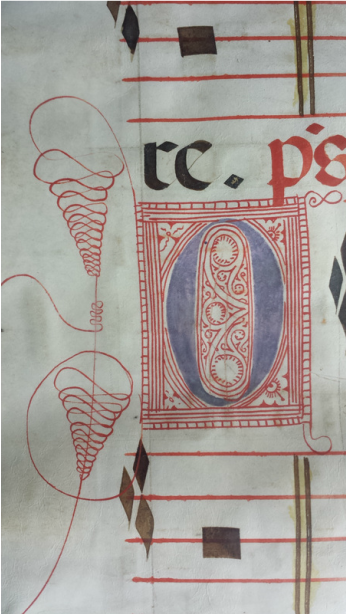
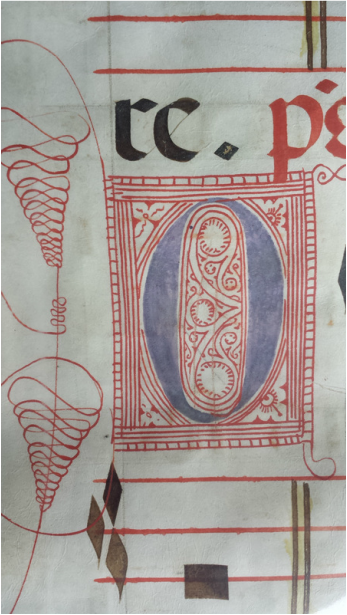
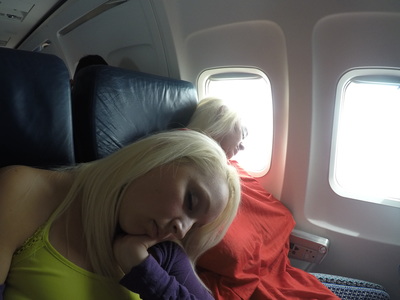
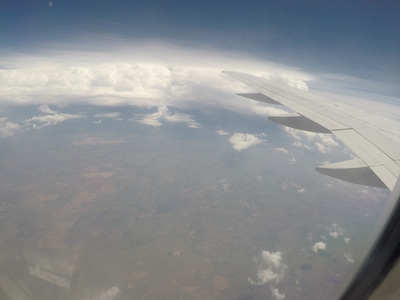
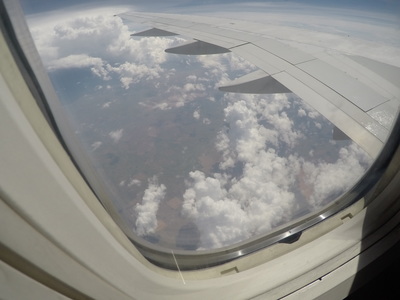
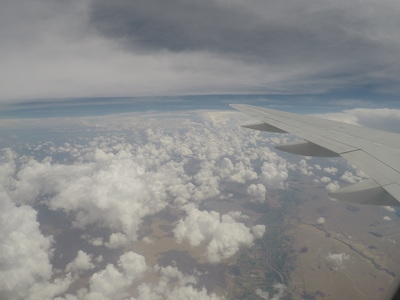
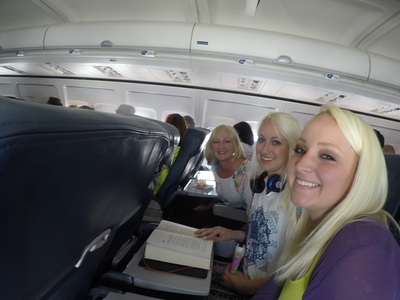
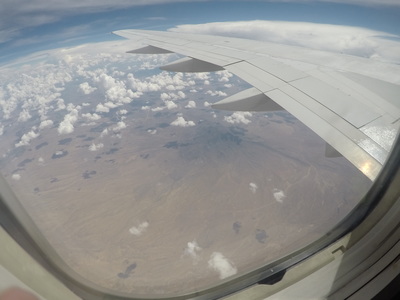
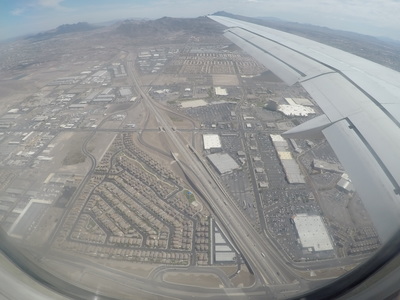
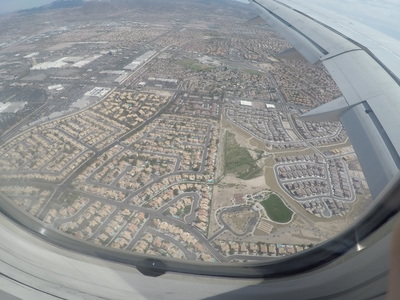
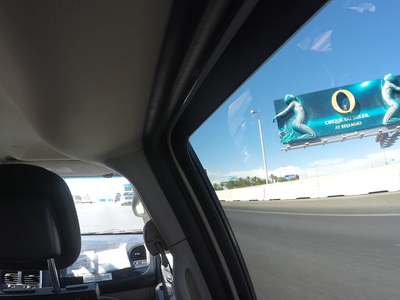
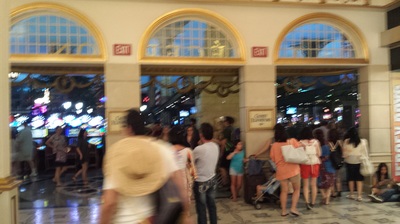
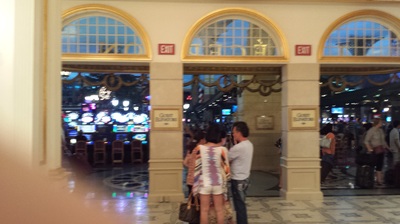
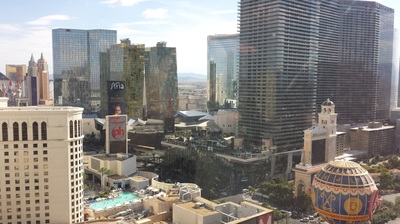
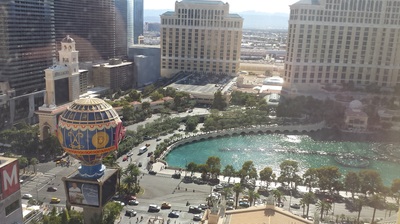
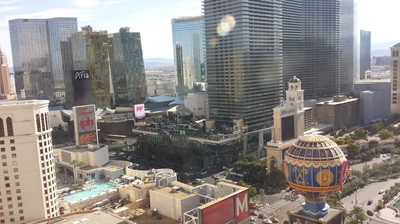
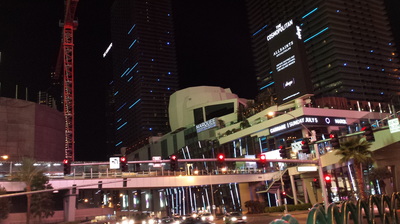
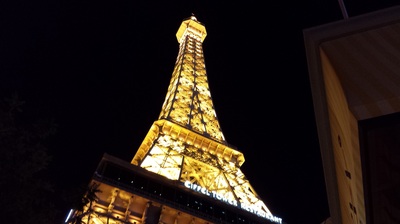
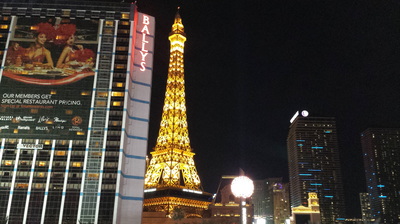
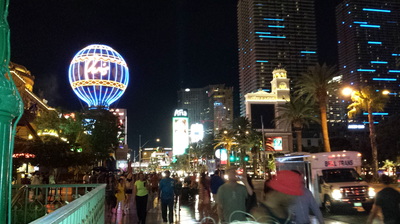
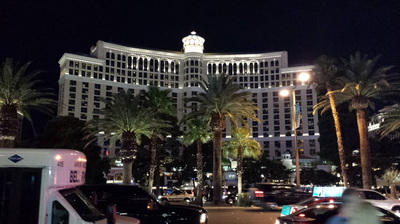
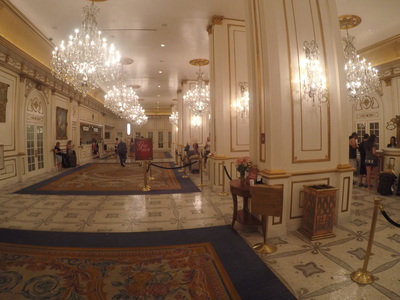
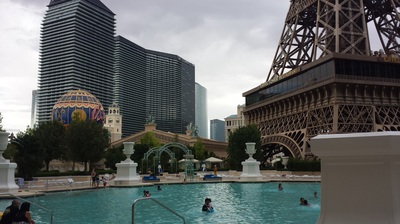
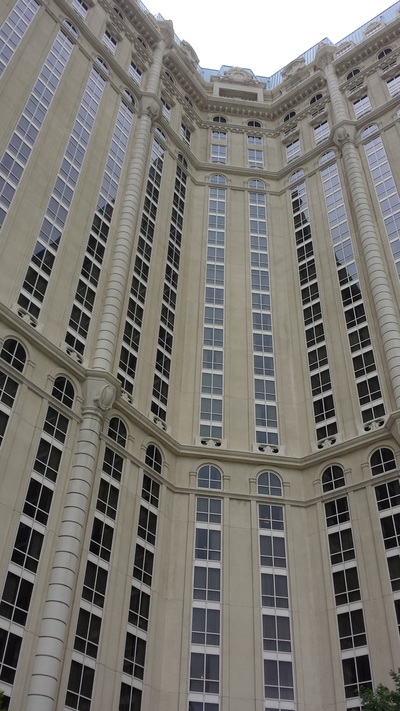
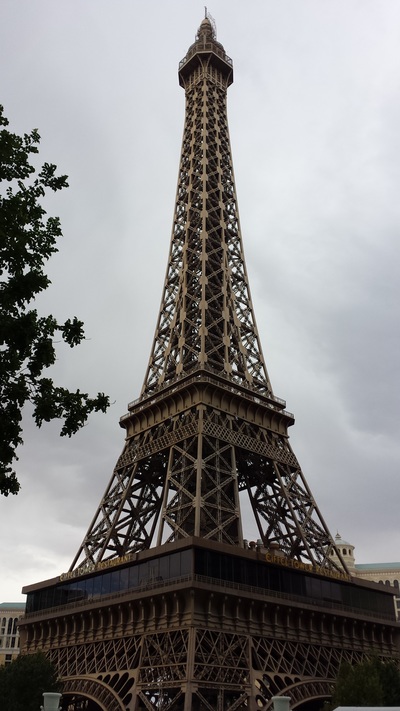
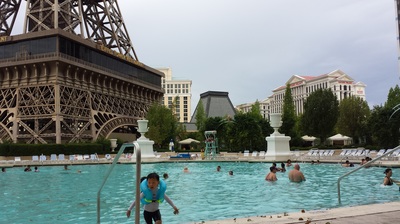
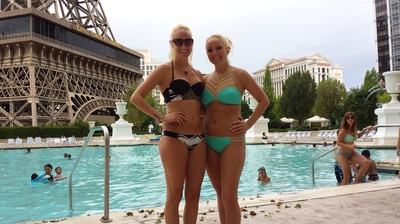
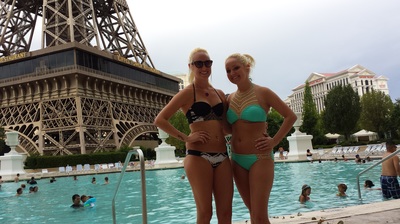
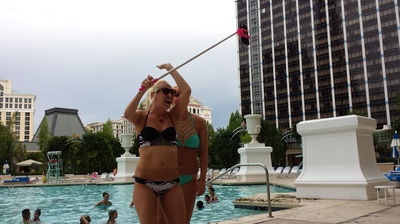
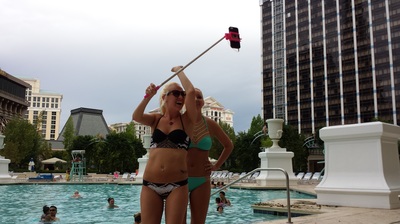
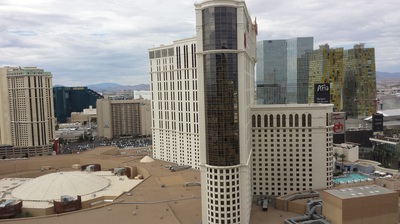
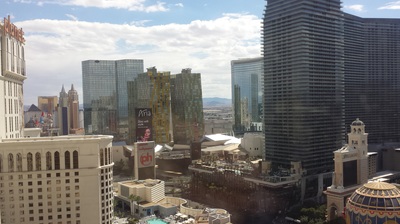
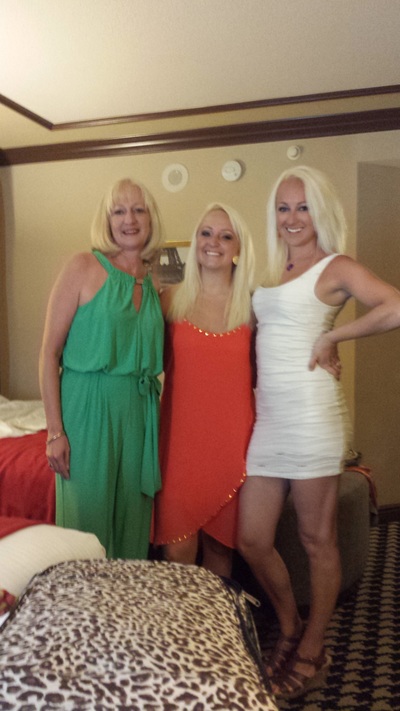
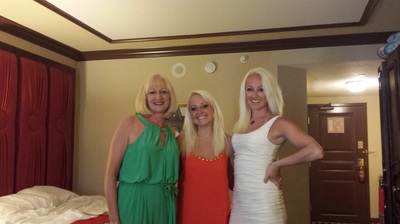
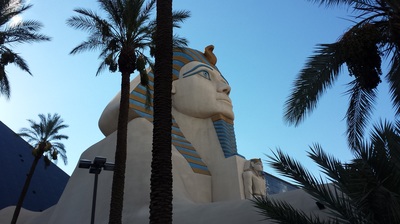
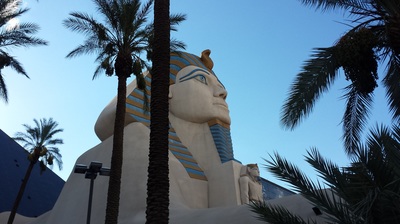
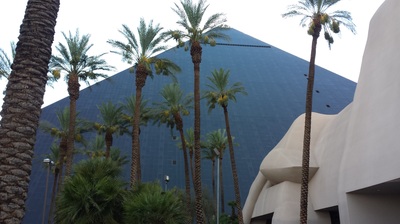
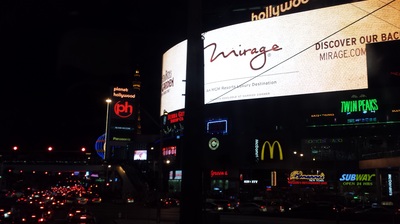
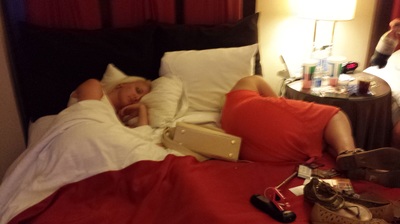
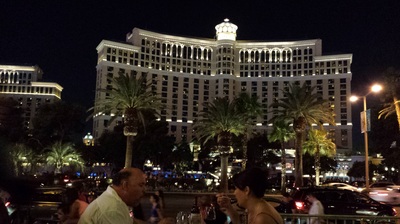
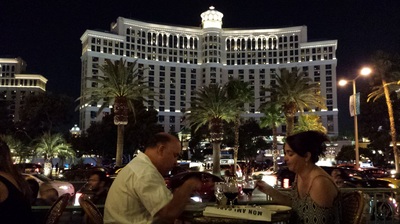
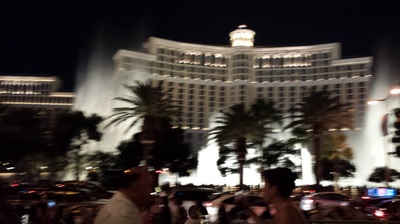
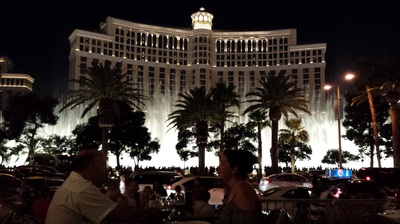
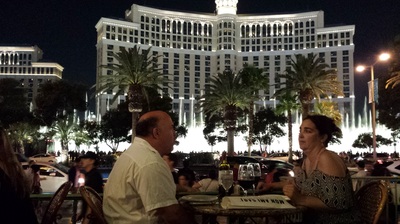
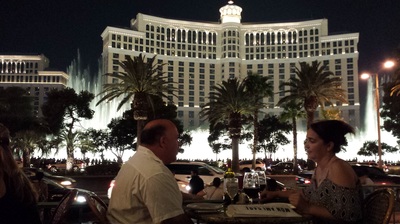
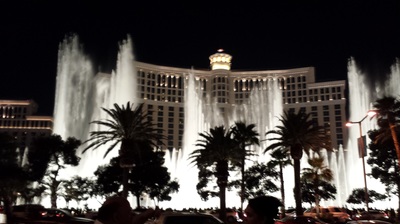
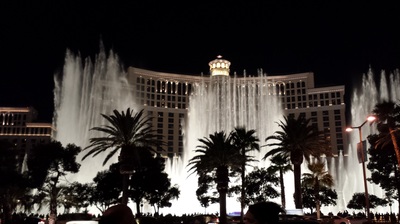
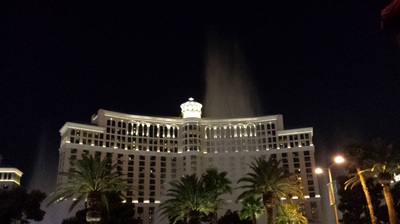
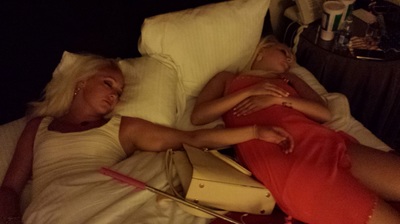
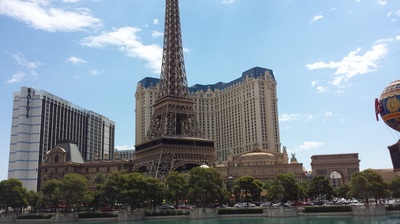
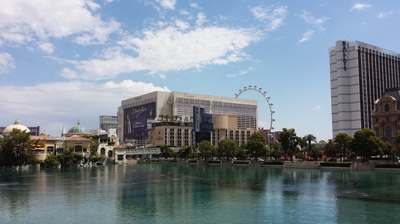
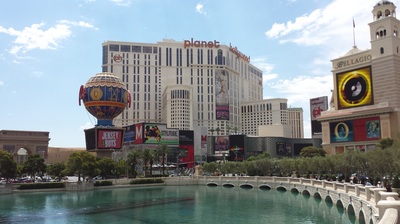
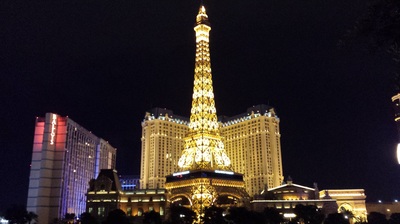
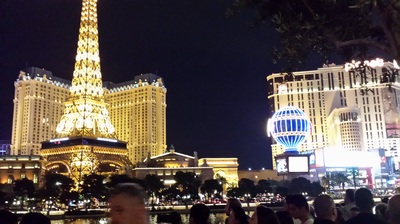
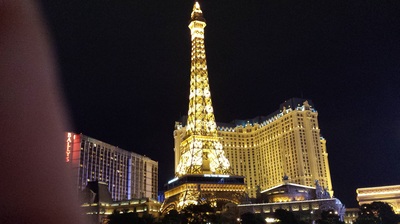
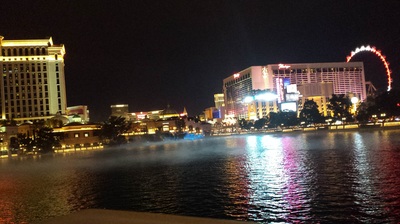
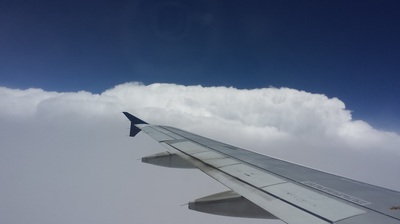
We currently have 3 pages, all original hand-scribed leaves from a Spanish manuscript Antiphonal on animal parchment (vellum). All three of these leaves are from the "Winter Volume" (pars hiemalis) which comprised the Offices of Advent, Christmastide, and Epiphany, circa 1525. They are all double sided documents and measure approximately 560 x 365 mm or 22 x 14 3/8”. The first document has one illuminated initial in blue with red interior and exterior penwork extending into margin with intricate flourishing. This leaf continues the hymn O Adonai: “...in igne flammae rubi apparuisti, et ei in Sina legem dedisti: veni ad redimendum nos in brachio extento.”, and translated reads: [O Adonai, and leader of the House of Israel, who appeared to Moses]... in the fire of the burning bush and gave him the law on Sinai: Come and redeem us with an outstretched arm. The illuminated “O” begins the hymn: "O Radix Jesse, qui stas in signum populorum, super quem continebunt reges os suum, quem Gentes deprecabuntur: veni ad liberandum nos, jam noli tardare", which translated reads: "O Root of Jesse, standing as a sign among the peoples; before you kings will shut their mouths, to you the nations will make their prayer: Come and deliver us, and delay no longer". I happened to find this Gregorian chant on Youtube! Enjoy! The next leaf has one illuminated initial in red with violet interior and exterior penwork extending into margin with intricate flourishing; one illuminated blue initial with red interior and exterior penwork. This leaf continues part of the Office of Advent. The illuminated "O" begins the hymn: "O Oriens..."O Oriens, splendor lucis aeternae, et sol justitiae: veni, et illumina sedentes in tenebris, et umbra mortis, translated to: O Morning Star, splendour of light eternal and sun of righteousness: Come and enlighten those who dwell in darkness and the shadow of death". The second illuminated “O” begins the hymn: “O Rex Gentium…” (O King of the Gentiles, yea, and the desire thereof, the Corner-stone that makest both one: come and save man…). The last leaf contains one illuminated initial in red with violet interior and exterior penwork extending into margin with intricate flourishing. The leaf contains most of the last line of "O Radix Jesse" (O Root of Jesse) "veni ad liberandum nos, jam noli tardare." or "Come and deliver us, and delay no longer", which is sung on December 19th, and the opening of "O Clavis David" (O Key of David), which is sung on December 20th. The illuminated "O" begins the hymn: O Clavis David, et sceptrum domus Israel; qui aperis, et nemo claudit; claudis, et nemo aperit: veni, et educ vinctum de domo carceris, sedentem in tenebris, et umbra mortis, translated to: "O Key of David and sceptre of the House of Israel; you open and no one can shut; you shut and no one can open: Come and lead the prisoners from the prison house, those who dwell in darkness and the shadow of death." This will mostly be a photo/video gallery post for each day, but we'll add some comments here and there to talk about some of the images and what we were doing. Some pictures are good, some may be blurry, but they are what they are, so please enjoy. :-) Our plane left Atlanta around 2 PM and it was a pretty uneventful 4 hour and 15 minute flight. Once in Vegas at 3:15 PM, we took a cab to the hotel. We stayed at the "Paris" in a "Red" room on the 27th floor overlooking the Strip. Across the street was the Bellagio with its spectacular fountains (and buffet :-) ), and next door was Planet Hollywood and Bally's. These are just a few flight pictures as well as a couple of the Paris after we arrived. During the security check before the flight, they confiscated Chelsea's $25 hair product from her carry on baggage for our first loss of the trip. It won't be the last. The only meal in Vegas that day was at Ocean Grill in the Miracle Mile mall in Planet Hollywood. Mallory was about to perish... The Flight there... This was our first full day in Vegas and the 4th of July. Paris, as you can see, has a 1/2 size replica of the Eiffel Tower. It was originally designed to be full size, but wasn't allowed due to the close proximity to the airport. There is a restaurant and observation deck in the tower and we went to neither. Go figure. :-) We spent part of the day at the pool and a little gambling playing roulette and blackjack at Paris and Luxor casinos before the show. I was feeling lucky at a $25 minimum blackjack table and quickly found out which kind of luck I had. It wasn't the good kind. Across the street at the Bellagio, the fountains were awesome, and being the 4th of July, were themed to the Star Spangled Banner. When they really get cranking, they sound like cannons when they go off. You'll also notice that some people couldn't keep up... Once we got back from Criss Angel (see below), it seemed the girls were a little bit worn out (first set of sleeping pictures). So Amy and I left the sleeping girls in the room, and went downstairs to a sidewalk restaurant called Mon Ami Gabi, a sidewalk cafe at Paris, and had dinner (see above). The sauces and the seafood were incredible, and our view couldn't have been more spectacular. The pictures of the fountain came from that restaurant except for the video, which was taken on the sidewalk facing the Bellagio. Criss Angel "Believe"The Pyramid and egyptian looking things are the Luxor Casino and Hotel. That night we went to see Criss Angel's "Believe" show. Mallory was picked to be in the show when Criss threw a scarf into the audience for three people, and she managed to catch the scarf and be in that part of the show.
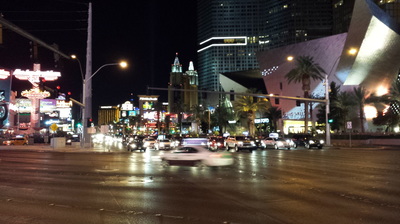
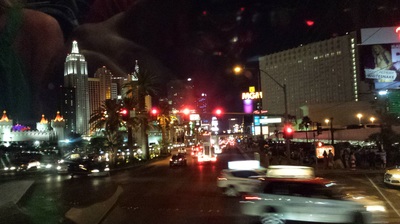
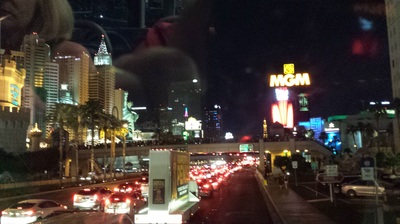
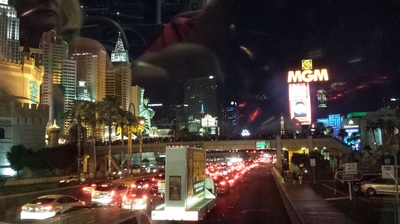
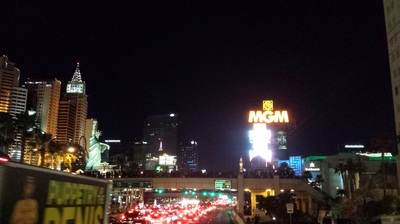
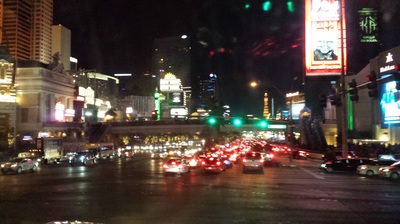
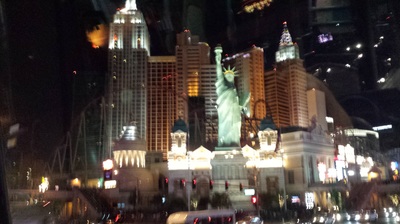
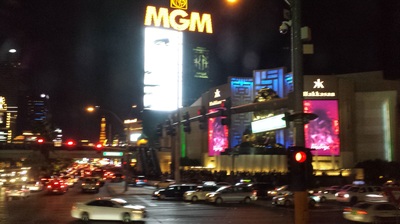
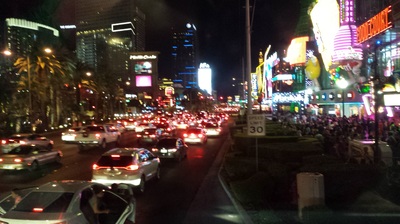
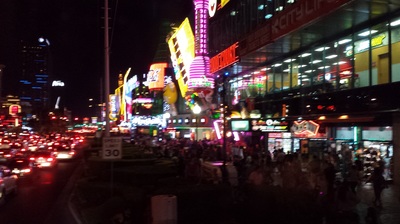
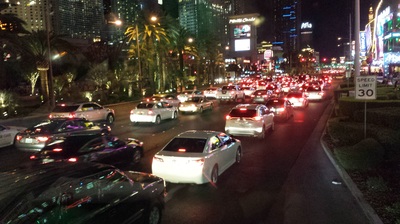
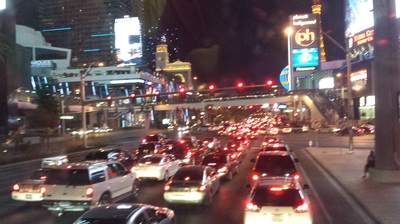
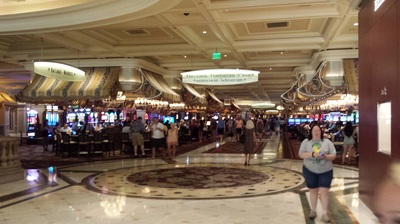
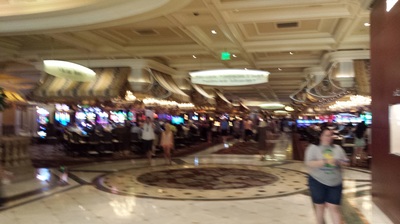
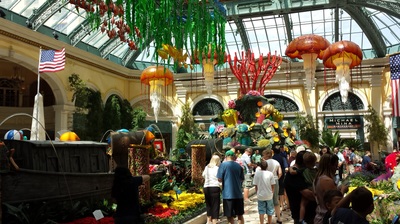
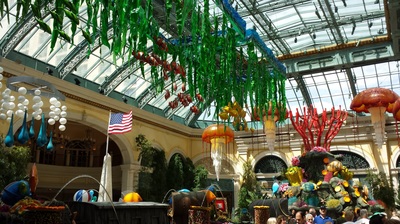
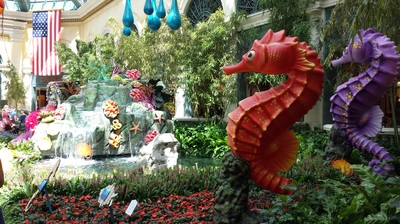
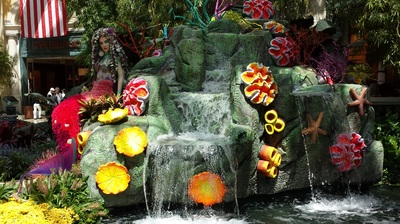
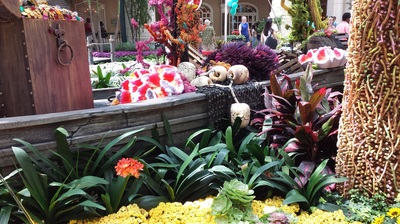
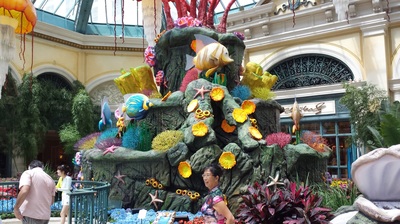
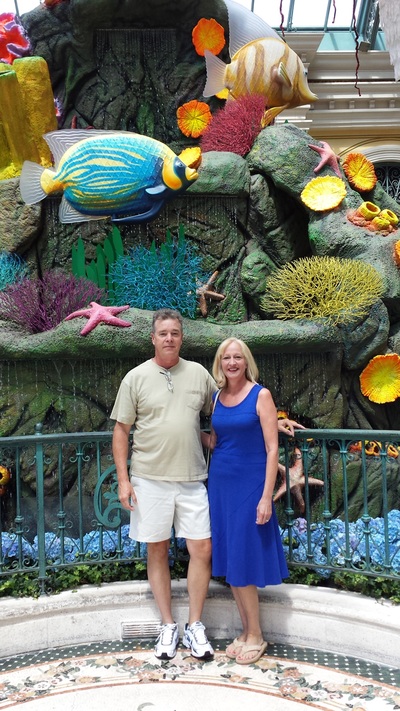
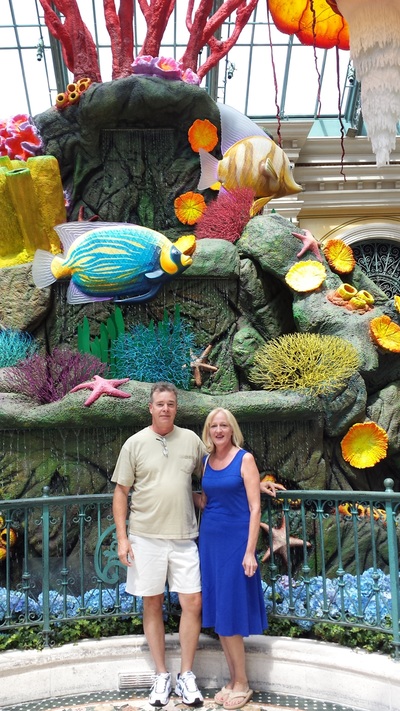
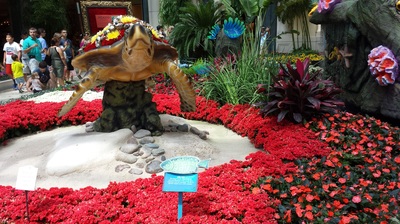
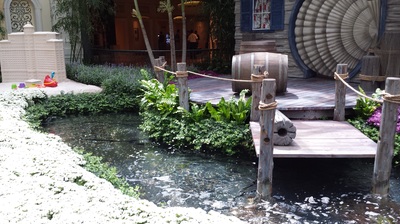
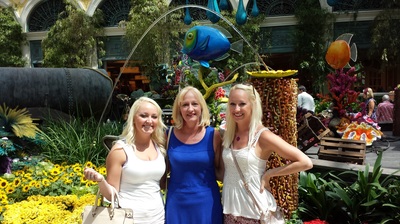
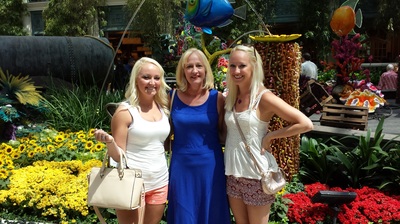
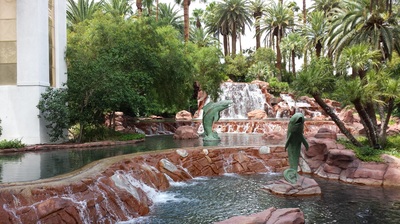
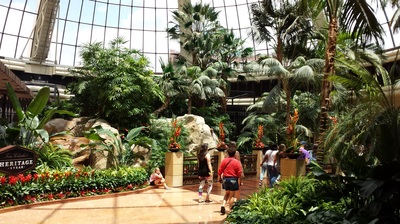
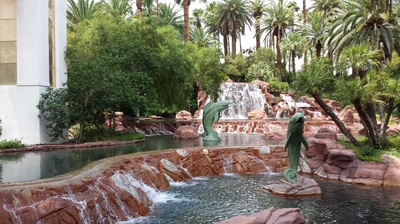
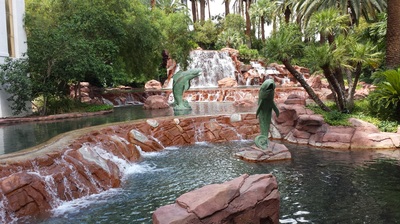
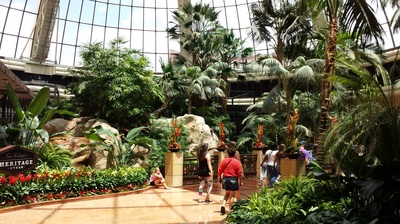
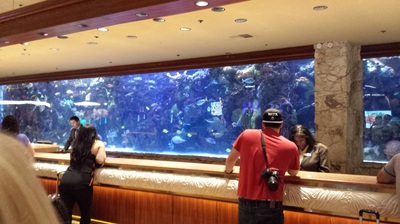
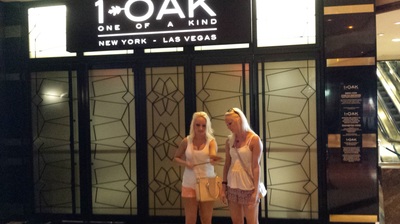
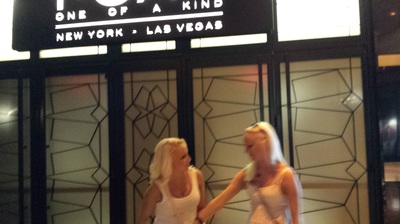
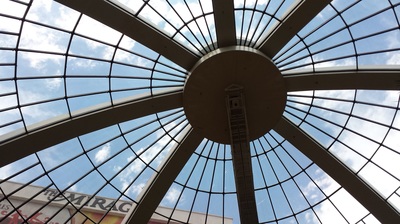
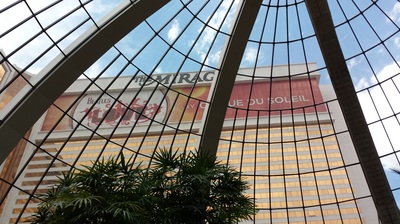
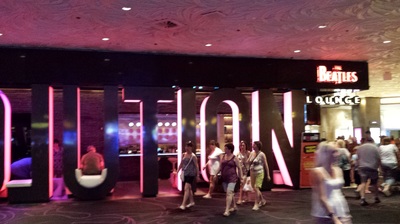
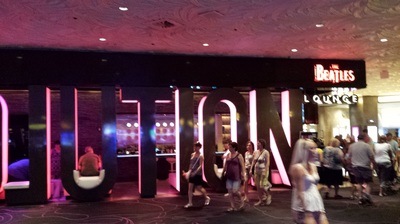
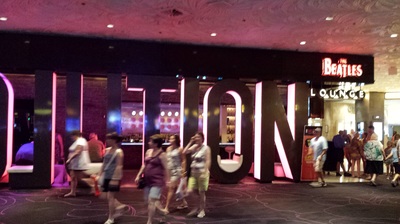
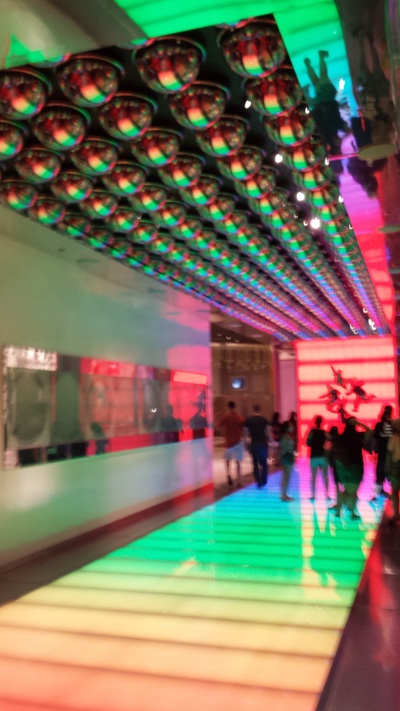
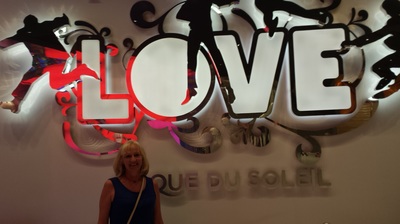
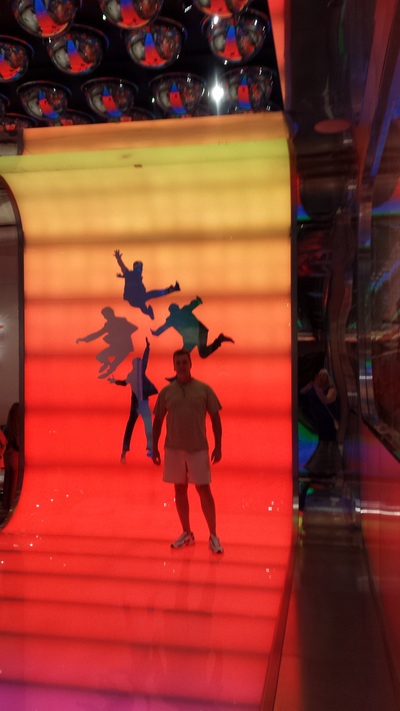
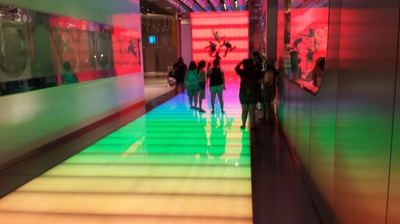
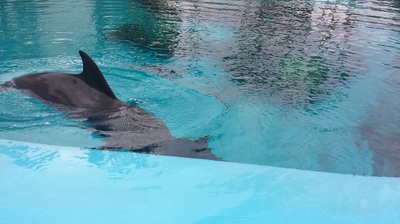
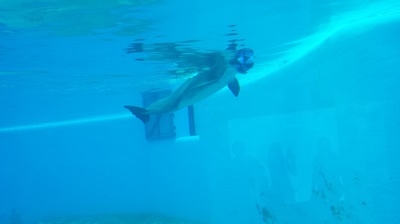
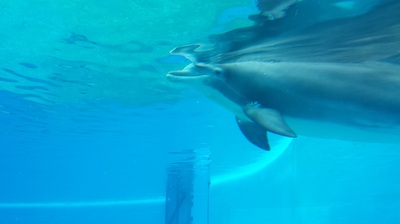
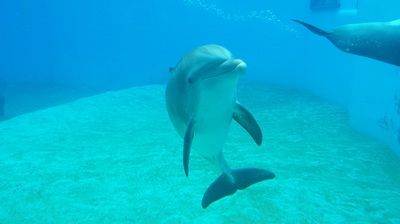
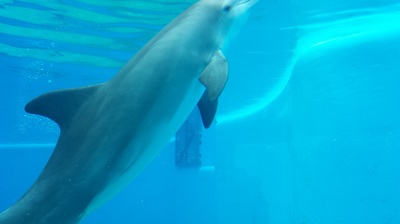
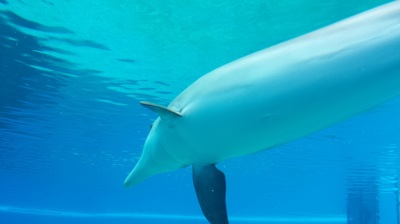
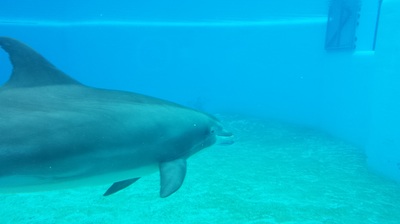
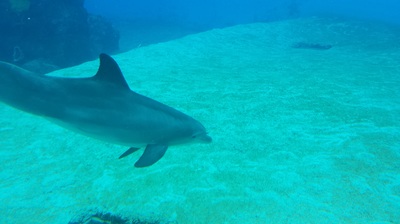
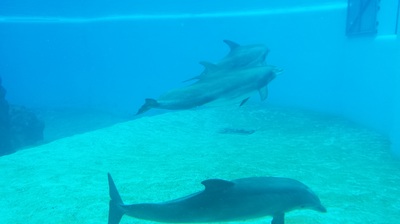
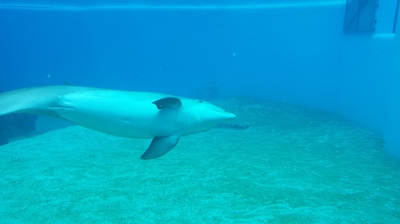
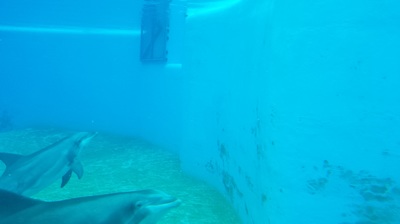
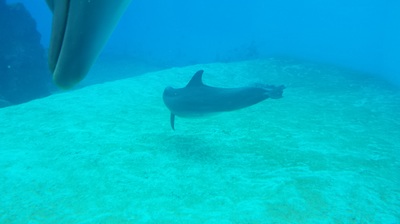
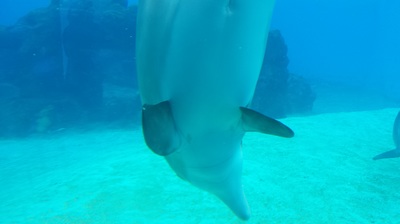
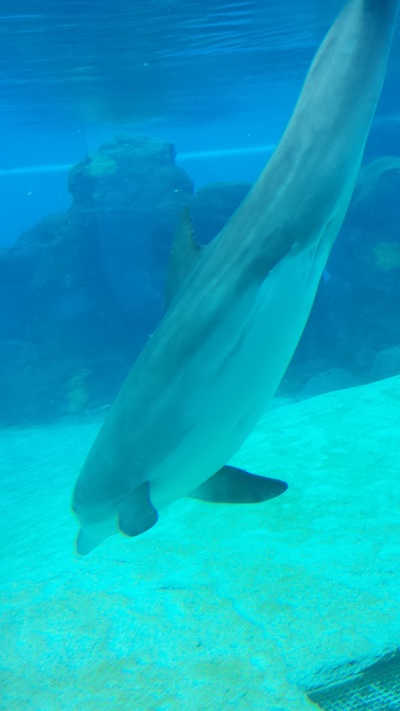
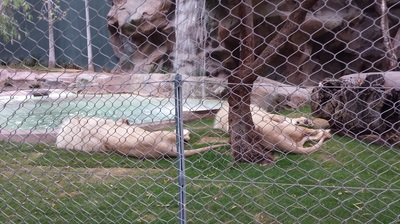
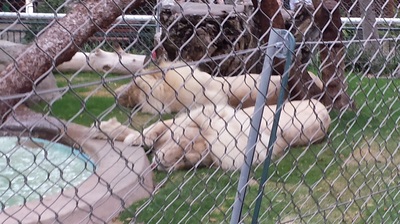
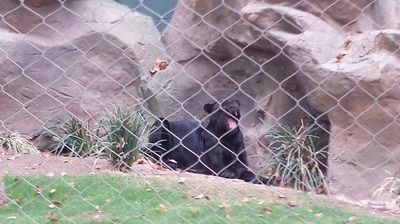
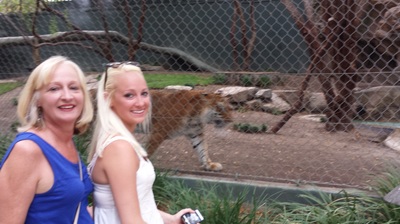
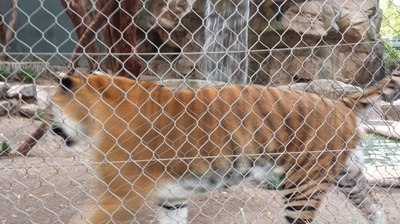
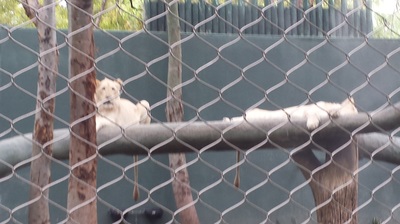
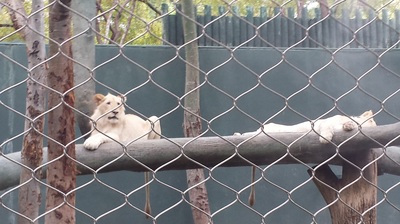
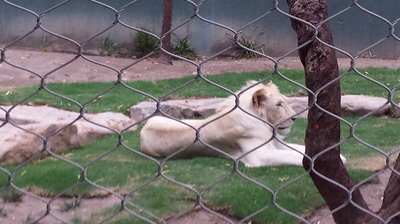
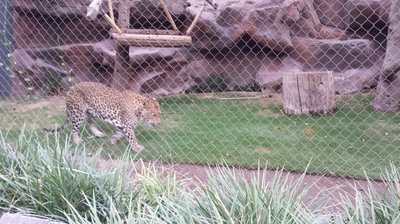
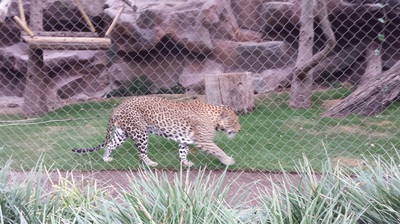
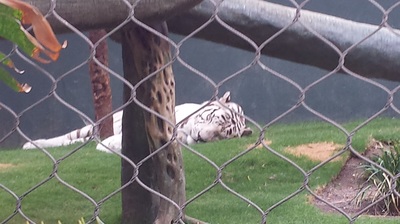
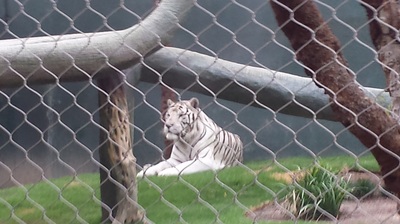
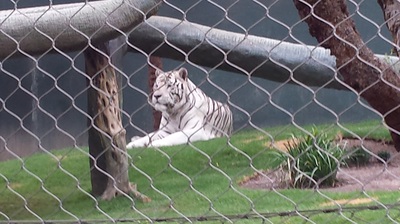
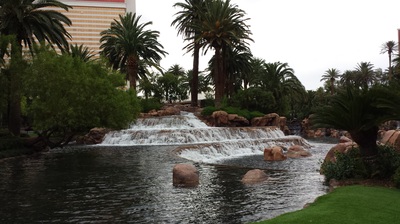
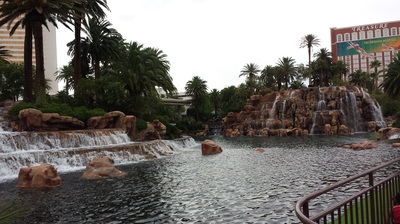
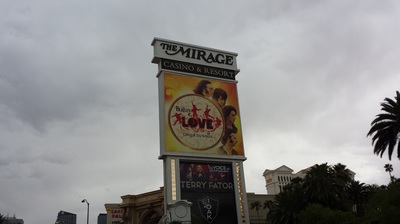
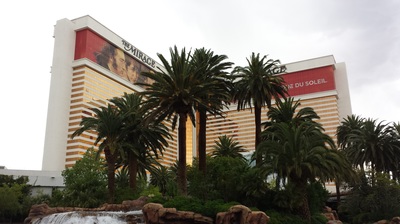
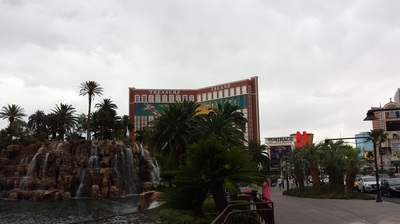
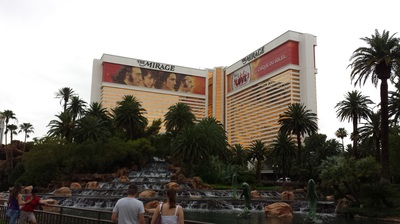
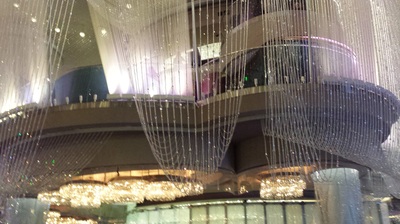
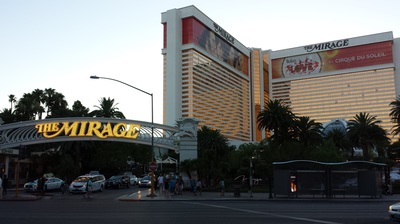
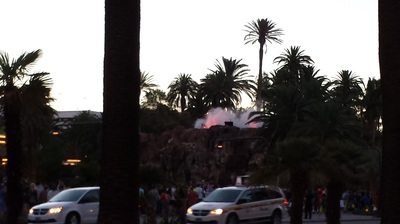
The night time pictures were taken from the top level and front seat of the "Deuce", the Strip's transportation system. As far as I'm concerned, the only way to get around. It goes from Fremont Street in the north to Mandalay Bay in the south. We were not impressed by the fireworks, and as you can see, the sleeping beauties never made their intended club crawl. Bellagio Buffet and GardenBusy day. We slept in a little late, but managed to get up and go to the buffet at the Bellagio across the street. Here you see three pictures from the Bellagio looking back toward the Paris and Planet Hollywood next door. You'll also see the indoor garden in the Bellagio. All of those flowers are real and the garden changes every season. Very beautiful. Mirage and Siegfried and Roy's Secret GardenThe next part of the day took us to the Mirage, where we went to see the Siegfried and Roy Secret Garden and Dolphin Habitat, but ended up seeing much more. The Mirage is a beautiful hotel and casino. The gardens and waterscapes were great, we saw the 20,000 gallon aquarium in the lobby, and the girls took their picture in front of the 1 Oak club that they missed the night before... :-) The Mirage host the Beatles Cirque de Soleil "Love", so there were lots of Beatles themed things going on, the Beatles Revolution Lounge, a nice store selling anything Beatles including a bass guitar signed by Paul McCartney, and Beatles music playing in many areas. Next stop was the dolphin habitat. It was very cool getting up close and personal with the dolphins and their trainers. I think this was one of the highlights of the trip for everyone. They kept the males and females in separate pools and had several dolphins on loan from various Seaworld's to breed. It was cool seeing all the cats up close. In one cage were two trainers and three white lions. Not sure I'd want to be in that cage. We were told that Siegfried was there and would normally come out and talk with the visitors, but we didn't see him.
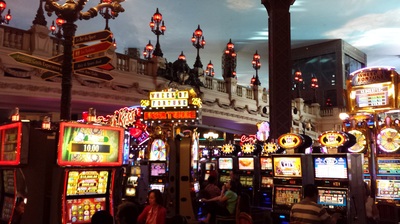
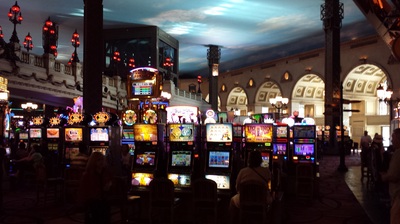
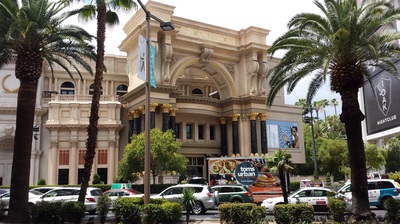
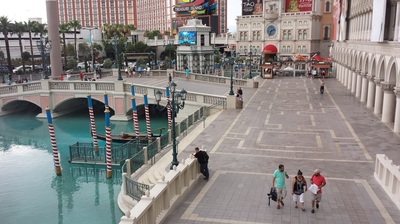
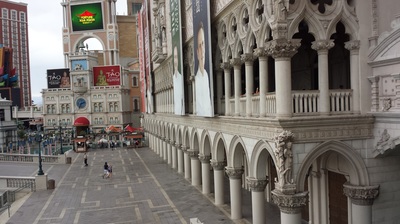
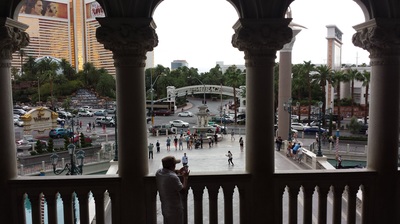
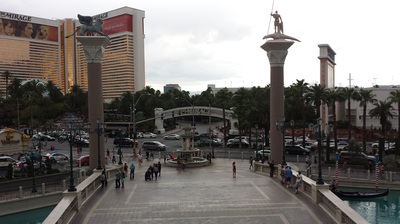
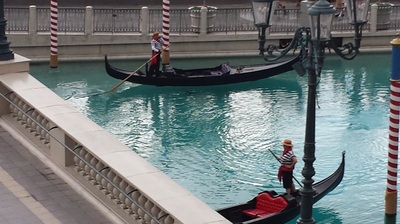
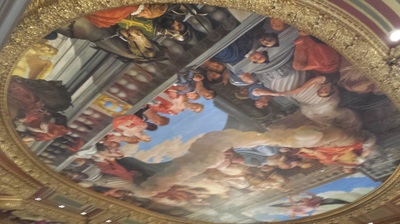
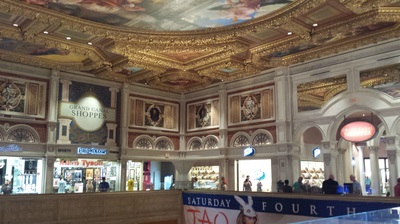
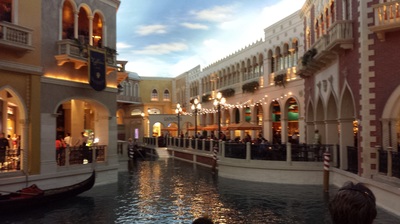
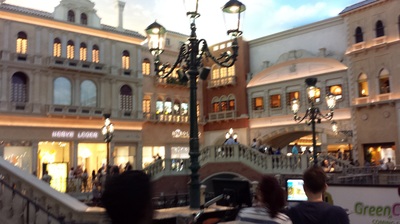
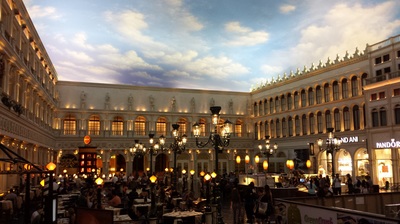
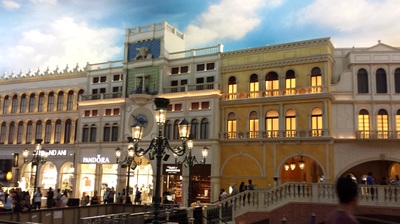
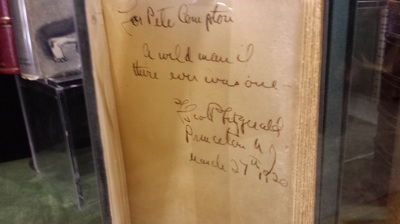
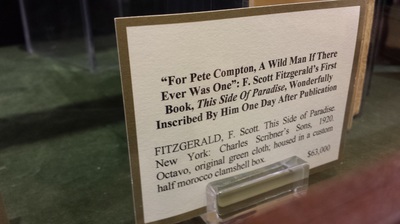
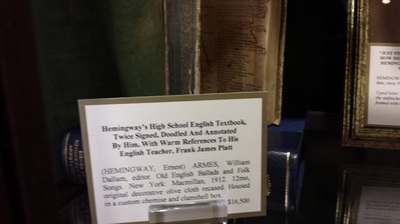
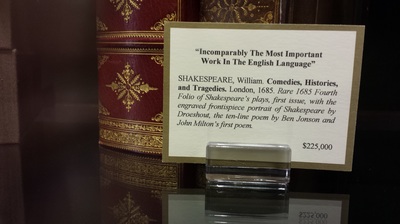
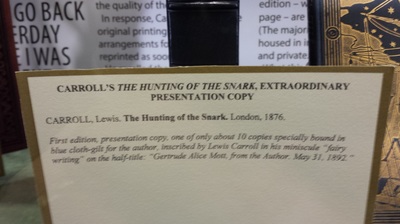
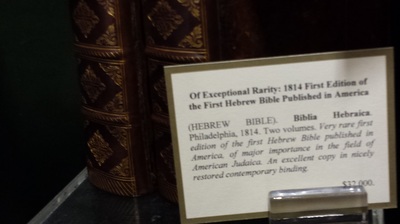
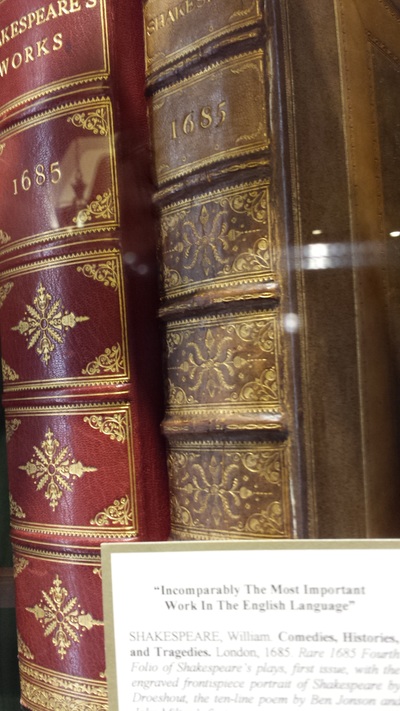
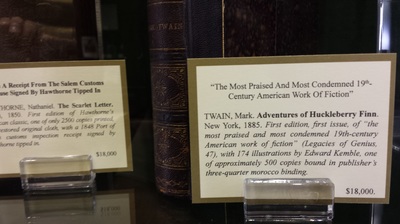
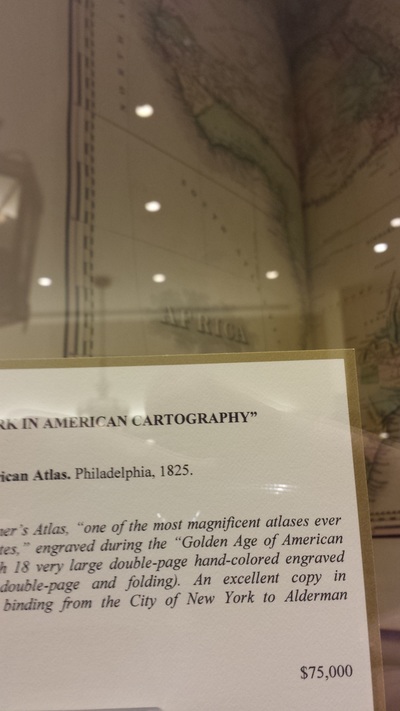
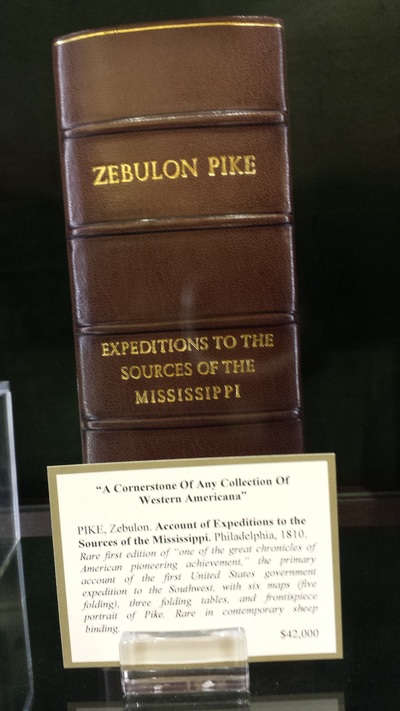
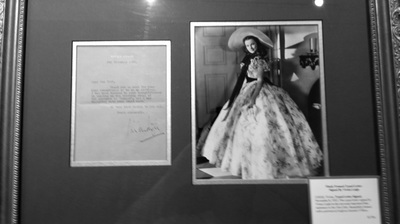
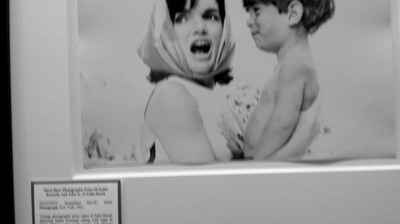
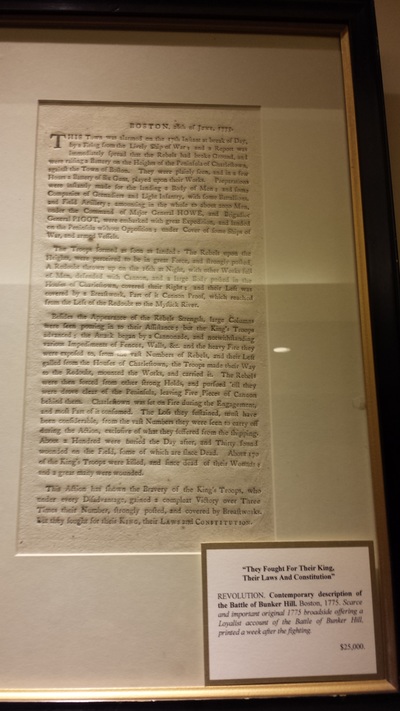
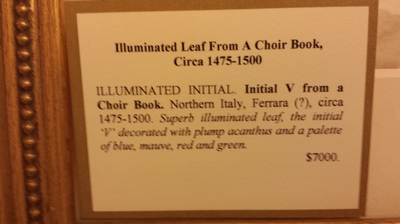
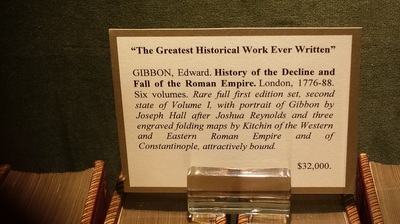
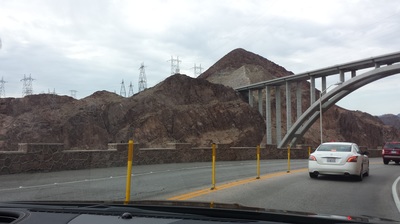
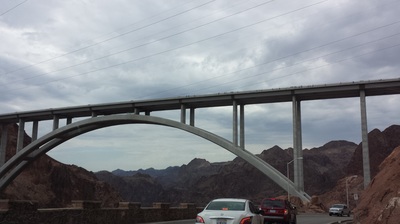
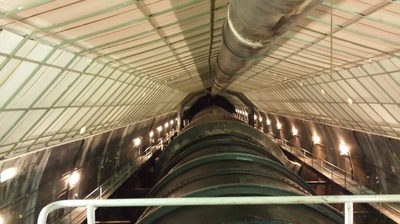
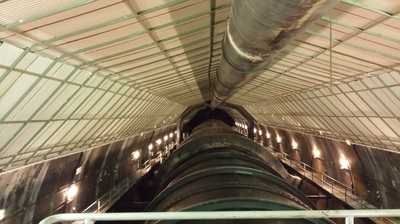
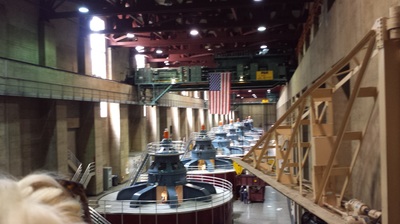
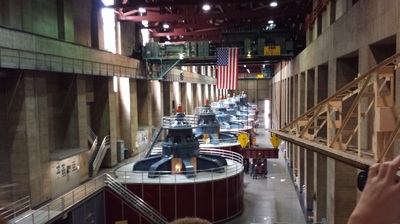
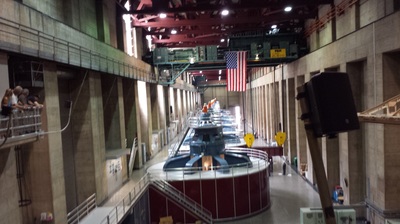
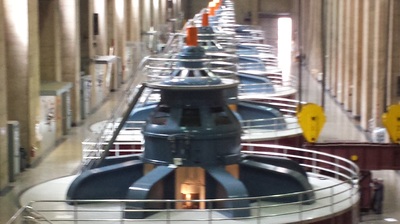
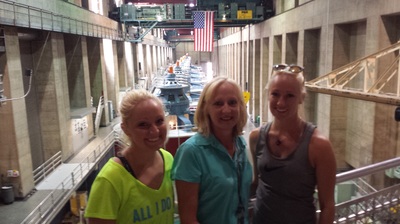
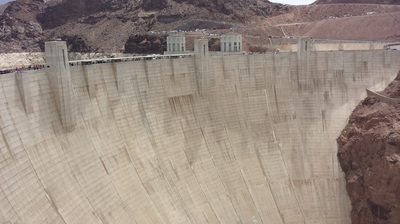
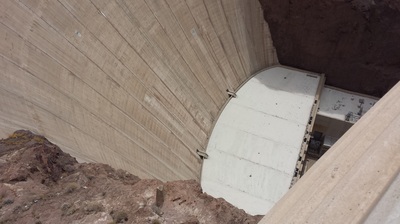
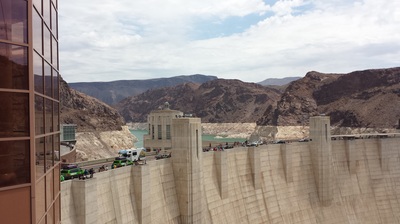
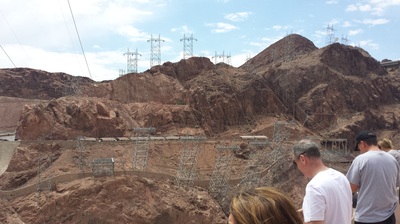
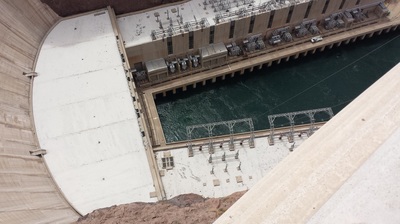
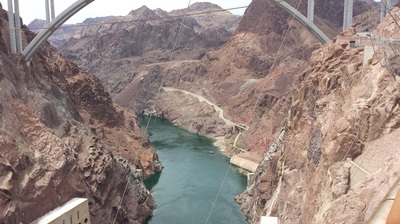
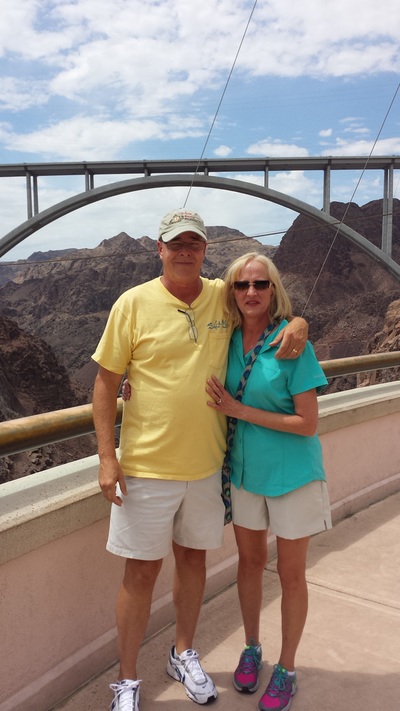
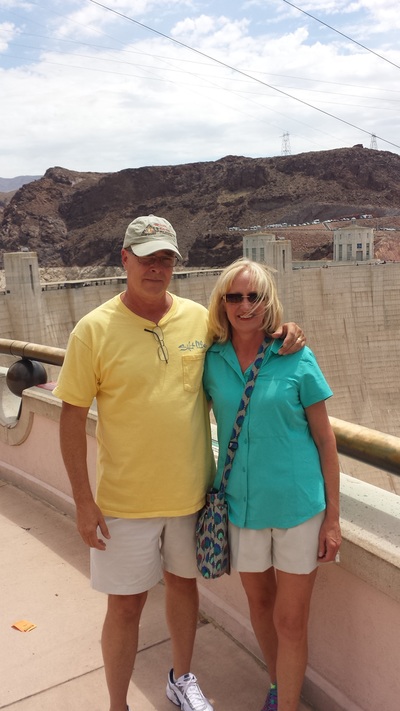
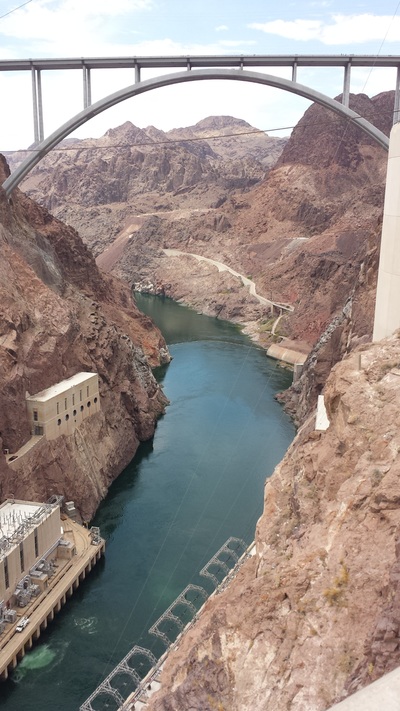
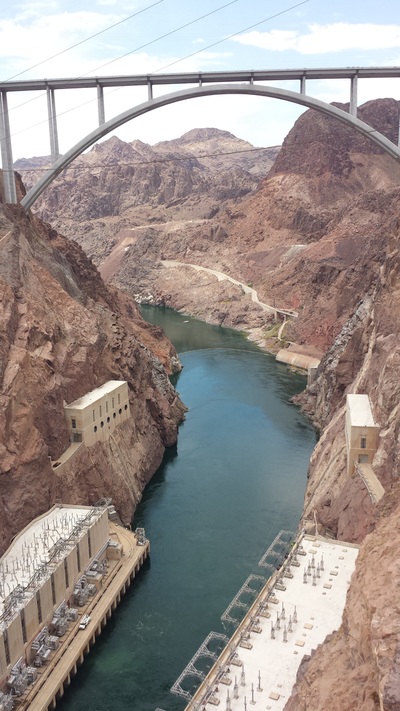
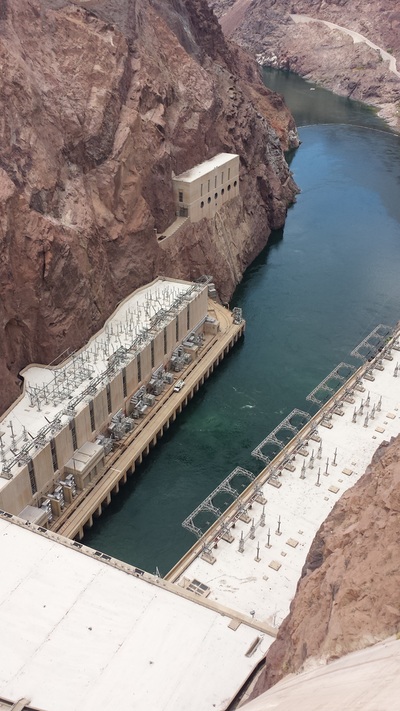
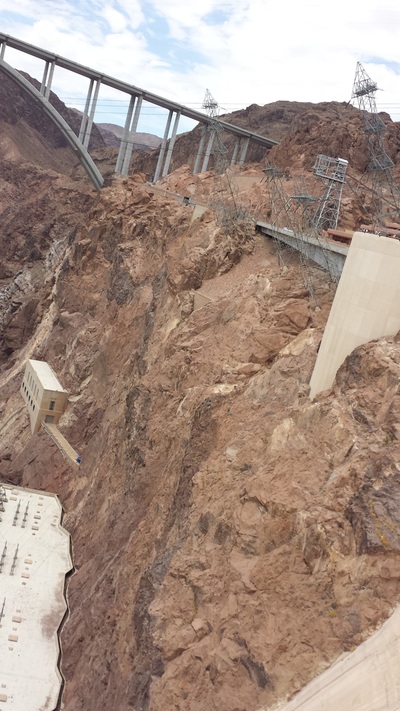
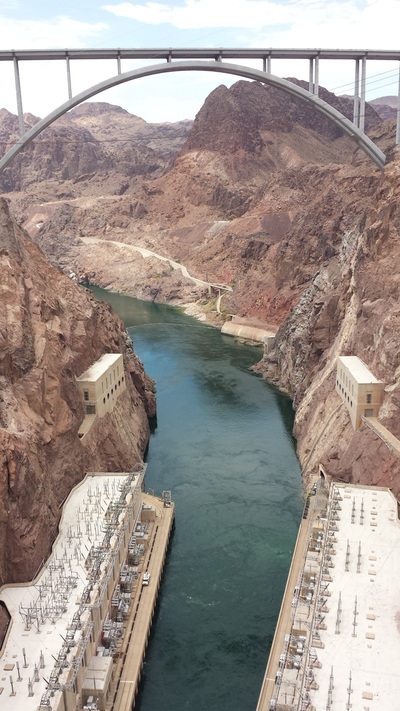
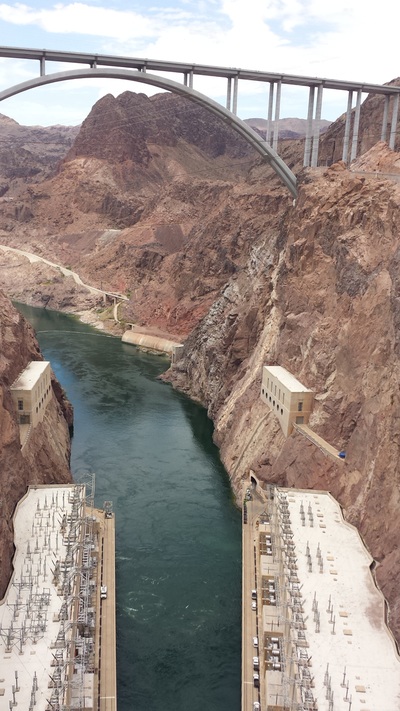
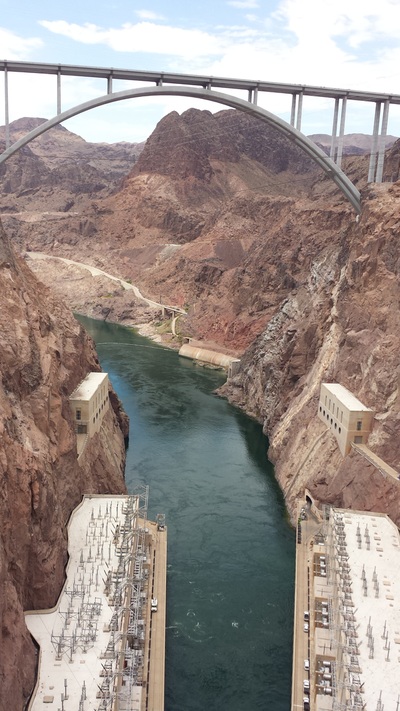
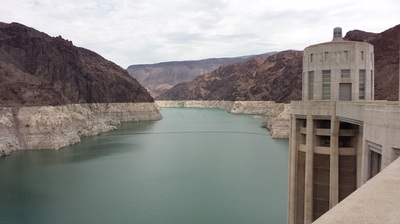
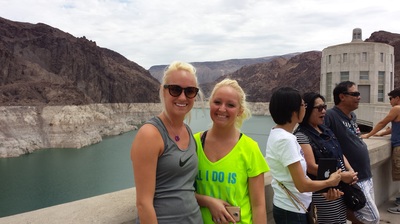
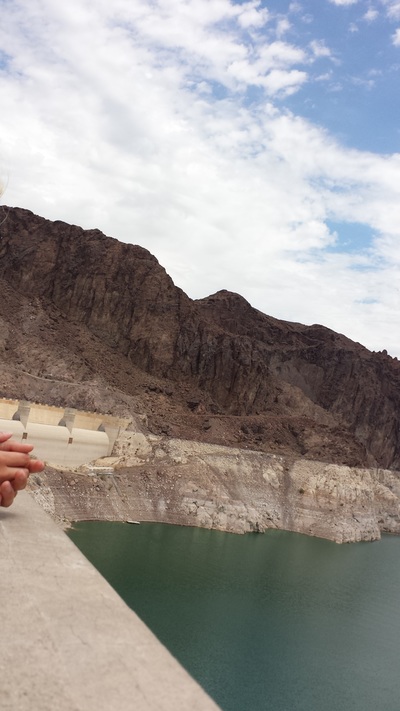
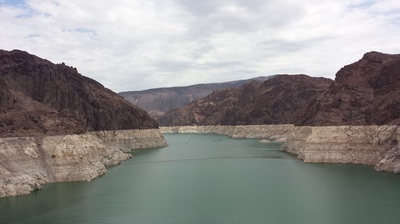
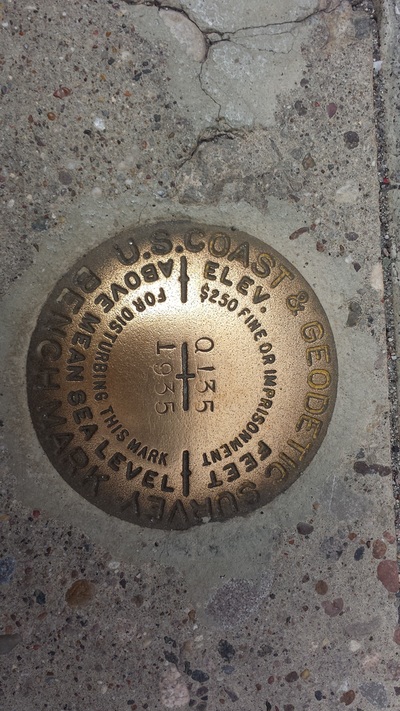
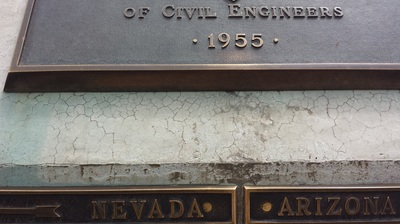
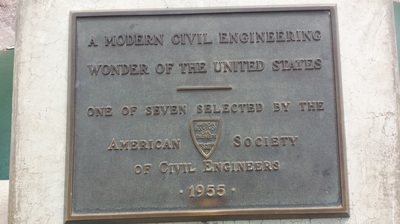
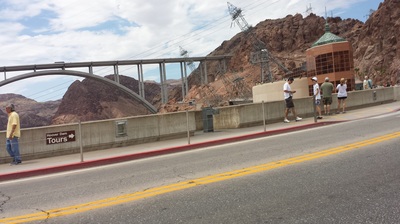
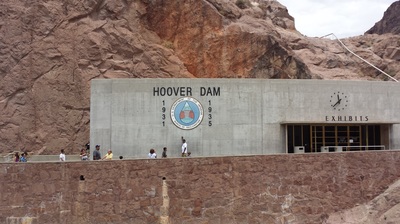
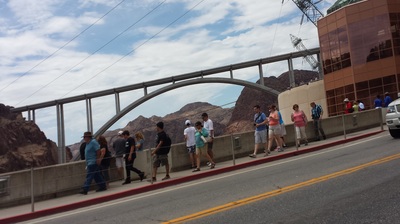
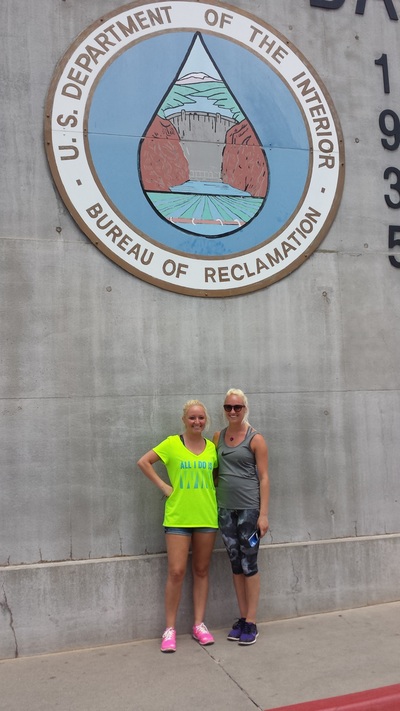
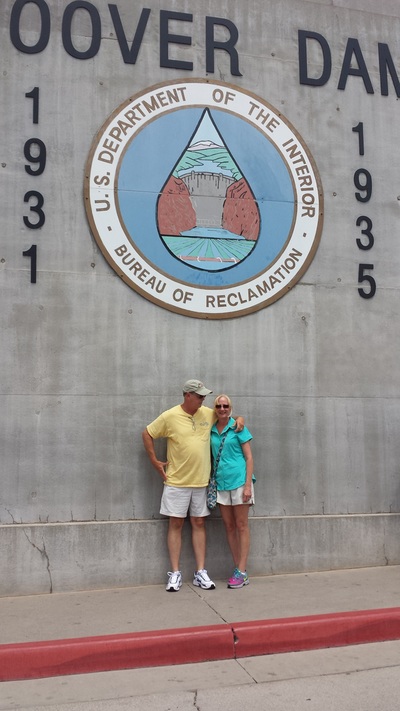
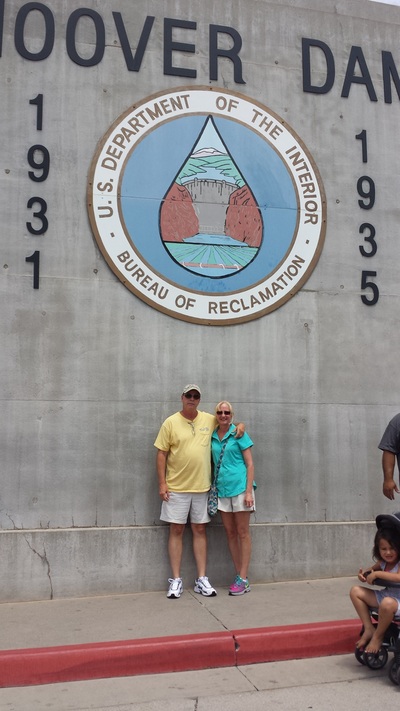
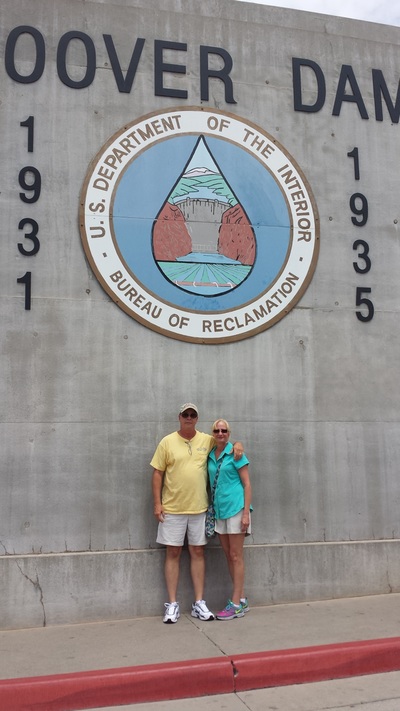
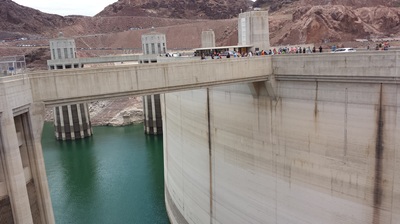
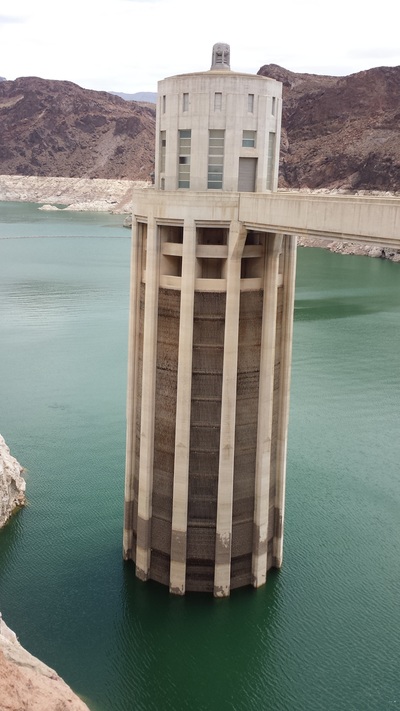
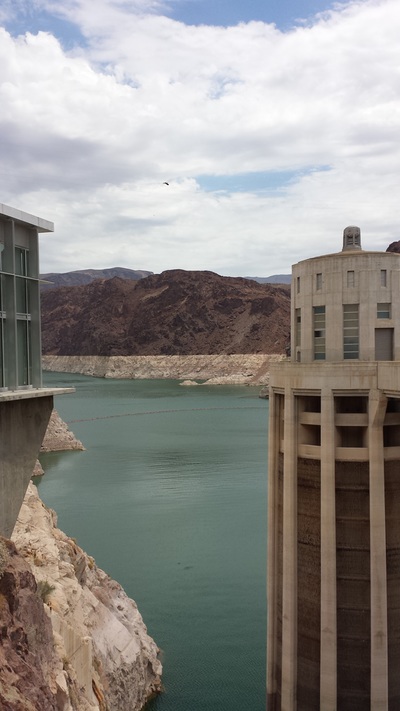
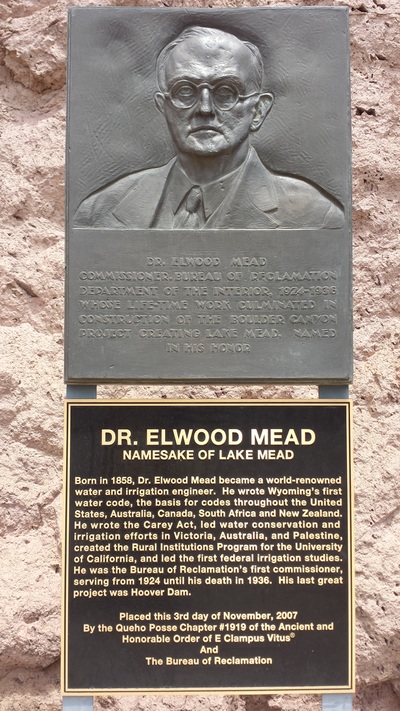
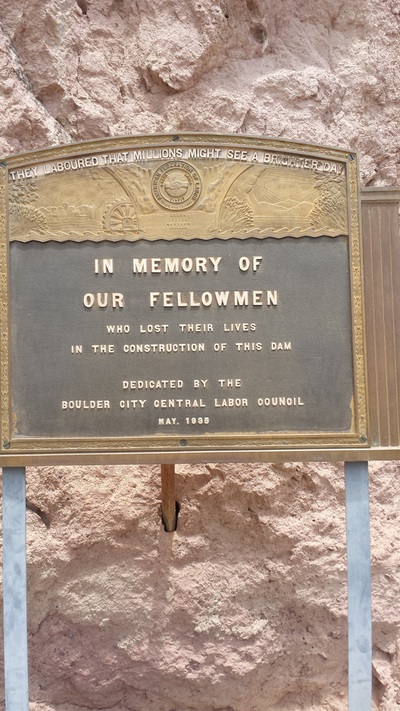
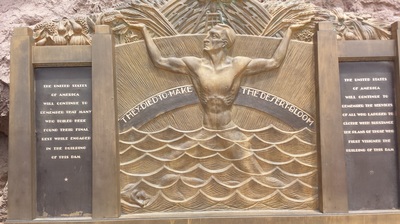
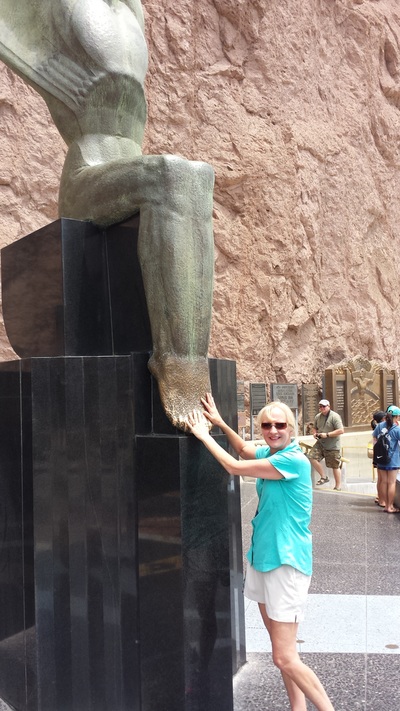
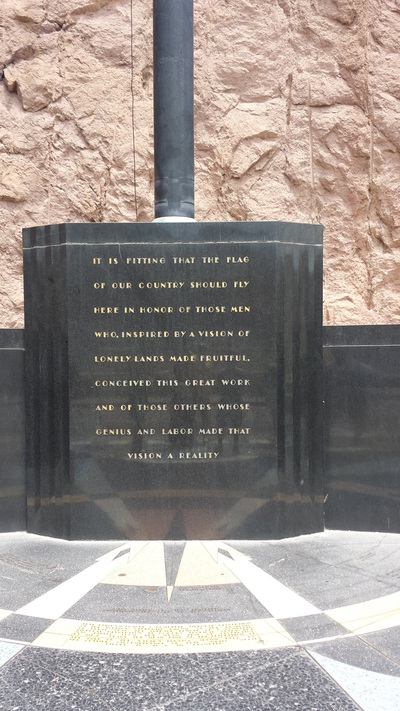
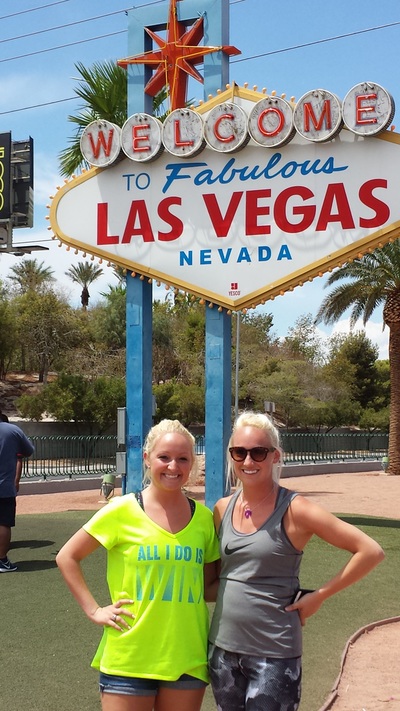
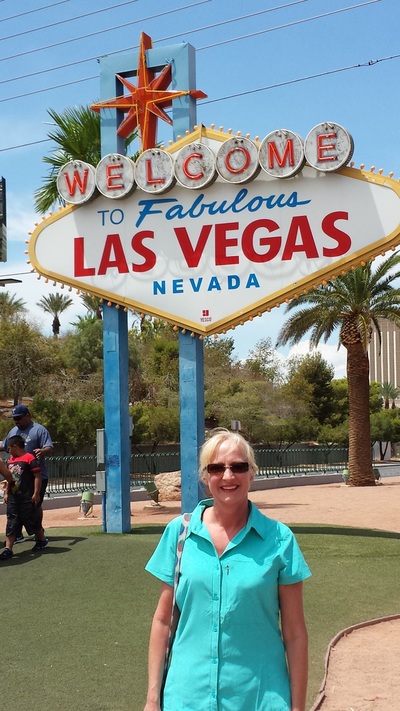
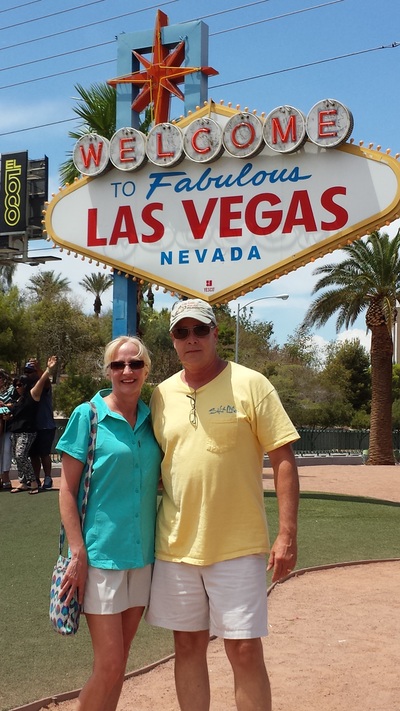
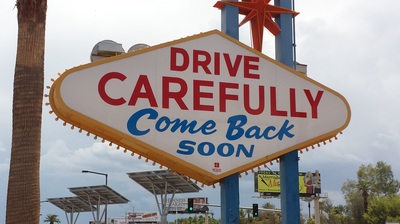
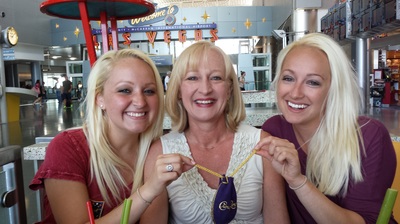
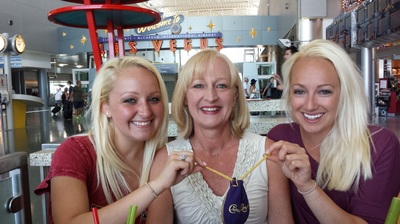
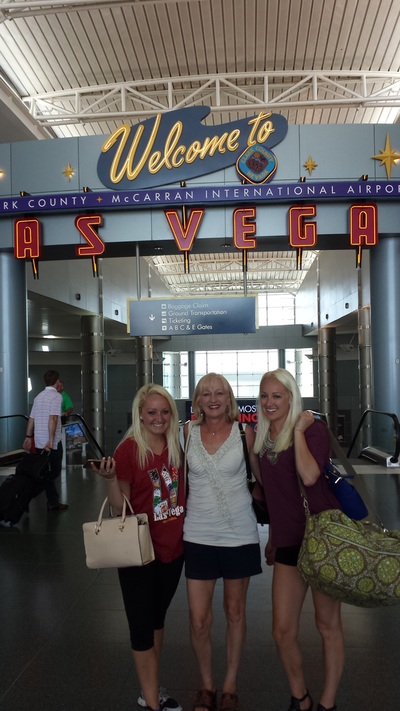
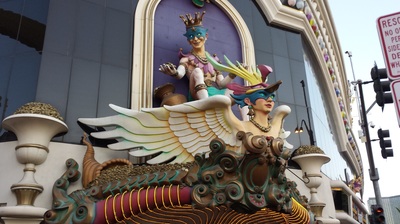
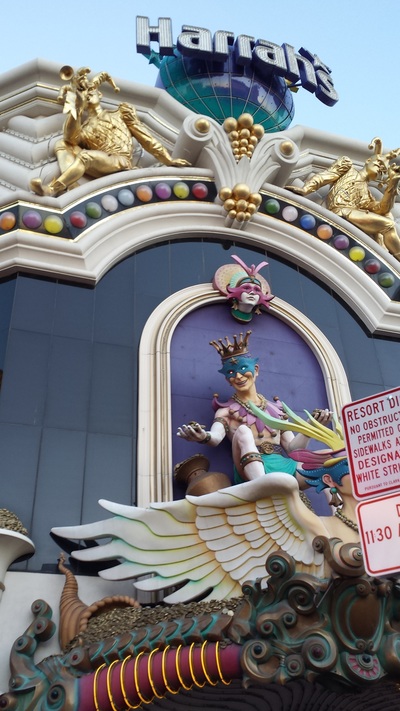
The Venetian and a really fancy book store...Later that afternoon, we went down the street to the Venetian. It's a beautiful place with an old Italian architectural style. You could even take gondola rides through the indoor and outdoor canel's. At many of the newer hotels and casinos, and this one as well, the ceiling is painted like a sky. It's very cool to see because as you walk, it looks like the clouds are moving. While we were there, we found this first edition book store called Bauman Rare Books. Has to be the most awesome collection of rare books that I've ever seen. The most expensive book pictured below cost $225,000. I asked the guy (James Russell, Ph.D.) how much the most expensive book they sold was... $1,500,000. Check out some of those prices. It is just incredible how old and how valuable some of these books are. Cirque de Soleil "O"This show was at the Bellagio, across the street from where we stayed. The end of the evening and it was spectacular. I had seen a Cirque show here in Atlanta that was very good, but this was a major production. Unfortunately, I can't show any pictures or videos after the show started, but I do have the official trailer for the show below. I read somewhere that the production cost $85 million dollars. There are a few pictures taken after the show looking back across the street toward the Paris. Hoover Dam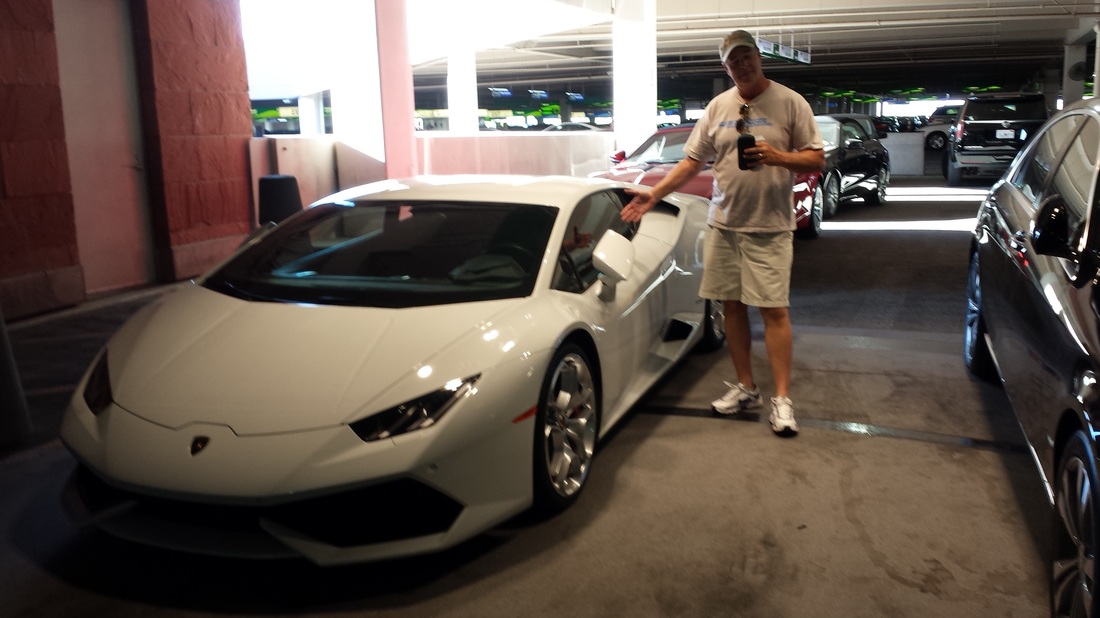 We started the day by getting a rental car and driving to Hoover Dam. I have very expensive taste and decided I needed the appropriate car to tour in, so I picked this car. After several minutes of struggling, I finally realized the girls wouldn't fit in the trunk, so I had to trade it in on a Chevy Impala... not quite the same flair I was hoping for but it worked. We took the power planet tour and walked the top of the dam so I could check Arizona off of my bucket list. If you go to Vegas, go to Hoover Dam. A very impressive piece of engineering to say the least. Welcome to Las Vegas... proof we were here.Welcome and come back soon! Menopause and "The Top of The World"Went to Harrah's to see Menopause. Before the show at Harrah's, Amy had a little luck gambling playing "Duece's Wild", and I practically had to drag her away so we wouldn't miss the show. For the finale, they invited some women in the audience to come up of stage, and of course, Amy was the first one up kicking like a chorus girl.
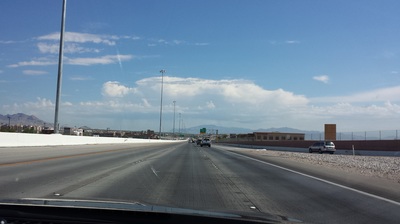
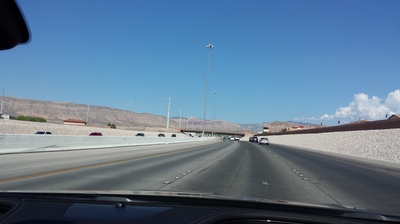
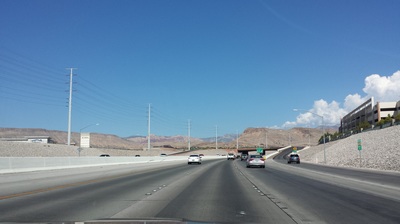
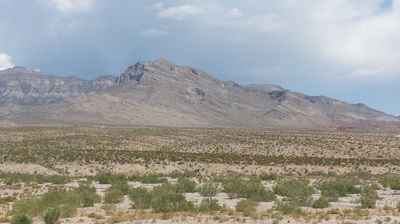
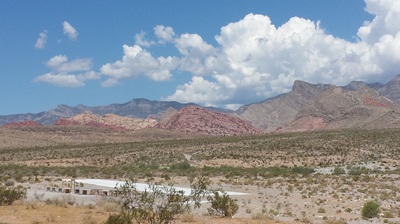
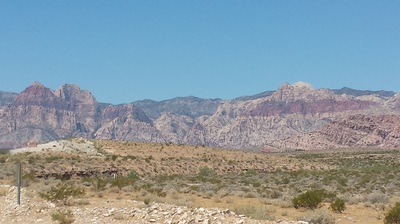
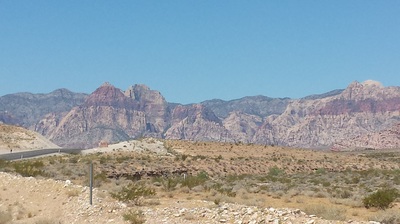
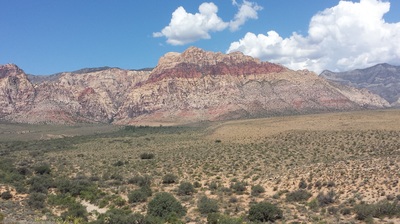
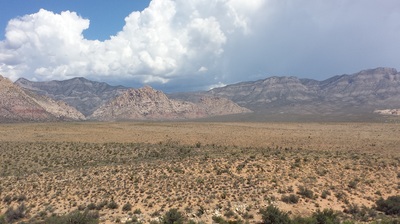
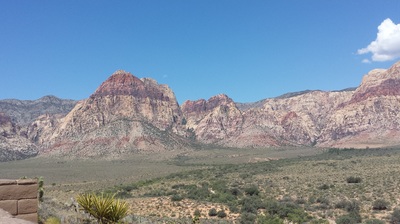
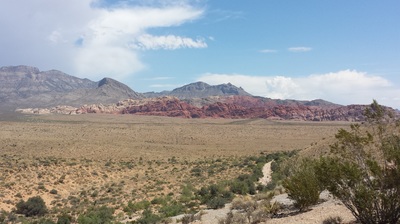
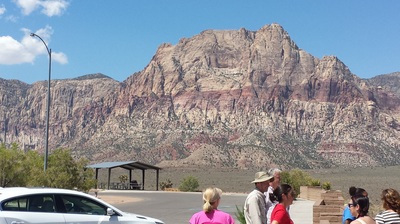
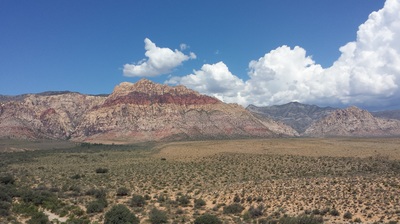
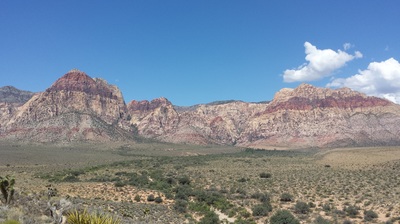
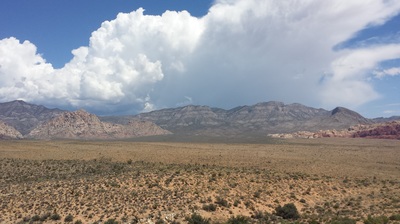
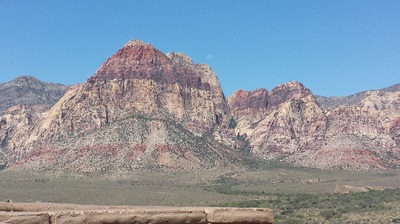
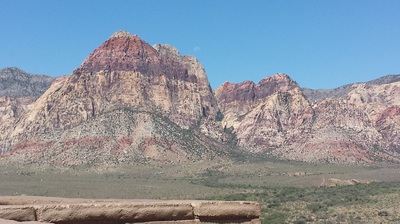
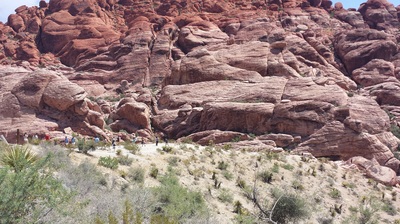
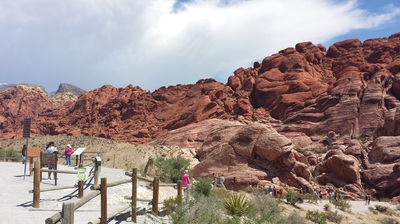
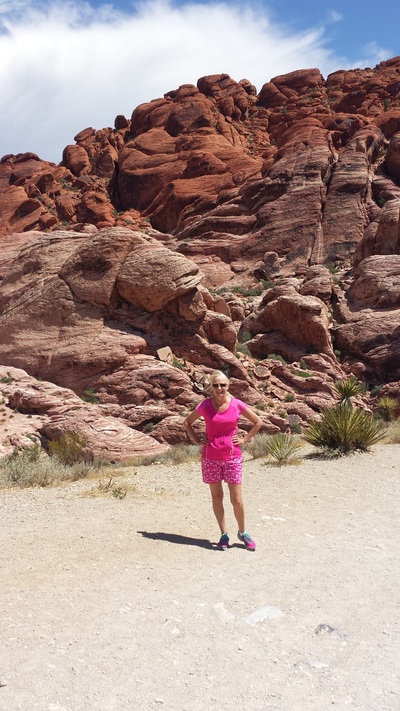
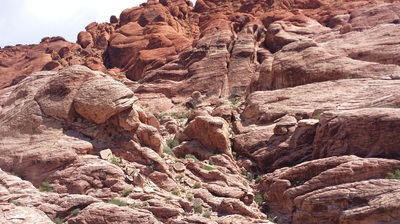
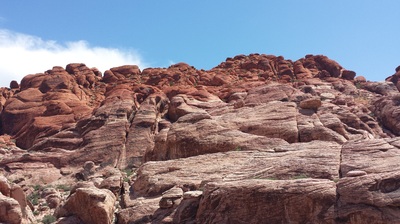
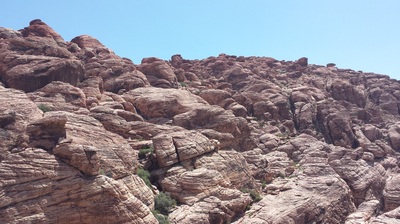
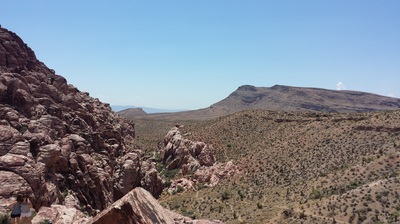
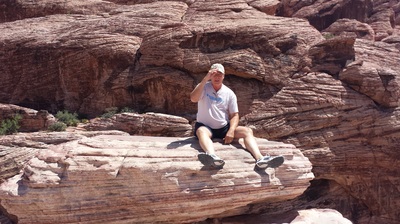
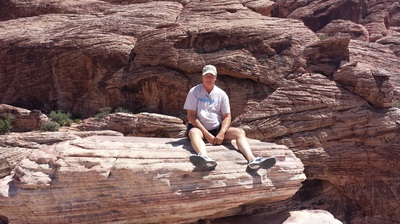
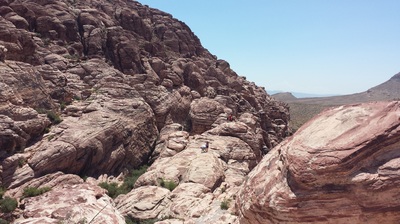
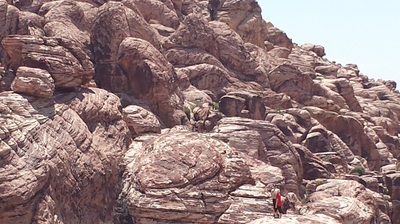
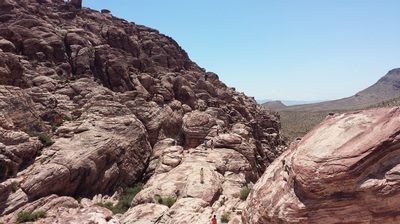
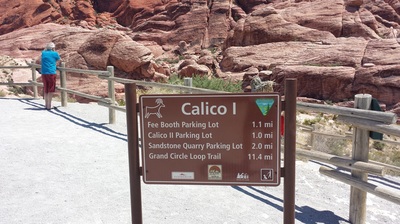
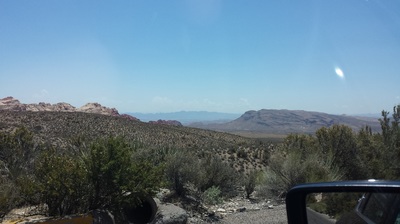
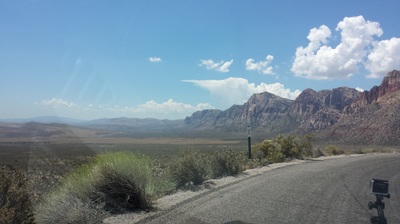
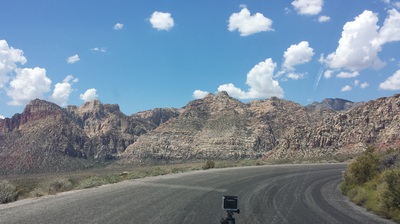
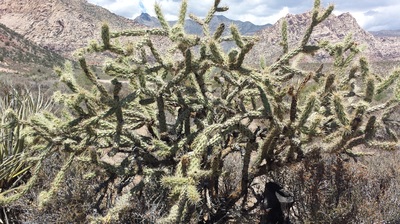
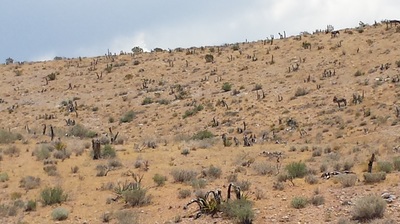
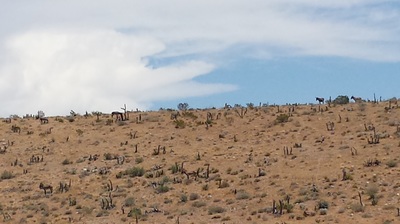
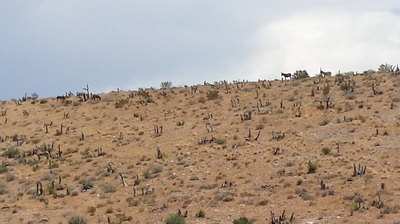
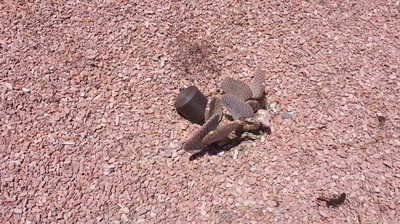
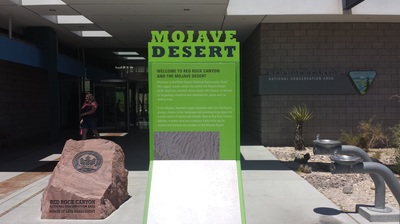
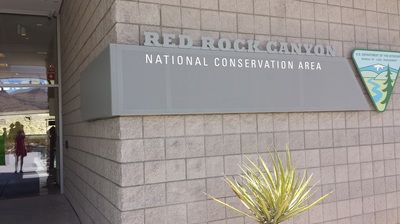
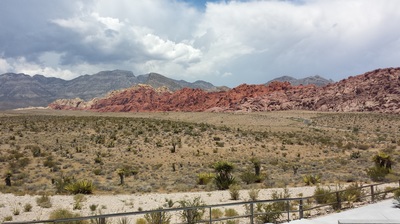
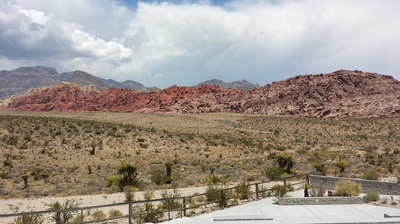
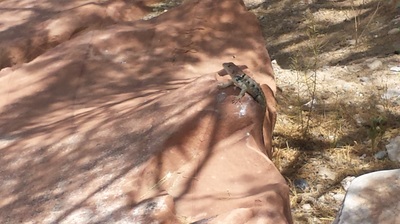
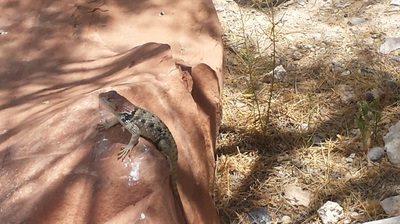
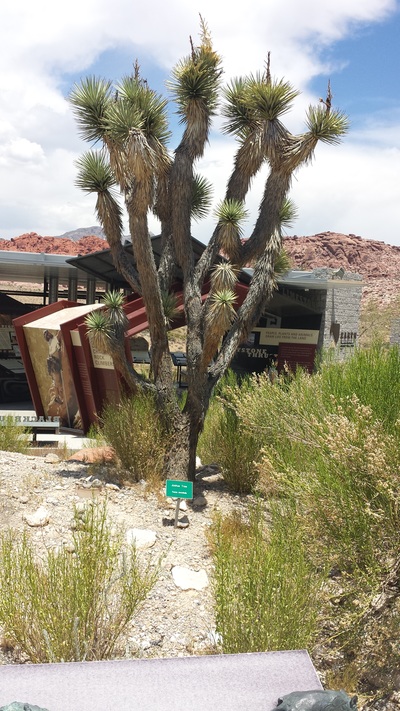
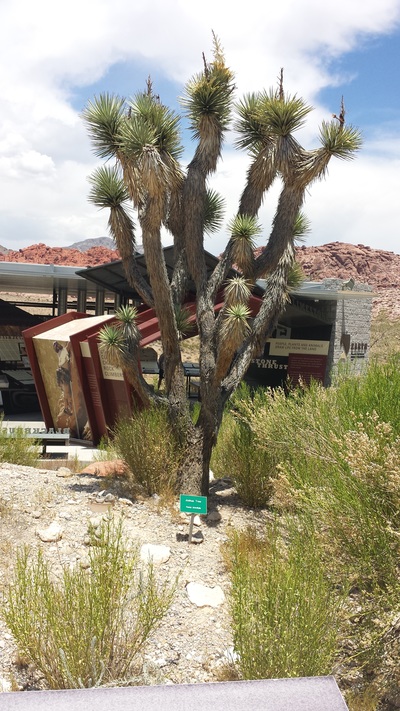
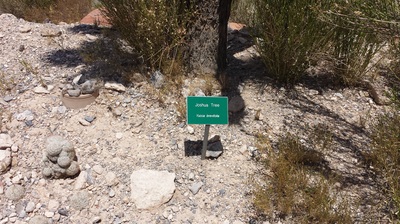
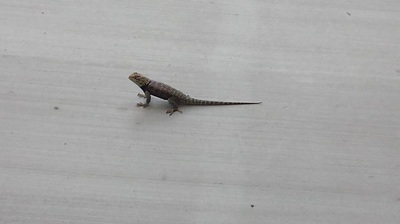
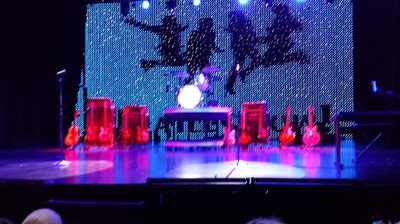
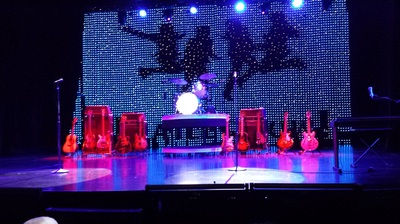
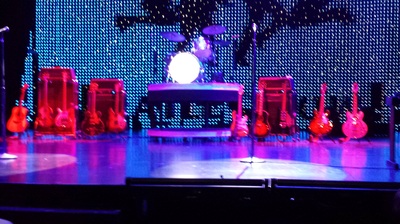
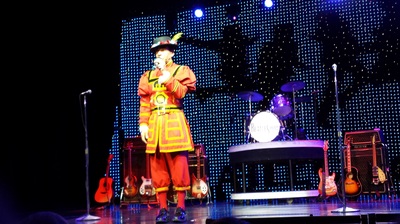
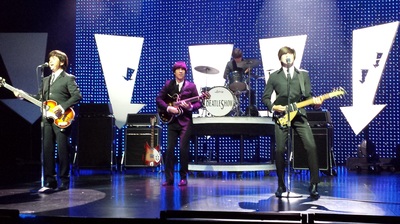
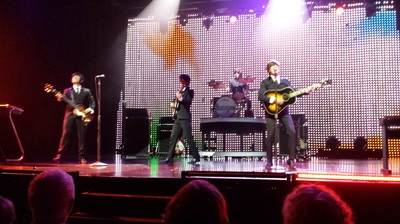
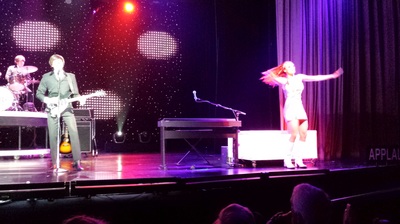
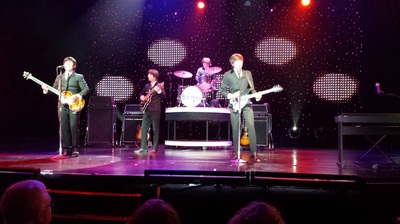
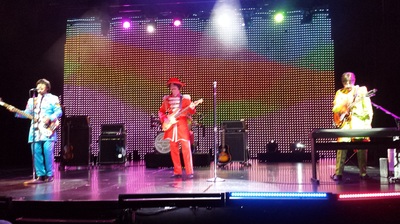
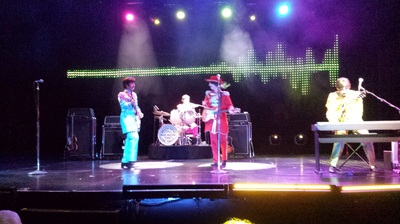
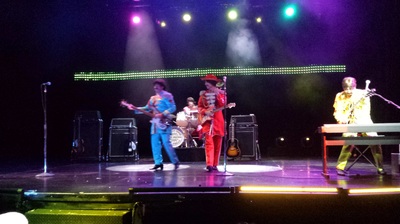
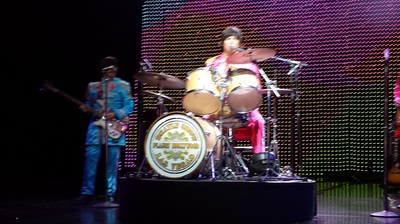
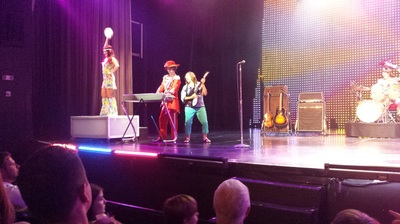
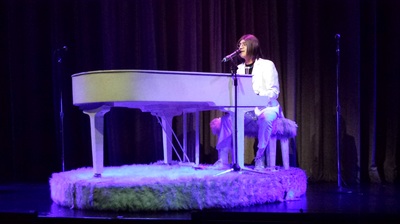
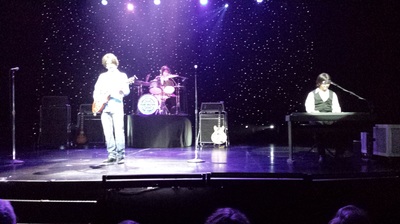
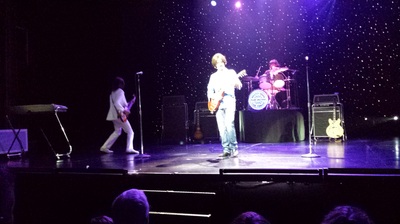
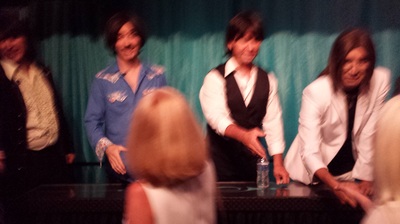
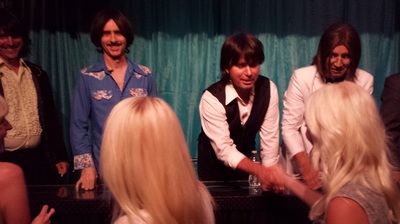
After that, we went to the Stratosphere's "Top of The World" restaurant for a 9:30 PM dinner. This restaurant rotates 360 degrees every 80 minutes to give you a spectacular view of the Vegas skyline. We took pictures but can't find them now. I guess I lost more than my debit card. Red Rock CanyonOne of the most beautiful but barren areas that you'll ever see. Located just 15 miles west of Vegas, it's a spectacular mixture of rocks and landscape. We even managed to see wild horses (see pictures below) and Gila Monster, as well as a Joshua Tree. The pictures don't do the views justice. I also did a 17 minute YouTube video from my GoPro camera that I mounted on the hood of the rental car as we drove on the 13 mile scenic drive (below the pictures). The video below is part of the 13 mile scenic drive through the Red Rock National Conservation Area. I mounted my GoPro camera on the hood of the rental car to get this video. Beatles Tribute BandThat evening, we went went next door to Planet Hollywood to hear a Beatles Tribute Band and it turned out to be a very good show. They started with the old songs and progressed to the newest. I was surprised how well they did some of the later songs like A Day in The Life from the Sargent Peppers album. The theme was like an old Ed Sullivan show. Here are c couple of short clips to give you an idea what it was like.
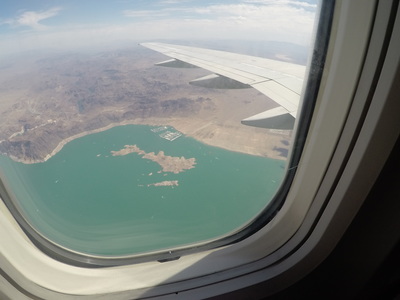
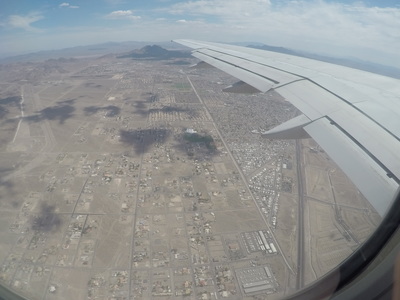
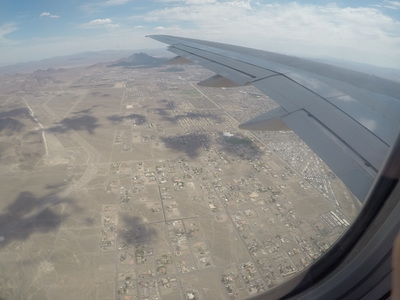
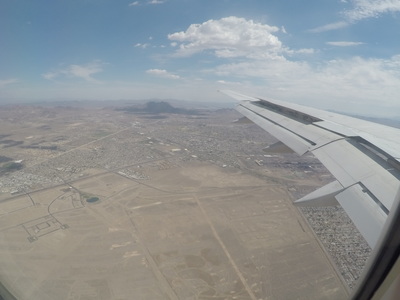
Flight BackUneventful flight back as well. Almost... once again Chelsea had illegal hair products in her carry on... had to throw that away. Then... they were weighing our bags and Amy's was 6 pounds overweight. Did you know they charge $100 for an overweight bag? Come to find out, we just had to move 6 pounds of makeup to another bag and we were good.
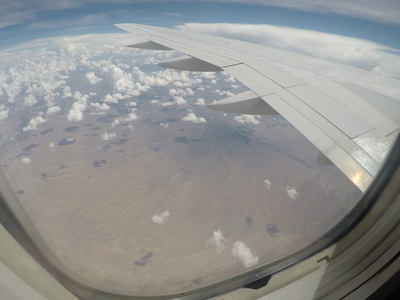
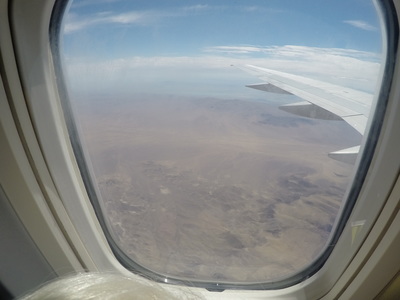
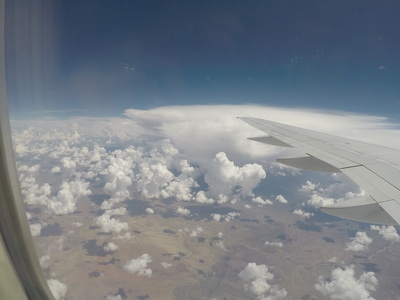
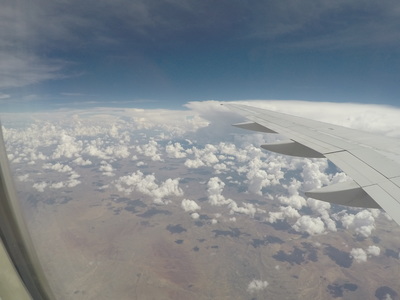
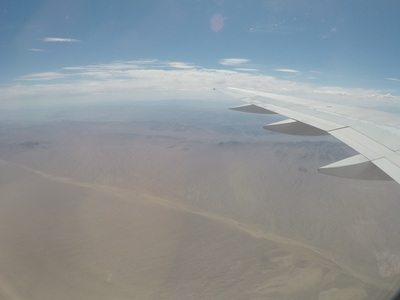
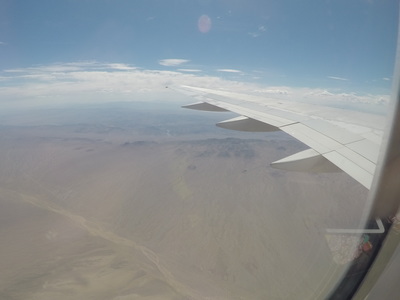
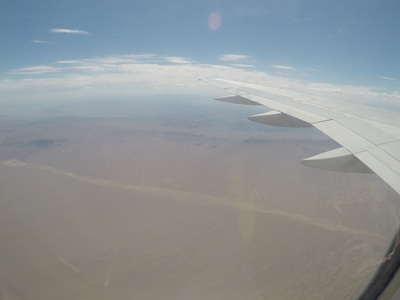
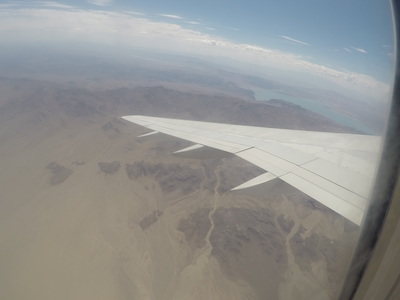
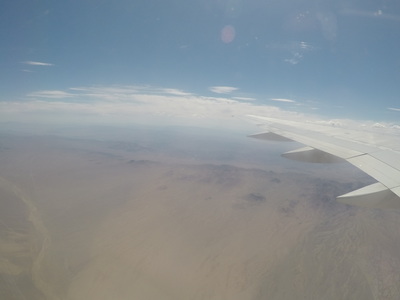
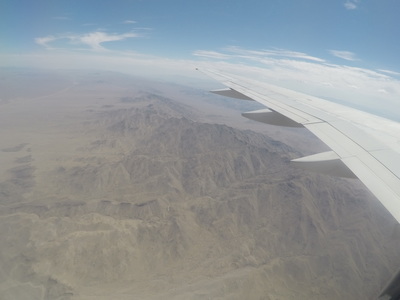
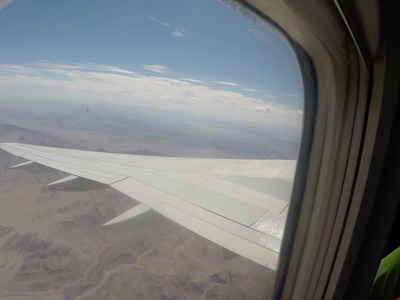
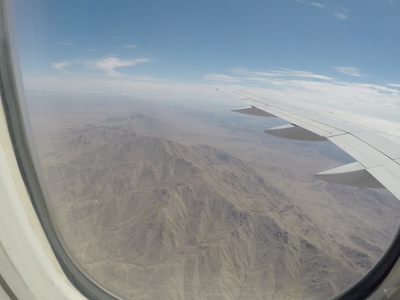
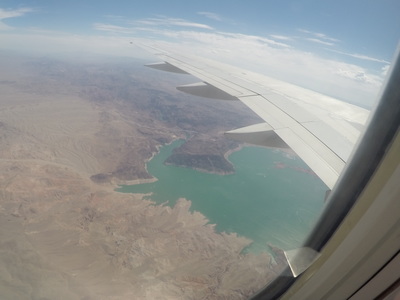
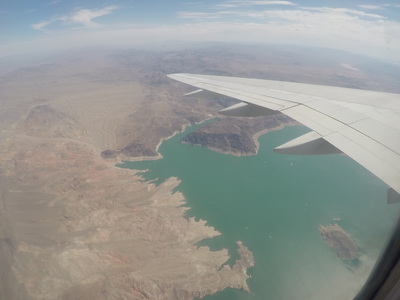
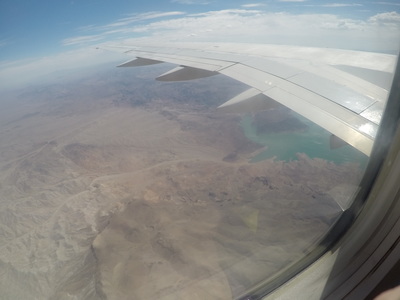
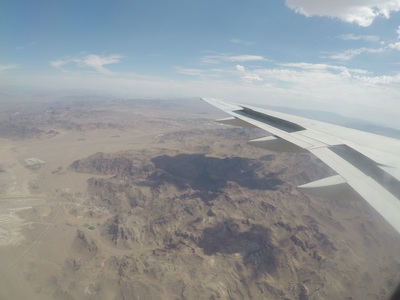
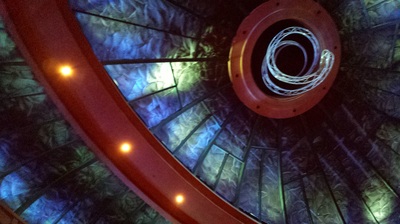
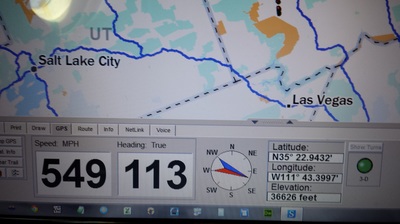
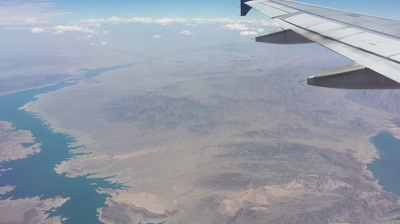
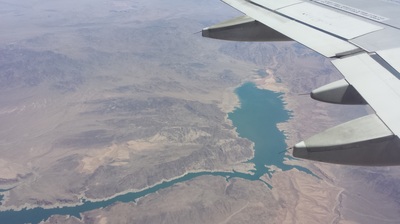
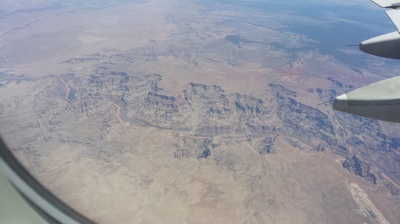
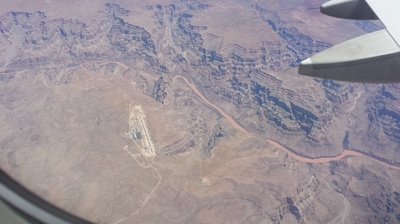
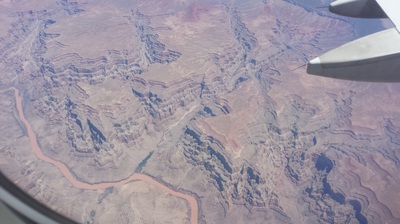
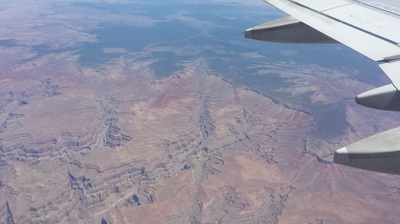
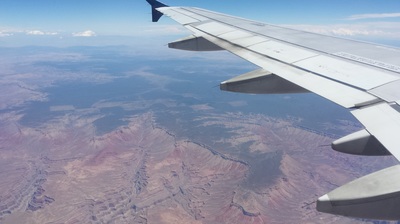
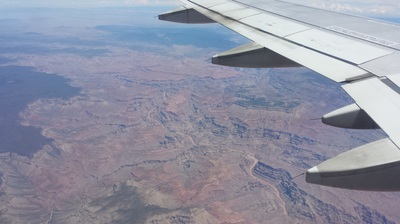
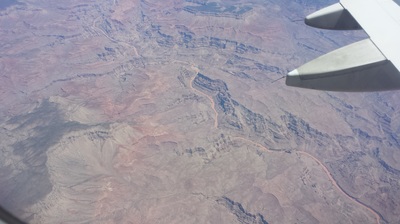
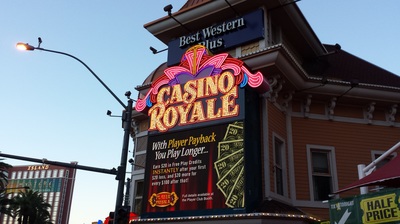
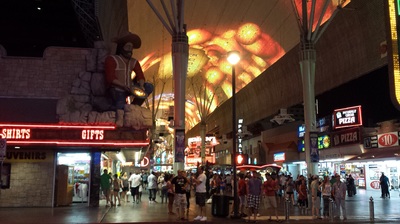
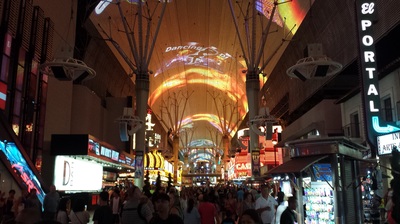
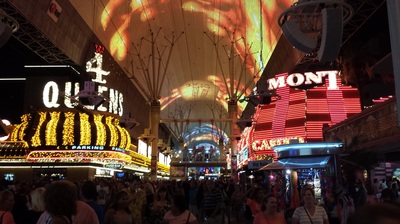
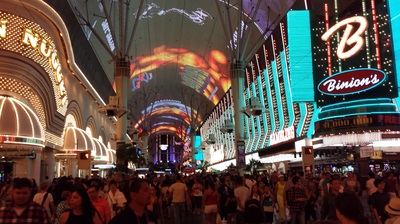
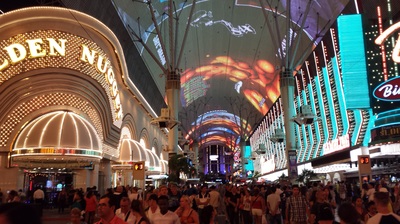
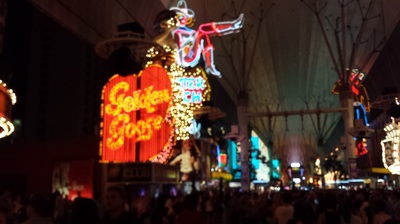
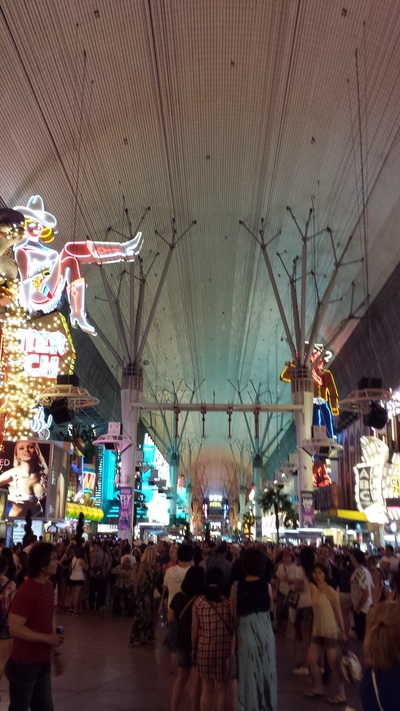
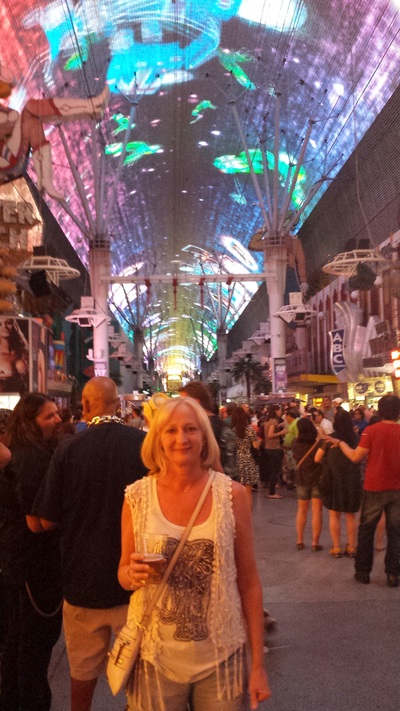
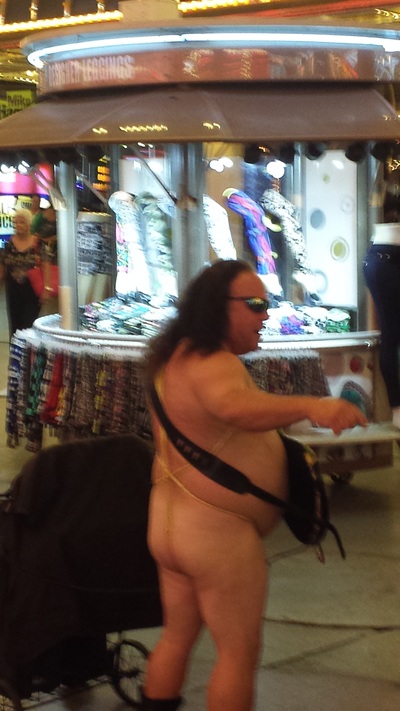
I did have some great views of Lake Mead and the Grand Canyon from 36,000 feet. Incredible views even at that altitude. We'd like to thank Ron Phillips Travel for helping to make this trip a reality. Casino RoyaleThis was our free day after deciding to not go on a marathon 15 hour Grand Canyon tour. We returned the rental car, had a great breakfast at Blondies inside Planet Hollywood, although I just realized yesterday that's where I lost my debit card. The girls spent their day at the pool while Amy and I spent some time in Casino Royale where I struck it rich playing the Wizard of Oz slot machine. Amy and I had White Castles for dinner.. and I have to say they aren't quite as good as a Krystal. :-) Later we found out the girls had the Paris buffet and all you could drink. Living big... Fremont Street ExperienceIf you've never been to Fremont Street... you have to go. It's called "experience" for a reason. You have the most varied population, street performers, overhead ziplines, the Golden Nugget Casino and Hotel, and the overhead Light Display, and it's the most diverse area in Vegas. Speaking of the light display, here's an excerpt from Wikipedia: The central attraction is a barrel vault canopy, 90 ft (27 m) high at the peak and four blocks, or approximately 1,500 ft (460 m), in length. There is also Slotzilla, "that is a 12-story, slot machine-inspired zip line attraction. SlotZilla offers "flyers" two levels of lines, the lower "Zipline" (77 feet up) and upper "Zoomline" (114 feet up). The lower lines travel halfway down the Fremont Street Experience pedestrian mall. The upper lines go the entire length of the mall (1,750 feet). Guests on the upper "Zoomline" travel prone, or "superhero-style." SlotZilla cost $17 million to construct and features a launch tower with over-sized dice, a martini glass, a pink flamingo, simulated video reels, a giant arm and two 37-foot-tall showgirls." We had the pleasure of a return trip to Fremont Street after Mallory left her phone in the Golden Nugget Casino... what happens in Vegas... stays in Vegas. Except her phone and Chelsea! :-) We finally got in bed around 2:30 AM Vegas time (5:30 AM here in Atlanta).
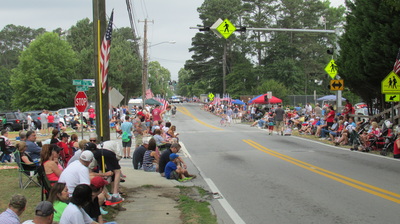
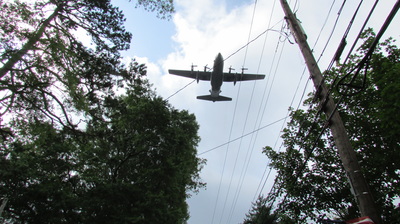
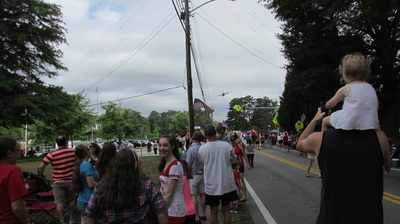
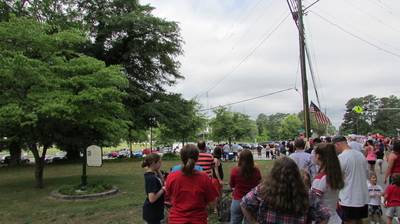
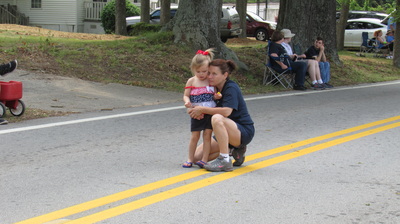
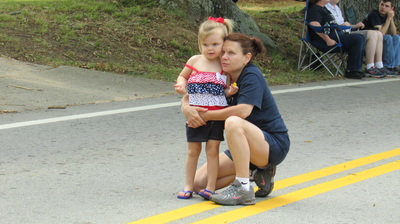
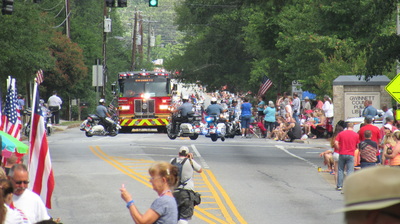
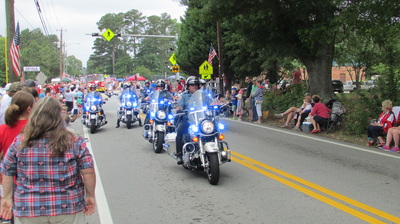
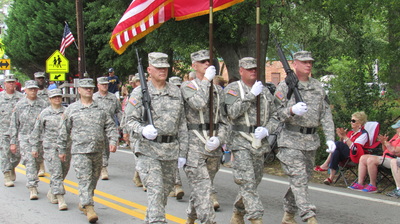
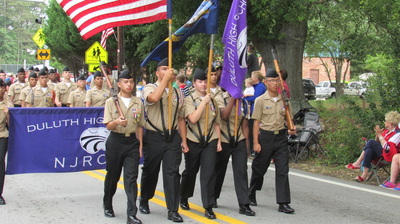
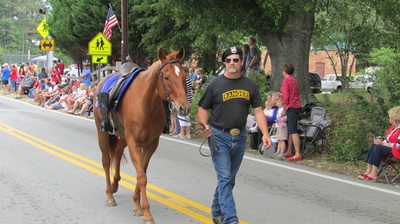
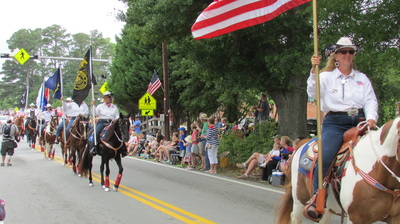
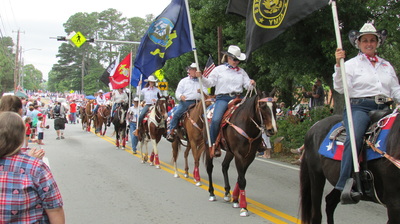
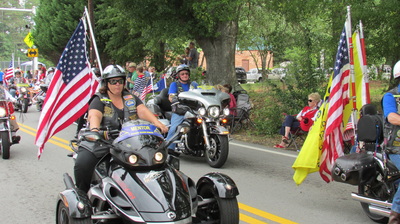
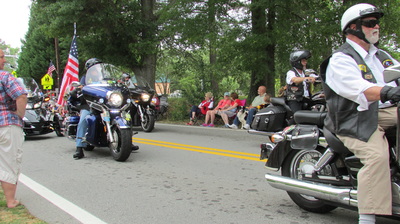
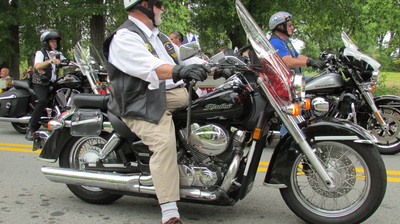
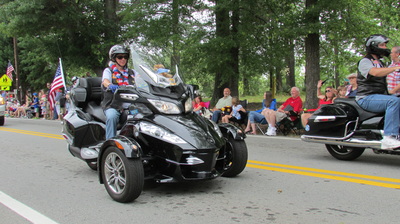
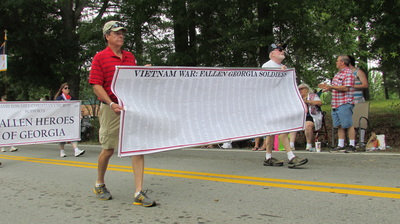
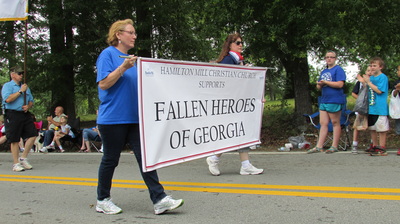
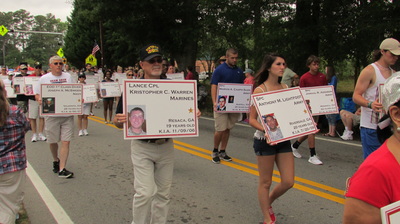
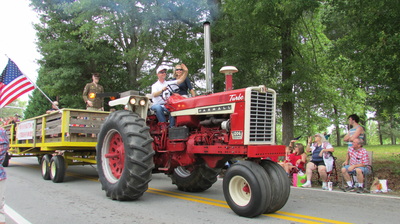
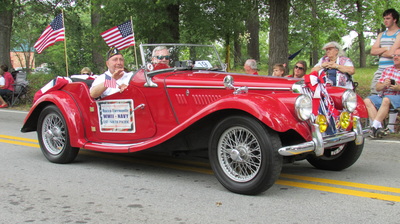
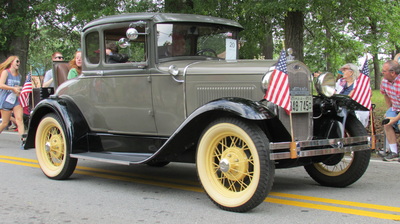
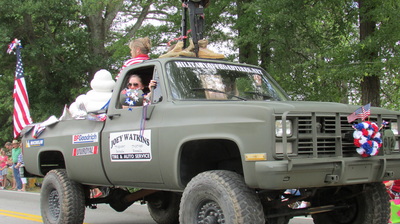
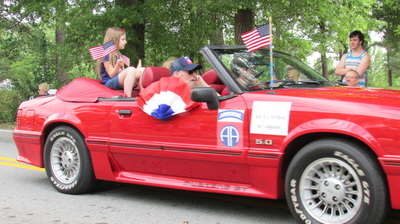
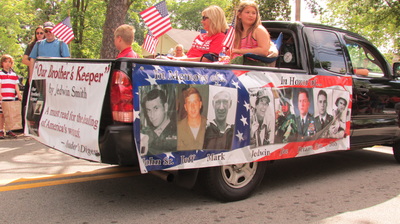
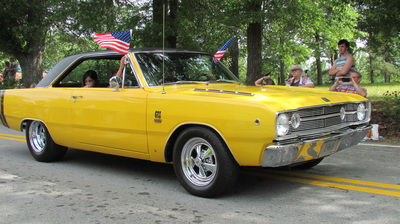
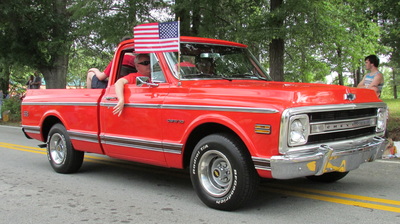
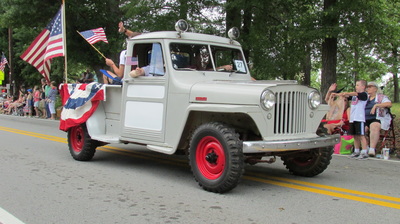
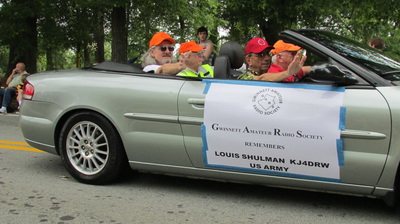
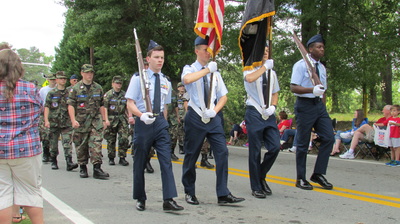
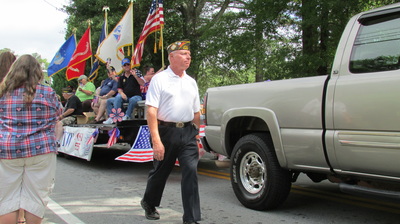
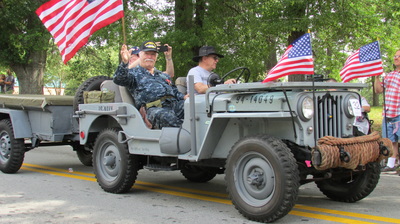
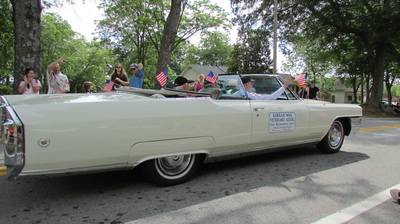
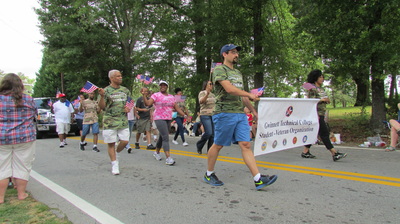
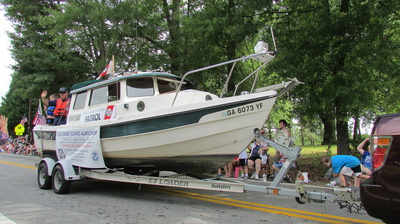
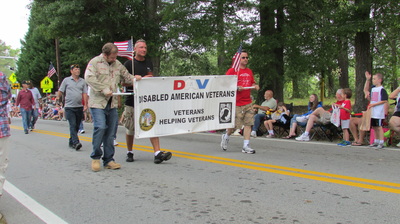
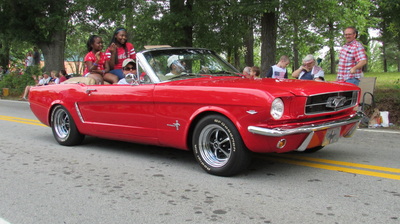
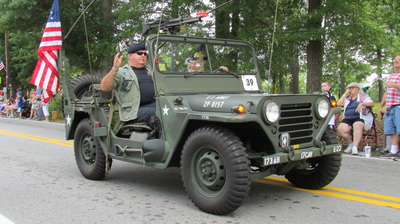
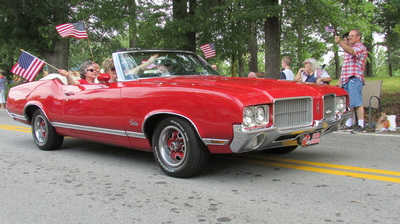
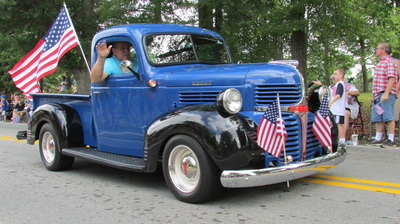
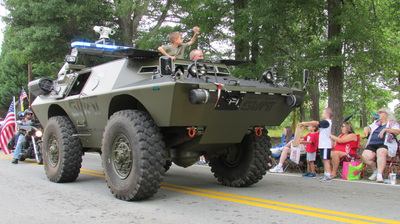
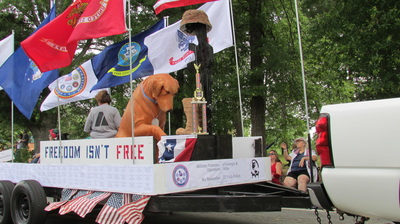
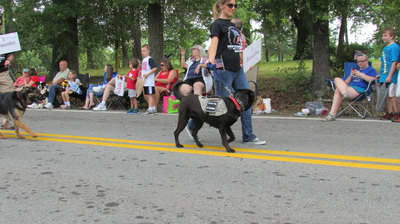
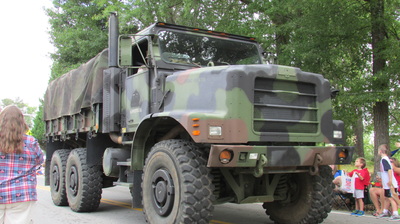
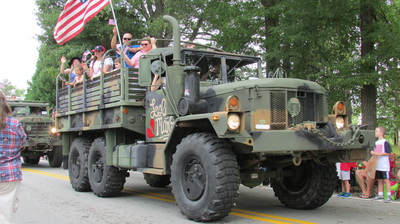
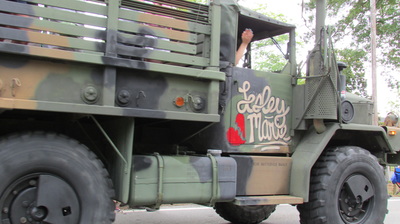
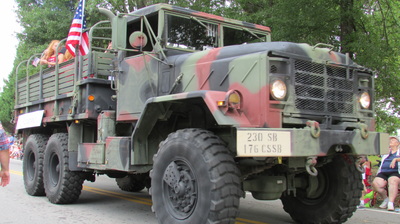
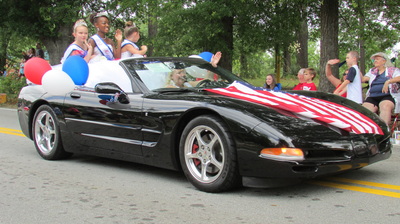
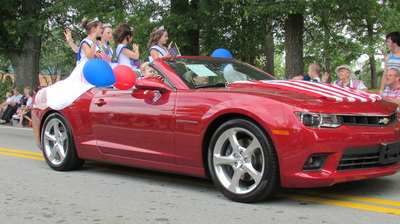
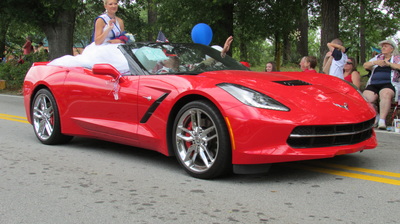
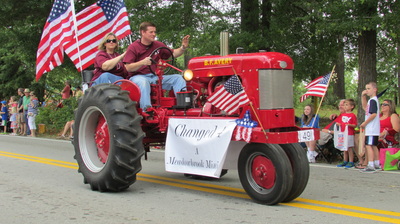
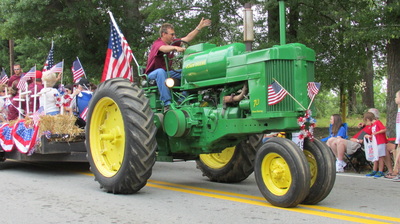
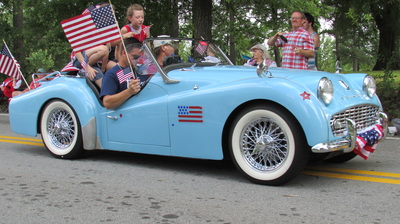
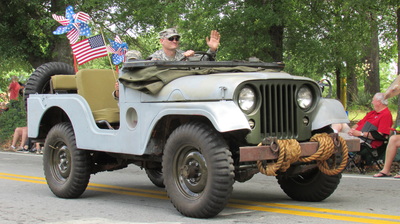
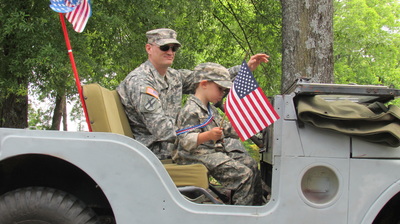
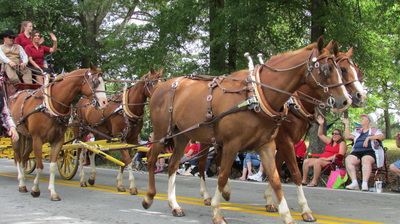
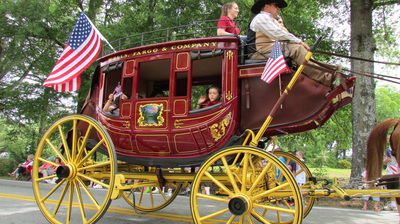
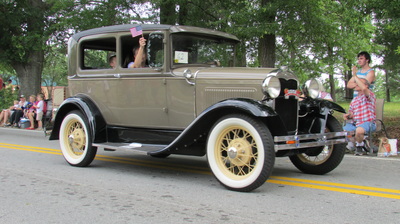
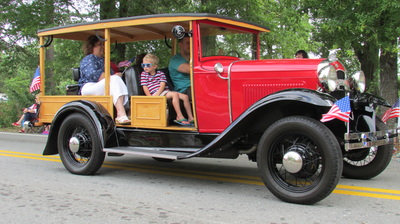
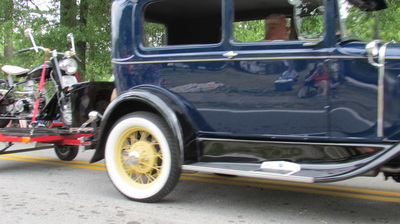
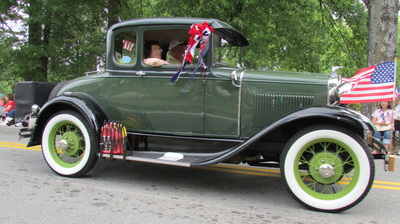
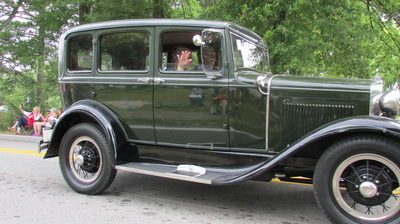
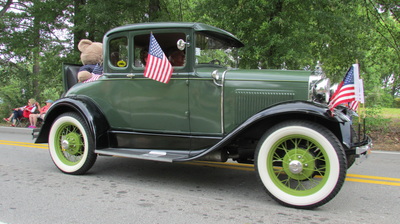
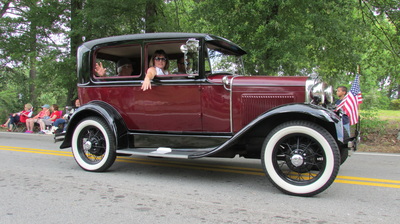
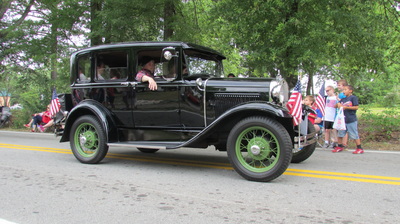
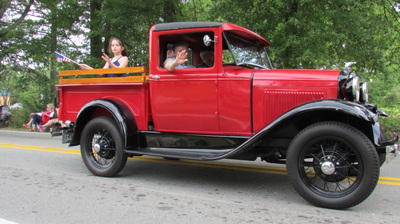
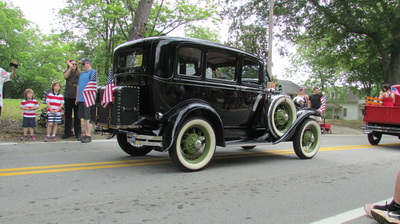
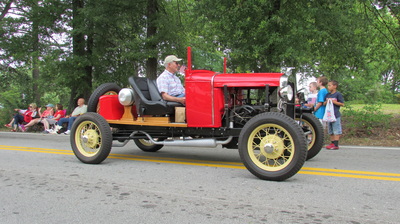
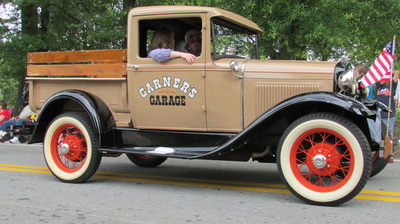
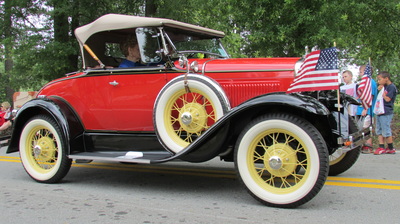
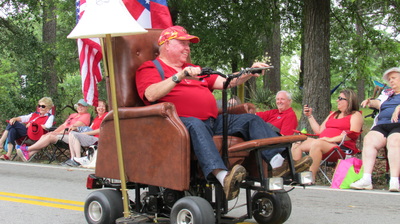
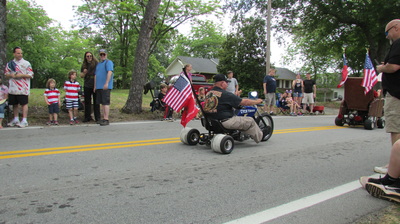
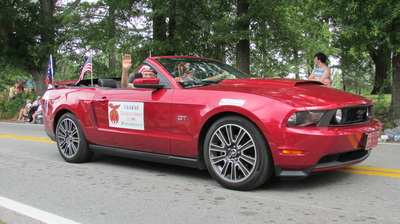
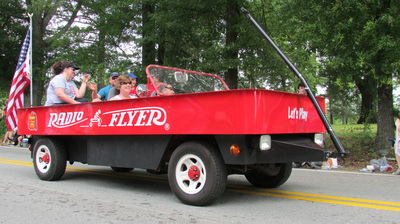
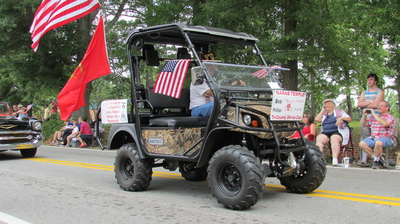
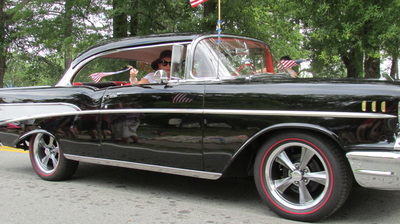
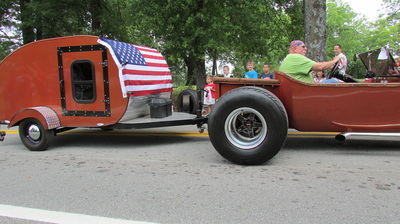
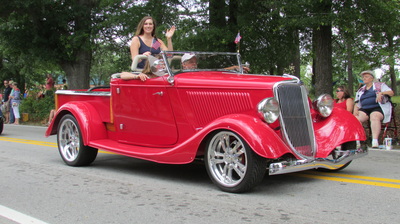
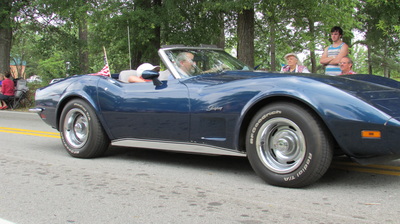
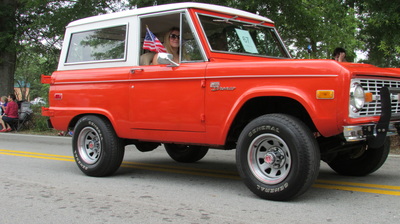
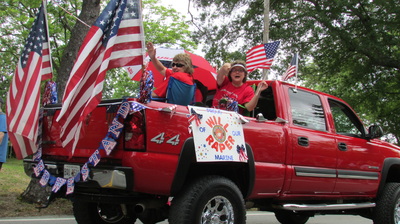
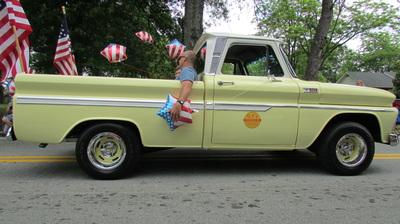
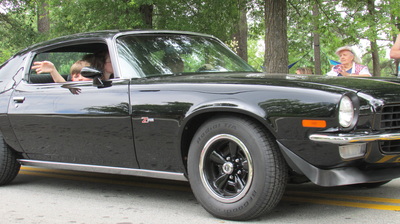
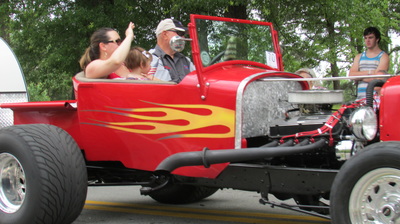
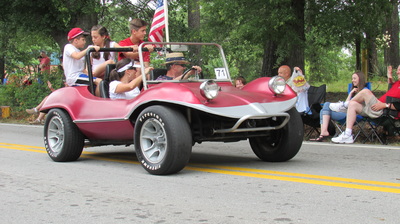
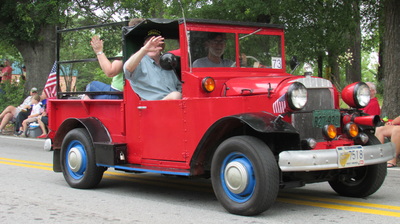
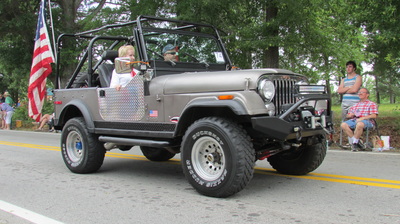
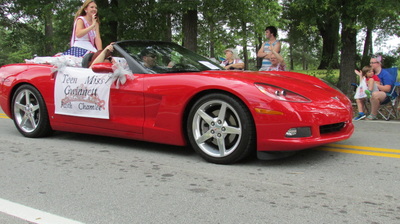
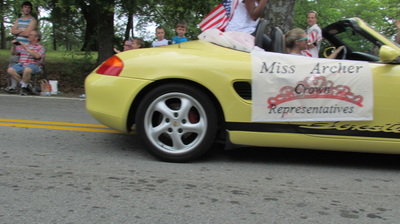
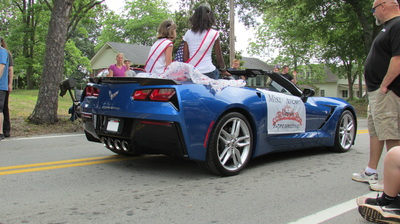
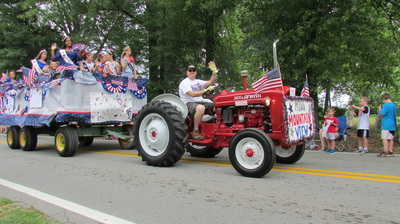
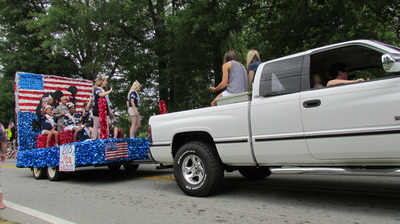
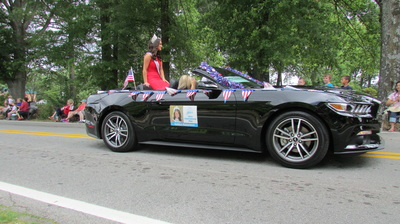
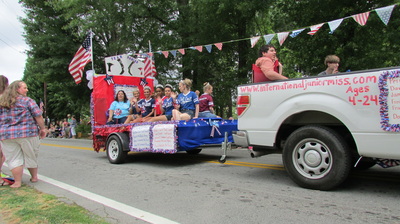
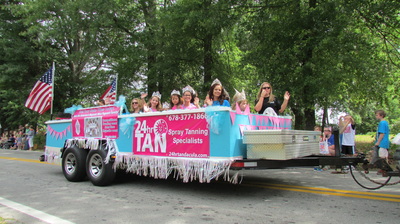
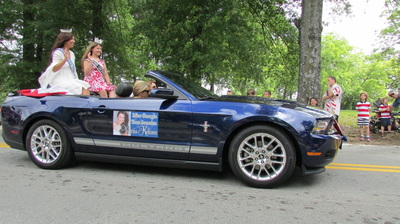
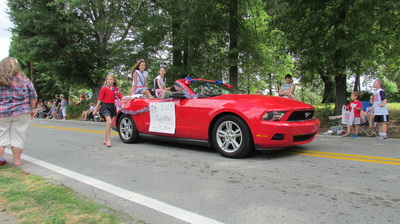
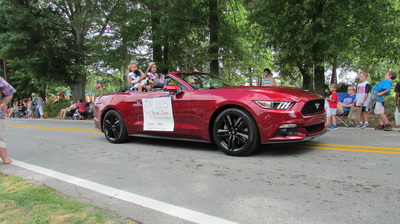
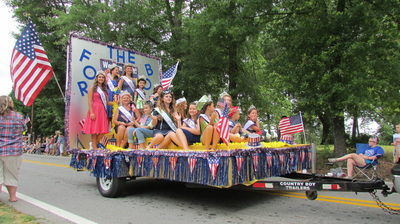
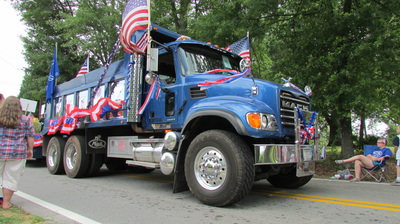
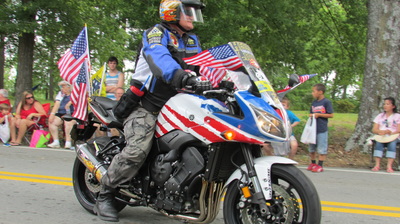
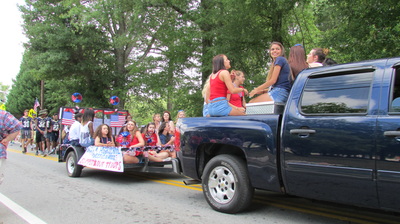
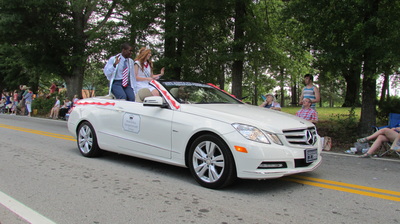
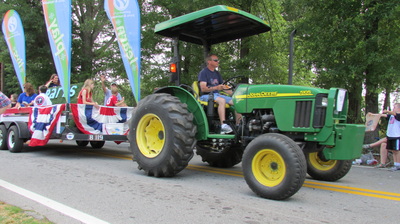
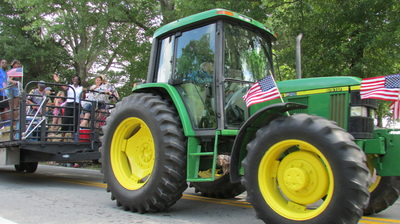
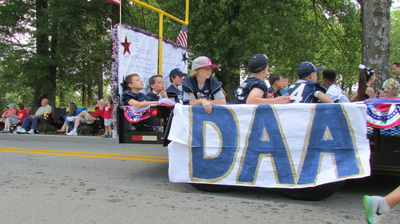
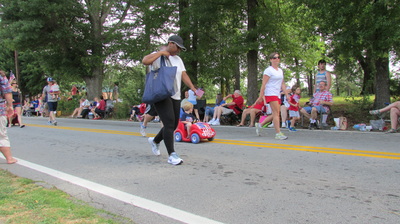
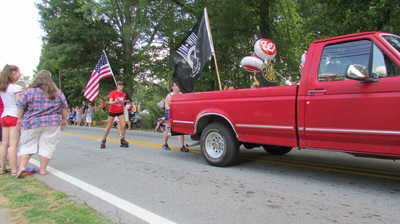
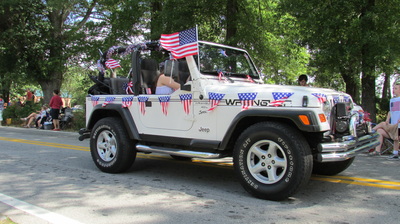
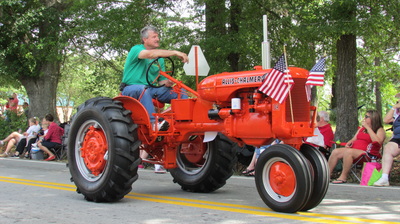
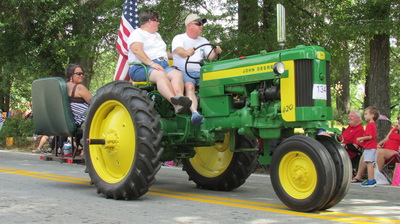
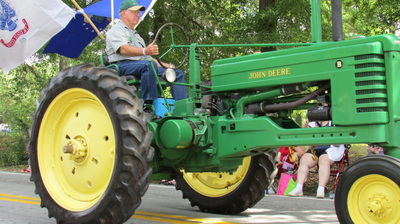
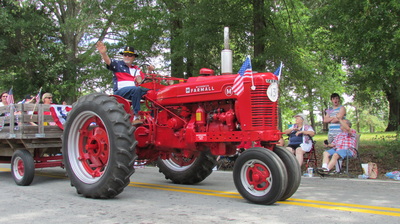
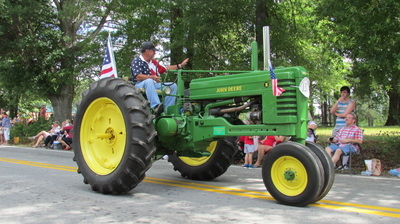
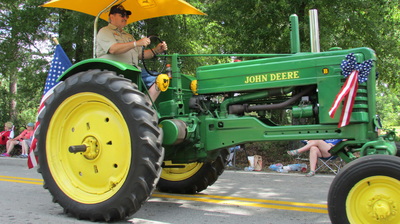
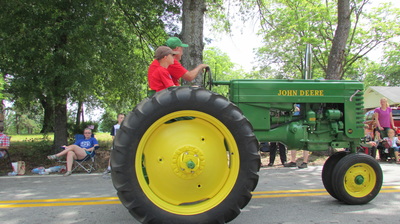
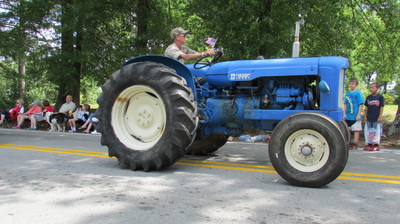
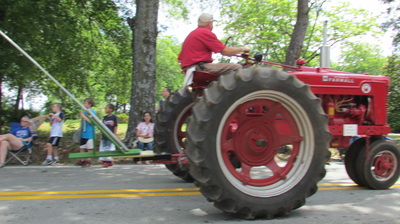
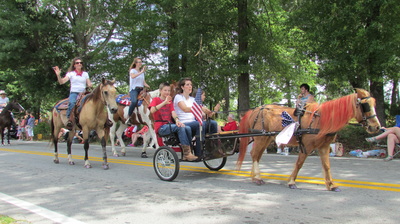
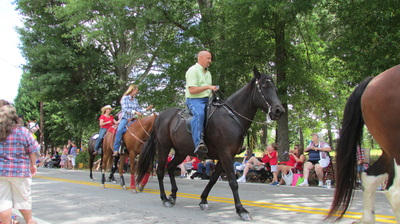
I decided to create a new blog that is just general stuff that I do, or things I'm thinking about. Dangerous stuff. :-) Amy and I went to the Dacula Memorial Day Parade this morning and I captured a few videos and a bunch of pictures. I hope you enjoy!
|
AuthorJust my own opinions and thoughts... Archives
May 2019
Categories
All
|
OLD NORTH GA WX BLOG




























 RSS Feed
